Featured image for how to care for nails after removing acrylic nails
Image source: i.ytimg.com
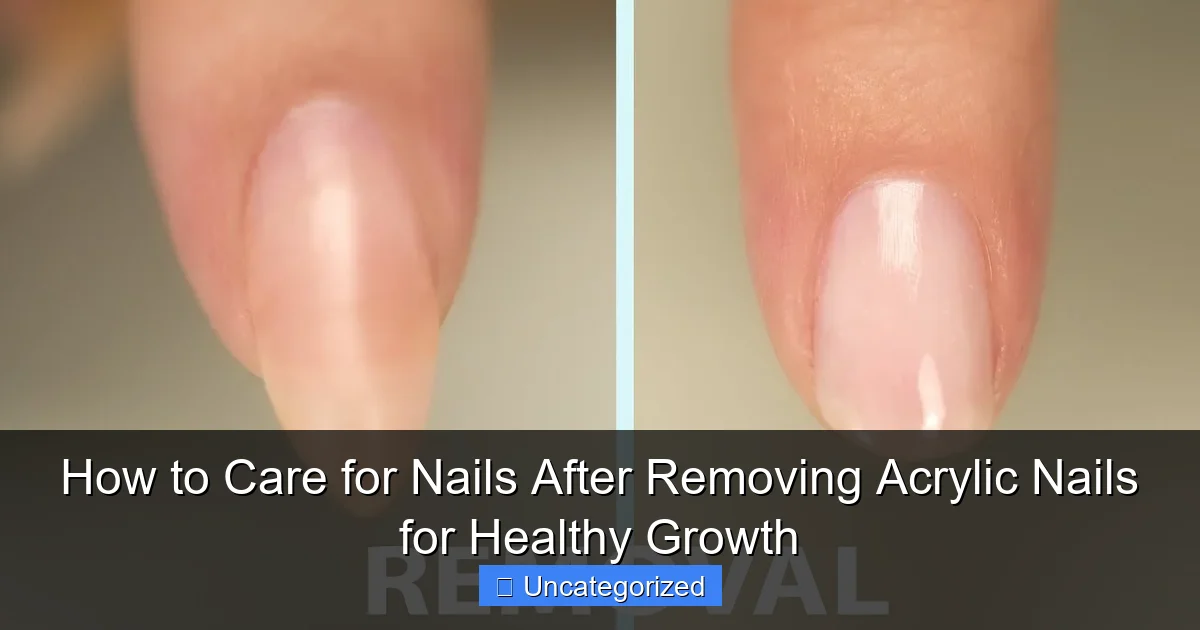
Immediately after removing acrylic nails, keep your natural nails hydrated and protected to prevent splitting and peeling. Focus on daily moisturizing with cuticle oil and a nourishing nail cream, and avoid harsh chemicals or excessive water exposure to support strong, healthy regrowth. Give your nails a break from polish and enhancements for at least 1–2 weeks to allow them to breathe and recover fully.
Key Takeaways
- Moisturize daily: Apply cuticle oil and hand cream to prevent dryness and cracking.
- Trim and file: Keep nails short and gently shape them to avoid snags.
- Hydrate internally: Drink plenty of water for stronger, healthier nail growth.
- Avoid harsh chemicals: Wear gloves when cleaning to protect nails from damage.
- Use a nail strengthener: Apply a nourishing treatment to fortify weak, peeling nails.
- Give nails a break: Avoid reapplying acrylics immediately to let nails recover.
📑 Table of Contents
- How to Care for Nails After Removing Acrylic Nails for Healthy Growth
- Understanding the Damage: What Happens to Nails After Acrylic Removal
- Immediate Post-Removal Care: The First 72 Hours
- Long-Term Nail Strengthening Routine (Weeks 1–8)
- Professional and At-Home Treatments for Damaged Nails
- Monitoring Progress and Preventing Future Damage
- Conclusion
- Data Table: Nail Recovery Timeline and Key Actions
How to Care for Nails After Removing Acrylic Nails for Healthy Growth
Acrylic nails have long been a popular choice for those seeking long, durable, and aesthetically pleasing nails. Whether for special occasions or everyday wear, acrylics offer a polished look that natural nails often can’t match. However, the aftermath of removing acrylics can leave your natural nails feeling weak, brittle, and even painful. The removal process—especially if done incorrectly—can strip layers of your nail plate, leading to peeling, splitting, and slow regrowth. This transition period is critical, and how you care for your nails afterward will determine how quickly they recover and how healthy they grow back.
Understanding the science behind nail damage and recovery is the first step toward nurturing your nails back to health. Your nails are made of keratin, a tough protein that forms a protective layer, but the harsh chemicals in acrylics and the removal process (like acetone soaking or improper filing) can compromise this structure. The good news is that with a dedicated care routine, you can restore your nails to their former strength—or even better. This guide will walk you through every essential step, from immediate post-removal care to long-term habits that promote strong, healthy nail growth. Whether you’re a seasoned acrylic user or a first-timer, these tips will help you maintain beautiful nails without sacrificing their health.
Understanding the Damage: What Happens to Nails After Acrylic Removal
The Science Behind Acrylic Nail Damage
Acrylic nails are applied by bonding a mixture of liquid monomer and powder polymer to the natural nail, creating a hard, durable surface. While this process enhances appearance, it can also lead to mechanical and chemical stress on the natural nail. The application involves filing down the natural nail to create a rough surface for better adhesion—this thinning weakens the nail plate. Additionally, the removal process, typically done with acetone, dissolves the acrylic but also strips away natural oils, moisture, and even layers of the nail itself.
Visual guide about how to care for nails after removing acrylic nails
Image source: i.ytimg.com
Studies show that repeated acrylic use can lead to onycholysis (separation of the nail from the nail bed), onychoschizia (horizontal splits in the nail), and paronychia (infection of the nail fold). A 2020 study published in the Journal of Cosmetic Dermatology found that 78% of women who frequently wore acrylics reported nail peeling or brittleness after removal. This damage isn’t just cosmetic—it affects the nail’s ability to grow properly and resist infection.
Signs of Post-Acrylic Nail Damage
After removing acrylics, your nails may show several signs of trauma:
- Thin, flexible nails that bend easily under pressure.
- Peeling or splitting at the free edge or mid-nail.
- Ridges or grooves running vertically or horizontally.
- Yellow or discolored patches caused by staining or fungal growth.
- Pain or tenderness at the nail bed, especially if the cuticle was damaged during removal.
<
For example, Sarah, a 29-year-old graphic designer, removed her acrylics after six months of continuous wear. She noticed her nails had become so thin that they curled inward, and she experienced pain when typing. Her nail technician explained that the repeated filing and acetone exposure had compromised the nail matrix—the living tissue beneath the cuticle responsible for nail growth.
Immediate Post-Removal Care: The First 72 Hours
Step 1: Hydrate and Moisturize
The first 72 hours after acrylic removal are crucial for preventing further damage. Acetone and filing leave your nails and surrounding skin extremely dehydrated. Begin by soaking your nails in warm olive oil or jojoba oil for 10–15 minutes. These oils penetrate the nail plate, replenishing lost lipids and preventing brittleness. Follow up with a thick, emollient hand cream containing shea butter, ceramides, or hyaluronic acid. Apply the cream every 2–3 hours, especially after washing hands or using hand sanitizer.
Pro Tip: Use cotton gloves to lock in moisture overnight. Apply a generous layer of moisturizer, then wear gloves for at least 4 hours (or overnight). This “occlusive therapy” creates a barrier that prevents water loss and accelerates healing.
Step 2: Gentle Nail Shaping and Cuticle Care
Resist the urge to file or shape your nails aggressively. Use a glass or crystal nail file—these are less abrasive than emery boards and reduce the risk of splitting. File in one direction (from side to center), avoiding sawing motions. For cuticles, never cut or push them back with metal tools. Instead, gently push them back with a wooden or silicone cuticle pusher after soaking in warm water. Apply cuticle oil (containing vitamin E, almond oil, or tea tree oil) 2–3 times daily to prevent hangnails and promote softness.
Example: After removing her acrylics, Maria used a glass file to gently smooth the edges of her nails. She also applied cuticle oil every evening and wore cotton gloves to bed. Within a week, her cuticles were no longer dry or cracked, and her nails felt less fragile.
Step 3: Avoid Water and Harsh Chemicals
Water is a major enemy of damaged nails. Prolonged exposure (e.g., washing dishes, swimming) can cause nails to swell, weaken, and peel. Wear rubber gloves when doing household chores. Also, avoid hand sanitizers with high alcohol content (over 70%), as they further dry out the nails. Opt for alcohol-free sanitizers or carry a travel-sized moisturizer to reapply after sanitizing.
Long-Term Nail Strengthening Routine (Weeks 1–8)
Nutritional Support for Nail Growth
Healthy nails start from within. A diet rich in key nutrients supports keratin production and nail bed health. Focus on:
- Biotin (Vitamin B7): Found in eggs, nuts, and sweet potatoes. A 2017 review in Skin Appendage Disorders found that biotin supplements improved nail thickness by 25% in participants with brittle nails.
- Protein: Keratin is a protein, so consume lean meats, legumes, and Greek yogurt.
- Iron and Zinc: Spinach, lentils, and pumpkin seeds help prevent ridges and slow growth.
- Omega-3 Fatty Acids: Salmon, flaxseeds, and walnuts reduce inflammation and improve nail flexibility.
Consider a high-quality nail supplement containing biotin, collagen, and vitamins A, C, and E. Brands like Nutrafol, Viviscal, and Nature’s Bounty offer clinically tested formulas. Take the supplement consistently for at least 3 months to see results.
Topical Treatments and Nail Hardeners
Use a nail hardener or strengthener with ingredients like:
- Hydrolyzed keratin (repairs damaged nail structure).
- Calcium (strengthens the nail plate).
- Argan oil or hemp seed oil (moisturizes without greasiness).
Apply the treatment every other day, allowing nails to “breathe” on off days to prevent over-hardening (which can make nails brittle). Avoid formaldehyde-based products, as they can cause yellowing and further damage.
Example: After removing her acrylics, James used a keratin-based nail serum twice daily. After 6 weeks, his nails were 30% less prone to splitting, and he noticed new growth with fewer ridges.
Protecting Nails During Daily Activities
Even small habits can impact nail health:
- Use fingertips, not nails to open cans, peel stickers, or type.
- Keep nails short (1–2 mm past fingertip) to reduce snagging and pressure.
- Wear gloves during manual labor, gardening, or cold weather.
- Avoid nail polish remover with acetone. Use soy-based or non-acetone removers instead.
Professional and At-Home Treatments for Damaged Nails
When to See a Dermatologist or Nail Specialist
While most post-acrylic damage resolves with home care, some conditions require professional help:
- Persistent pain or discoloration may indicate infection (e.g., paronychia).
- Severe onycholysis (nail lifting from the bed) needs medical treatment to prevent fungal growth.
- Deep ridges or pitting could signal nutritional deficiencies or autoimmune conditions like psoriasis.
Dermatologists may prescribe topical antifungals, corticosteroids, or oral supplements. For severe cases, they might recommend nail biopsy to rule out underlying health issues.
At-Home Spa Treatments
Boost recovery with DIY treatments:
- Green Tea Soak: Brew 2 green tea bags in 1 cup of water, cool, and soak nails for 10 minutes. Green tea’s antioxidants reduce inflammation and strengthen nails.
- Honey and Lemon Mask: Mix 1 tsp raw honey, ½ tsp lemon juice, and 1 tbsp olive oil. Apply to nails, wait 15 minutes, then rinse. Honey hydrates, while lemon’s vitamin C brightens discoloration.
- Oatmeal Exfoliation: Blend oatmeal with water to make a paste, gently rub on hands and nails, then rinse. Oatmeal soothes dry skin and removes dead cells.
Low-Risk Nail Enhancements (Optional)
If you miss the look of long nails, opt for softer, less damaging alternatives:
- Press-on nails: Apply with non-damaging glue (e.g., nail tabs) and remove without acetone.
- Hard gel overlays: Applied like polish but cured under UV light. Easier to remove than acrylics.
- Nail wraps (silk or fiberglass): Provide strength without filing the natural nail.
Always choose a licensed technician and request gentle removal methods (e.g., warm oil soak instead of scraping).
Monitoring Progress and Preventing Future Damage
Track Nail Growth and Health
Take weekly photos of your nails to monitor progress. Look for:
- Reduced peeling or splitting.
- Smoother nail surface (fewer ridges).
- Faster growth rate (average: 3 mm/month).
- Stronger nail tips that resist bending.
Use a nail growth chart to record changes. For example, note if your nails grow 1 mm in 10 days (healthy) versus 0.5 mm (slow).
Preventing Re-Injury
Once your nails recover, maintain their health with these habits:
- Limit acrylic use to 1–2 times per year.
- Choose salons that prioritize nail health (e.g., avoid excessive filing, use LED lamps instead of UV).
- Apply cuticle oil daily—even when not wearing acrylics.
- Wear gloves during high-risk activities (e.g., cleaning, sports).
Example: After her recovery, Lisa limited acrylic use to weddings and vacations. She also switched to a salon that used LED-cured gels, reducing her risk of damage.
Conclusion
Removing acrylic nails doesn’t have to mean sacrificing nail health. With the right care, your natural nails can recover stronger than ever. The key lies in hydration, nutrition, protection, and patience. By following the steps outlined above—from immediate oil soaks to long-term dietary support—you can rebuild your nails’ structure and promote healthy growth. Remember, nails grow slowly, so consistency is critical. Avoid rushing the process with harsh treatments or quick fixes that could cause further damage.
Think of your nails as a garden: they need regular tending, the right nutrients, and protection from the elements to flourish. Whether you choose to go au naturel or return to enhancements later, prioritize your nails’ long-term health. With time, dedication, and the tips in this guide, you’ll enjoy strong, beautiful nails that are as resilient as they are stunning. Your journey to healthier nails starts today—one moisturizing session, one nutrient-rich meal, and one protected fingertip at a time.
Data Table: Nail Recovery Timeline and Key Actions
| Timeframe | Key Actions | Expected Progress |
|---|---|---|
| 0–72 hours | Oil soaks, moisturize hourly, wear gloves | Reduced brittleness, less pain |
| Week 1–2 | Gentle filing, cuticle oil, avoid water | Smoother edges, softer cuticles |
| Week 3–4 | Start supplements, use nail hardener | Reduced peeling, faster growth |
| Week 5–8 | Continue routine, monitor progress | Stronger nails, fewer ridges |
| Month 3+ | Maintain habits, reassess nail health | Healthy growth, reduced damage risk |
Frequently Asked Questions
How can I care for nails after removing acrylic nails to promote healthy growth?
After removing acrylic nails, focus on hydration and protection. Apply cuticle oil daily and use a strengthening nail treatment with ingredients like biotin or keratin to support recovery and growth.
Why are my nails weak and peeling after acrylic removal?
Acrylic removal often strips natural oils and layers of the nail plate, causing weakness. Use a nourishing nail and cuticle oil regularly, and avoid harsh chemicals to restore moisture and flexibility.
How long should I wait before getting acrylic nails again?
Give your nails at least 2–3 weeks to recover after removing acrylic nails. This break allows natural oils to rebuild and prevents further thinning or damage.
What’s the best way to repair nails after removing acrylic nails?
Combine gentle buffing (to smooth ridges) with a protein-rich nail hardener and weekly deep-conditioning treatments. Avoid picking or biting to let nails heal naturally.
Can I use nail polish after removing acrylic nails?
Yes, but opt for breathable, formaldehyde-free formulas to avoid further drying. Always use a nourishing base coat to shield recovering nails from staining.
How often should I moisturize my nails post-acrylic removal?
Moisturize cuticles and nails 2–3 times daily with oil or cream after removing acrylic nails. Consistent hydration prevents brittleness and speeds up the healing process.