Featured image for how to care for acrylic nail brushes
Image source: i.ytimg.com
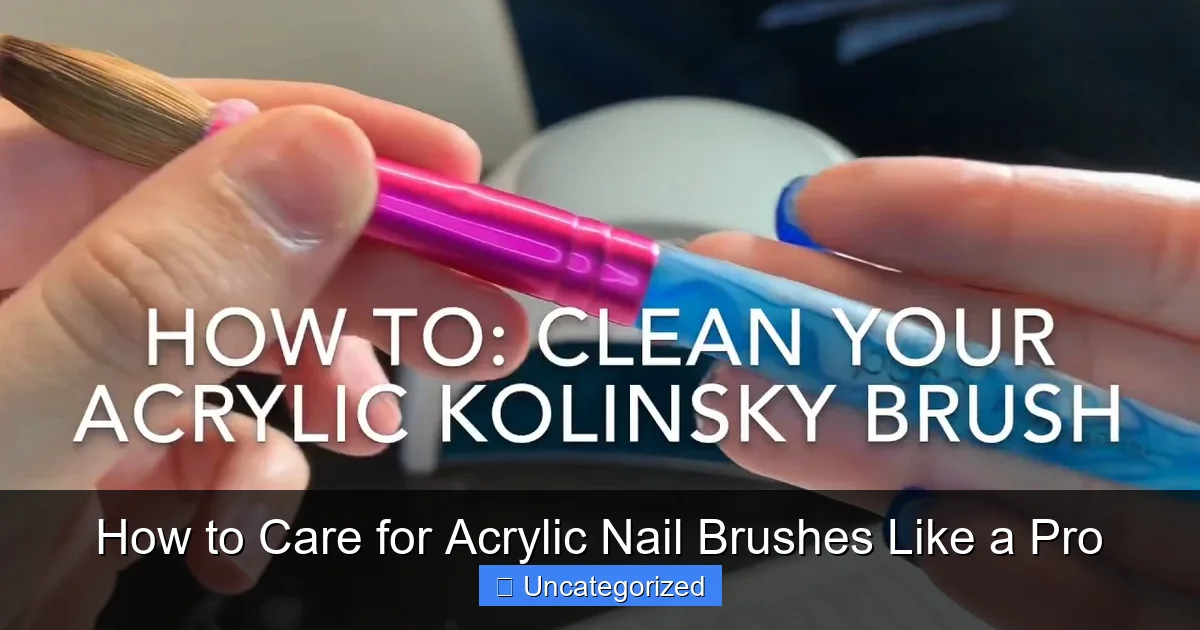
Proper cleaning after every use is essential to extend the life of your acrylic nail brushes and maintain flawless application. Always remove uncured acrylic with 90% isopropyl alcohol and a lint-free wipe, then reshape the bristles gently before storing in a ventilated cap or brush tube. Avoid soaking brushes in monomer, as this degrades the adhesive and damages the bristles over time.
Key Takeaways
- Clean immediately after use: Prevent acrylic buildup with swift, proper brush cleaning.
- Use monomer, not acetone: Preserve bristles by avoiding harsh acetone cleaners.
- Store upright or flat: Maintain shape by never leaving brushes on their tips.
- Condition weekly: Extend bristle life with a deep conditioning treatment.
- Inspect for damage: Check regularly and replace worn brushes for best results.
- Keep dry when not in use: Avoid mildew by storing brushes in a dry place.
📑 Table of Contents
- Why Proper Care of Acrylic Nail Brushes Is Essential
- Understanding Your Acrylic Nail Brush: Anatomy and Materials
- Daily Cleaning Routine: The Key to Longevity
- Storage Solutions: Protecting Your Investment
- Common Mistakes and How to Avoid Them
- Advanced Care: Reviving and Extending Brush Life
- Conclusion: Master Your Tools, Master Your Craft
Why Proper Care of Acrylic Nail Brushes Is Essential
Acrylic nail brushes are more than just tools—they’re an artist’s precision instrument. Whether you’re a professional nail technician or a DIY enthusiast, your acrylic nail brushes are the bridge between your creativity and flawless, long-lasting manicures. A single brush can cost anywhere from $10 to over $50, depending on the quality and craftsmanship. Given this investment, it’s crucial to understand that how you care for your brushes directly impacts their performance, durability, and the overall quality of your work. Neglecting proper maintenance can lead to frayed bristles, product buildup, and inconsistent application—issues that not only compromise aesthetics but can also frustrate both you and your clients.
Beyond aesthetics, hygiene is another major reason to care for your acrylic nail brushes like a pro. These brushes come into direct contact with liquid monomer and powdered polymer, creating a sticky residue that can harbor bacteria and fungi if not cleaned thoroughly. In a salon environment, cross-contamination is a serious concern. For home users, unclean brushes can lead to skin irritation or infections. The good news? With a few simple habits, you can extend the life of your brushes by months or even years while ensuring consistent, salon-quality results every time. This guide will walk you through every step of the process—from daily cleaning to long-term storage—so you can treat your tools with the respect they deserve and keep them performing like new.
Understanding Your Acrylic Nail Brush: Anatomy and Materials
The Bristles: Natural vs. Synthetic
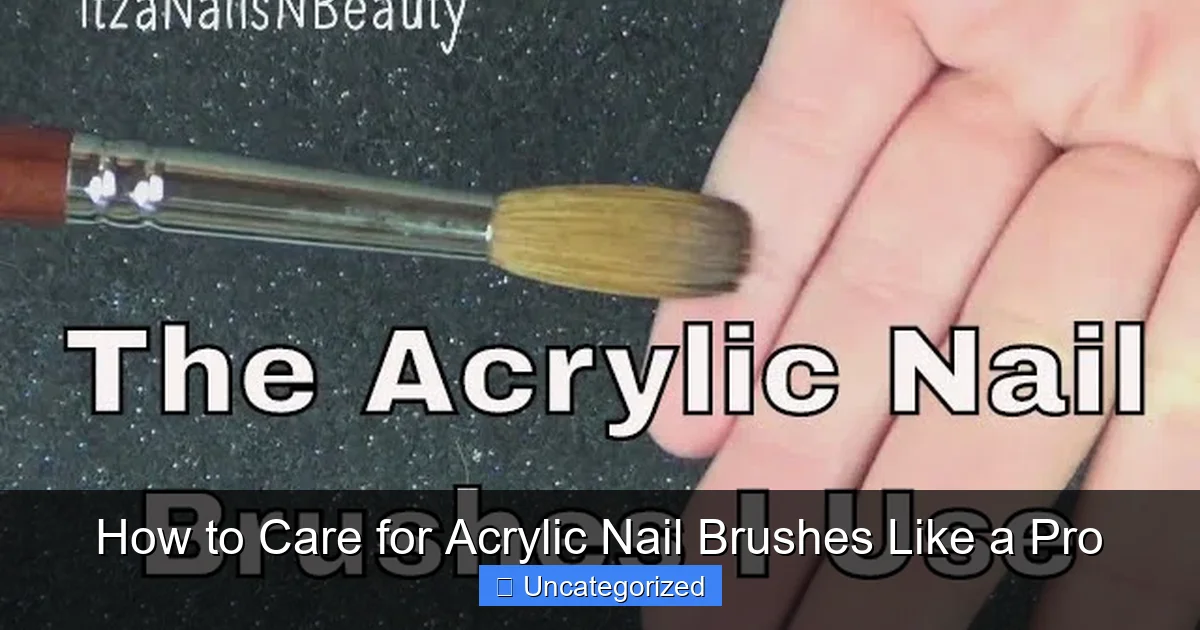
Acrylic nail brushes are typically made with either natural hair (usually sable or kolinsky) or synthetic fibers. Kolinsky sable brushes are considered the gold standard in the nail industry due to their exceptional spring, precision, and ability to hold and release acrylic evenly. These brushes are made from the tail hairs of the Kolinsky sable, a type of weasel found in Siberia. They are prized for their fine, tapered tips and durability when properly maintained. However, they are also more expensive and require gentle care.
Visual guide about how to care for acrylic nail brushes
Image source: i.ytimg.com
Synthetic brushes, on the other hand, are made from nylon or other polymer fibers. They are more affordable, vegan-friendly, and resistant to some chemicals, but they don’t have the same natural “snap” or precision as kolinsky. Synthetic brushes can also degrade faster when exposed to harsh solvents or improper cleaning. For beginners or those on a budget, high-quality synthetics can still deliver excellent results—especially when paired with proper care. The key is knowing your brush’s material so you can tailor your cleaning and storage methods accordingly.
Brush Ferrule and Handle: What to Look For
The ferrule—the metal band that holds the bristles—is usually made of aluminum or copper. High-end brushes often feature seamless, crimped ferrules that prevent glue from seeping into the bristle base, which can cause shedding. A loose ferrule or visible glue lines are red flags for lower quality. The handle, typically made of wood or acrylic, should be lightweight and balanced. A well-constructed handle reduces hand fatigue during long application sessions and ensures better control.
Example: A professional nail artist might use a #10 or #12 kolinsky brush for sculpting, while a #6 or #8 is ideal for detail work or shorter nails. The size and shape of the brush also influence how you clean and store it. For instance, a larger brush with a wide base requires more thorough cleaning to reach the inner bristles, while a tapered tip brush needs gentle handling to preserve its shape.
Pro Tip: Always inspect your brush before use. Look for loose bristles, fraying, or discoloration. If you notice any of these signs, it might be time to deep-clean or replace the brush. Early detection prevents further damage and ensures consistent application.
Daily Cleaning Routine: The Key to Longevity
Immediate Post-Use Cleaning (The 5-Minute Rule)
The most critical time to clean your acrylic nail brush is immediately after use. Acrylic residue hardens quickly and becomes nearly impossible to remove after 10–15 minutes. Follow this 5-minute routine to keep your brush in peak condition:
- Step 1: Wipe Off Excess Acrylic – Use a lint-free wipe or paper towel to gently remove any visible product from the bristles. Do not scrub—this can damage the delicate tips.
- Step 2: Rinse in Monomer (Yes, Monomer!) – Dip the bristles into a small dish of fresh, unused liquid monomer. Swirl the brush gently for 10–15 seconds. The monomer dissolves uncured acrylic and lifts residue from the bristles.
- Step 3: Shape the Tip – While the bristles are still damp, use your fingers or a brush shaper to gently roll the tip into a fine point. This maintains the precision needed for detailed work.
- Step 4: Wipe and Air Dry – Blot the brush on a clean wipe to remove excess monomer. Lay it flat on a clean paper towel or use a brush stand to dry. Never stand the brush on its tip—this can cause splaying and breakage.
Why monomer works: Acrylic powder is polymerized by the monomer, so using the same liquid to clean uncured product is both effective and economical. Avoid acetone or nail polish remover for daily cleaning—they dry out natural bristles and degrade synthetic fibers over time.
Deep Cleaning: Weekly Maintenance
Even with daily cleaning, residue can accumulate in the base of the bristles (near the ferrule). Once a week, perform a deep clean:
- Fill a small glass with 100% pure monomer (not a monomer blend with additives).
- Submerge the bristles up to the ferrule (do not let liquid reach the handle).
- Let soak for 5–10 minutes. Swirl occasionally.
- Remove and wipe with a lint-free cloth.
- Use a soft toothbrush to gently loosen any stubborn buildup at the base.
- Rinse again with fresh monomer, reshape, and air dry horizontally.
Example: A nail tech working 8 hours a day with 10 clients might perform this weekly clean every Sunday night. For home users, once every 7–10 days is sufficient. Deep cleaning prevents clumping and ensures the brush maintains its “snap” and precision.
Storage Solutions: Protecting Your Investment
Proper Drying and Positioning
How you dry and store your brush is just as important as how you clean it. Never store a damp brush in a closed container or upright in a cup—this creates a humid environment that promotes mold, mildew, and bristle splaying. Instead:
- Always dry brushes horizontally on a clean, lint-free towel or a dedicated brush drying mat.
- Use a brush stand with individual slots to keep bristles separated and upright during drying. Look for stands with ventilation to allow airflow.
- Ensure the bristles are completely dry before storage—this can take 2–4 hours depending on humidity.
Pro Tip: For kolinsky brushes, consider using a brush shaper—a small plastic or silicone cap that molds the bristles into a perfect point. This prevents flattening and maintains the brush’s precision between uses.
Long-Term Storage: Cases, Pouches, and Climate Control
For long-term storage (e.g., during travel or off-seasons), use a hard-shell brush case or a soft, padded pouch. The case should have individual compartments to prevent bristles from rubbing against each other. Avoid plastic bags—they trap moisture and can lead to fungal growth.
- Store in a cool, dry place away from direct sunlight. UV rays can weaken bristles and fade handles.
- Keep away from heat sources (radiators, hairdryers) and high humidity (bathrooms).
- For salons: Use UV sanitizing cabinets that double as storage units. These kill bacteria and dry brushes simultaneously.
Example: A traveling nail artist might use a compact, TSA-approved brush case with silica gel packets to absorb moisture. Home users can store brushes in a dedicated drawer lined with microfiber cloth.
Common Mistakes and How to Avoid Them
Using Harsh Chemicals (Acetone, Alcohol, etc.)
One of the biggest mistakes nail techs make is using acetone or isopropyl alcohol to clean brushes. While these solvents remove polish and gel, they are too strong for acrylic brushes. Acetone strips natural oils from kolinsky bristles, causing them to become brittle and break. Alcohol can degrade synthetic fibers and weaken the glue holding the bristles.
Solution: Stick to 100% liquid monomer for all acrylic brush cleaning. If you need to remove gel or polish residue, use a dedicated gel brush and avoid cross-contamination. For stubborn buildup, try a brush cleaner solution specifically formulated for acrylics (e.g., Young Nails Brush Cleaner or Mia Secret Brush Saver).
Over-Soaking and Improper Handling
Soaking brushes for too long (beyond 15–20 minutes) can loosen the glue in the ferrule, leading to shedding. Never leave brushes soaking overnight. Similarly, avoid twisting or pulling the bristles—this can damage the base and cause fraying.
- Do: Swirl gently in monomer. Use light pressure when wiping.
- Don’t: Scrub with abrasive materials or use excessive force.
Pro Tip: If you notice bristles starting to shed, stop using the brush immediately. A shedding brush can ruin a client’s manicure by leaving fibers in the acrylic. It’s time for a replacement.
Neglecting the Ferrule and Handle
Many users focus only on the bristles, but the ferrule and handle also need attention. Wipe the ferrule with a damp cloth to remove residue. For wooden handles, avoid submerging in liquid—wipe with a slightly damp cloth if needed. Never use oil or conditioner on wooden handles, as this can warp the wood.
Advanced Care: Reviving and Extending Brush Life
Rescuing a “Dead” Brush
Even with proper care, brushes can lose their shape or develop buildup. Here’s how to revive them:
- Deep Soak: Submerge bristles in monomer for 20–30 minutes (max). Swirl every 5 minutes.
- Brush Comb: Use a small metal brush comb (available at art supply stores) to gently tease apart clumped bristles.
- Steam Treatment (Kolinsky Only): Hold the bristles 2–3 inches above boiling water for 10–15 seconds. The steam softens the natural fibers. Immediately reshape and dry.
- Re-Shape: Use a brush shaper or your fingers to roll the tip into a point. Let dry completely.
Note: This method works best on kolinsky brushes. Synthetic brushes may not respond as well to steam.
When to Retire a Brush
Even with the best care, all brushes have a lifespan. Signs it’s time to replace your brush:
- Persistent fraying or splitting at the tip
- Loss of “snap” (bristles don’t bounce back)
- More than 5–10% bristle loss
- Discoloration that doesn’t come out with cleaning
- Ferrule is loose or corroded
Lifespan Estimate: With proper care, a high-quality kolinsky brush can last 6–12 months with daily use. Synthetic brushes typically last 3–6 months. Cheaper brushes may need replacement every 2–3 months.
Data Table: Brush Care Comparison
| Care Aspect | Kolinsky Sable Brush | Synthetic Brush |
|---|---|---|
| Cleaning Solution | 100% monomer (daily), brush cleaner (weekly) | 100% monomer (daily), avoid acetone |
| Drying Time | 2–4 hours | 1–2 hours |
| Storage | Horizontal, brush stand, shaper recommended | Horizontal, avoid moisture |
| Lifespan (Daily Use) | 6–12 months | 3–6 months |
| Revival Methods | Steam, deep soak, comb | Deep soak, comb (no steam) |
| Cost Range | $25–$60+ | $10–$30 |
Conclusion: Master Your Tools, Master Your Craft
Caring for your acrylic nail brushes isn’t just about preserving tools—it’s about elevating your artistry. A well-maintained brush delivers smoother application, crisper edges, and a professional finish that sets you apart. By following the steps in this guide—immediate cleaning, weekly deep cleans, proper drying, smart storage, and avoiding common pitfalls—you’ll not only extend the life of your brushes but also improve the consistency and quality of every manicure you create.
Remember, your brush is an extension of your hand. Treat it with care, and it will reward you with precision, control, and longevity. Whether you’re a seasoned pro or just starting out, adopting these pro-level habits ensures that your tools are always ready to bring your creative vision to life. Invest in quality brushes, commit to a maintenance routine, and watch as your work—and your confidence—reaches new heights. After all, in the world of nail art, the difference between good and great often comes down to the smallest details… and the care you give to your most important tool.
Frequently Asked Questions
How do I clean acrylic nail brushes properly?
To clean acrylic nail brushes, rinse the bristles with warm water immediately after use to remove residue. Use a mild brush cleaner or non-acetone nail polish remover to dissolve any dried acrylic, then reshape and let air dry.
Why is it important to care for acrylic nail brushes regularly?
Proper care prevents bristle damage, buildup, and bacterial growth, ensuring smooth application and extending the brush’s lifespan. Neglect can lead to frayed bristles and uneven product distribution.
Can I use acetone to clean my acrylic nail brush?
Avoid acetone—it can strip the bristles and weaken the glue holding them together. Opt for a gentle brush cleanser or non-acetone solution instead to preserve brush quality.
How often should I deep-clean my acrylic nail brushes?
Deep-clean brushes weekly or after every 3-4 uses to prevent acrylic buildup. Regular maintenance with a daily quick clean (rinsing) keeps them in top condition.
What’s the best way to store acrylic nail brushes?
Store brushes upright (bristles up) in a breathable container or brush holder to maintain shape. Avoid airtight cases, as trapped moisture can damage bristles over time.
How do I prevent my acrylic nail brushes from shedding?
Minimize soaking, avoid harsh chemicals, and never scrub bristles aggressively. Handle brushes gently during cleaning and always reshape them after washing to reduce shedding.