Featured image for how to care for nails after acrylic removal
Image source: i.ytimg.com
Moisturize and nourish your nails immediately after acrylic removal to combat dryness and prevent peeling, as natural nails are often weakened and dehydrated. Use a rich cuticle oil and a strengthening nail treatment daily to restore moisture, improve flexibility, and support healthy regrowth. Avoid harsh chemicals and excessive filing to give your nails time to recover fully.
Key Takeaways
- Moisturize daily: Apply cuticle oil and hand cream to restore hydration.
- Buff gently: Smooth nail surfaces without over-thinning fragile layers.
- Use strengtheners: Try nail hardeners to rebuild weak, peeling nails.
- Avoid harsh products: Skip acetone and opt for gentle, non-drying removers.
- Protect with gloves: Wear them during chores to prevent further damage.
- Let nails breathe: Go polish-free for a few days to promote recovery.
📑 Table of Contents
- Understanding the Impact of Acrylic Removal on Your Nails
- Immediate Aftercare: The First 72 Hours
- Hydration and Nutrition: The Foundation of Nail Recovery
- Strengthening Treatments and Protective Measures
- Managing Common Post-Removal Issues
- Long-Term Maintenance and Prevention
- Data Table: Recommended Products and Timelines
- Conclusion: Patience and Persistence Pay Off
Understanding the Impact of Acrylic Removal on Your Nails
Acrylic nails have long been a favorite among those seeking a durable, polished look. However, the process of removing them—especially if done improperly—can leave your natural nails feeling weak, brittle, and even damaged. Whether you’ve had your acrylics removed at a salon or at home, the aftermath often reveals nails that are thin, peeling, or dehydrated. This is because acrylics adhere tightly to the natural nail plate, and the removal process (whether through soaking or filing) can strip away layers of keratin, moisture, and protective oils. Understanding what happens during and after acrylic removal is the first step toward effective nail care and recovery.
It’s not uncommon for individuals to experience nail thinning, white spots, or even separation of the nail from the nail bed (onycholysis) post-removal. These symptoms are typically not permanent, but they do require time and consistent care to heal. The good news? With the right aftercare routine, your nails can regain their strength, shine, and natural resilience. This guide will walk you through essential steps, expert tips, and proven remedies to help your nails recover fully and prevent future damage. From hydration to protective treatments, we’ll cover everything you need to know to care for your nails after acrylic removal.
Immediate Aftercare: The First 72 Hours
Stop All Nail Enhancements
Once your acrylics are removed, the first and most critical step is to give your nails a complete break. Avoid applying any form of nail enhancements—gel polish, dip powder, or press-ons—for at least 2–4 weeks. Your nails need time to breathe and recover without additional chemical exposure or physical stress. This period allows the nail plate to rehydrate and rebuild its natural structure. Think of it like letting a wound heal before applying a bandage; your nails need a clean slate to regenerate.
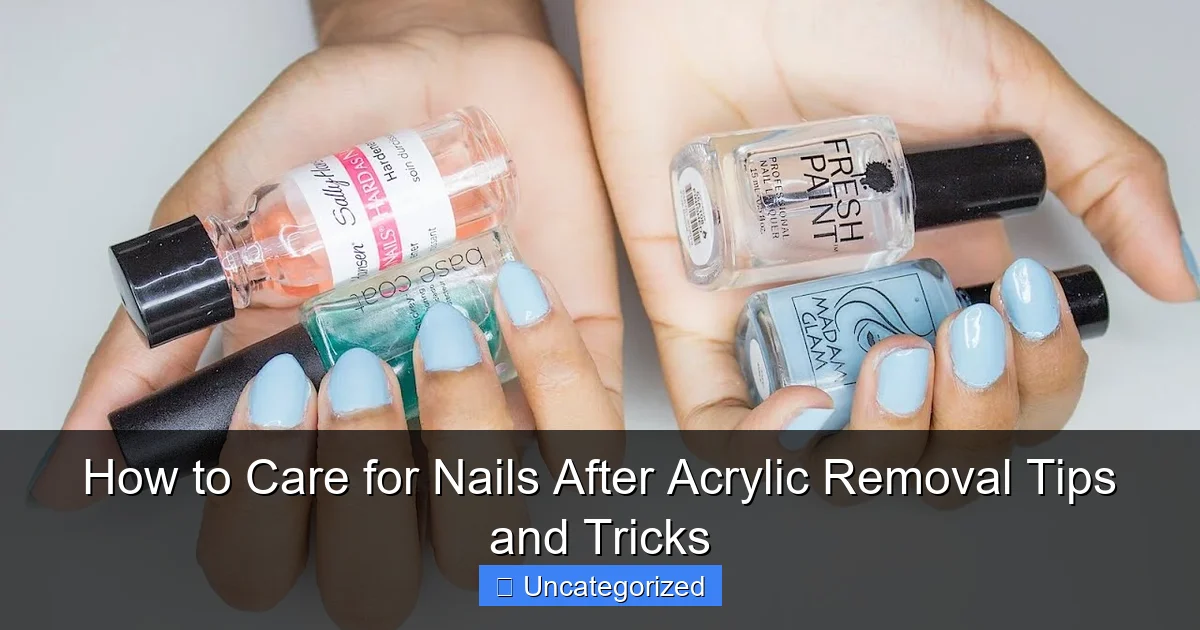
Visual guide about how to care for nails after acrylic removal
Image source: i.ytimg.com
Moisturize Frequently and Thoroughly
The acrylic removal process often strips natural oils from the nail and surrounding skin. Start by applying a cuticle oil or nail and hand cream every 2–3 hours during the first 72 hours. Look for ingredients like jojoba oil, vitamin E, shea butter, and lanolin—these deeply penetrate the nail matrix and surrounding tissue. For example, Jojoba oil mimics the skin’s natural sebum, making it ideal for restoring moisture balance. Apply the oil using a brush or dropper, gently massaging it into the cuticle and nail plate to stimulate blood flow.
Use a Gentle Nail Cleanser
After removal, your nails may feel sticky or have residual acetone or glue. Instead of harsh soaps, use a pH-balanced, fragrance-free nail cleanser or a mild hand wash. Avoid hot water, which can further dry out the nails. A practical tip: keep a small bottle of cuticle oil and a gentle cleanser in your bag or desk drawer for on-the-go care. For instance, a travel-sized jojoba oil pen can be applied during work breaks or after handwashing.
Hydration and Nutrition: The Foundation of Nail Recovery
Internal Hydration: Drink More Water
Healthy nails start from within. Dehydration is a leading cause of brittle, peeling nails. Aim to drink at least 8–10 glasses of water per day, especially during the recovery phase. You can track your intake using a water bottle with time markers or a hydration app. For example, carrying a 1-liter reusable bottle and refilling it three times daily ensures consistent hydration. Adding a slice of lemon or cucumber can make it more appealing and provides additional antioxidants.
Essential Nutrients for Strong Nails
Nail health is directly linked to your diet. Focus on nutrients that promote keratin production and tissue repair:
- Biotin (Vitamin B7): Found in eggs, nuts, and sweet potatoes. A daily supplement of 2.5–5 mg can accelerate nail growth.
- Omega-3 Fatty Acids: Found in salmon, flaxseeds, and walnuts. These reduce inflammation and improve nail flexibility.
- Iron and Zinc: Spinach, lentils, and pumpkin seeds help prevent white spots and brittleness.
- Vitamin C and Collagen: Citrus fruits and bone broth support collagen synthesis, which strengthens the nail matrix.
Consider a multivitamin or nail-specific supplement like “Nail Formula” or “Hair, Skin & Nails” blends. For example, a 2022 study in the Journal of Cosmetic Dermatology found that women taking biotin supplements for 6 months saw a 25% increase in nail thickness.
DIY Hydration Masks and Soaks
For an extra hydration boost, try these at-home treatments:
- Olive Oil & Lemon Soak: Mix 1 tbsp olive oil with 1 tsp lemon juice. Soak nails for 15 minutes, then rinse. Lemon brightens, while olive oil deeply moisturizes.
- Honey & Coconut Oil Mask: Combine 1 tbsp raw honey with 1 tbsp coconut oil. Apply to nails and cuticles, wrap in a warm towel, and leave for 20 minutes. Honey is antibacterial, and coconut oil penetrates deeply.
- Avocado Pulp Treatment: Mash ½ ripe avocado and apply to nails. Avocado is rich in fatty acids and vitamin E, ideal for repairing damaged nails.
Use these treatments 2–3 times weekly during recovery.
Strengthening Treatments and Protective Measures
Use a Nail Hardener (With Caution)
While nail hardeners can help, they should be used sparingly and temporarily. Look for formulas with formaldehyde-free strengtheners like calcium, silk protein, or panthenol. Avoid products with formaldehyde, as they can cause brittleness over time. Apply a thin layer every other day for the first 2 weeks, then reduce to once weekly. For example, OPI Nail Envy is a popular choice, but discontinue if your nails become too rigid or start cracking.
Wear Gloves for Protection
Your nails are vulnerable to environmental damage post-removal. Always wear rubber gloves when doing dishes, cleaning, or gardening. Opt for lined cotton gloves for household chores to prevent moisture loss. A practical tip: keep a pair of gloves by your sink and in your car for quick access. For outdoor activities, apply a broad-spectrum hand sunscreen (SPF 30+) to protect nails from UV-induced discoloration.
Buff Gently, Never File Aggressively
Buffing can smooth ridges and improve shine, but use a 4-way buffer block and only the finest grit (usually the white side). Avoid filing the nail plate—focus on the surface. Over-filing can thin the nail further. For example, buff in one direction (side to center) using light pressure. Do this no more than once weekly during recovery.
Managing Common Post-Removal Issues
Peeling and Splitting Nails
Peeling is a common issue after acrylic removal, caused by dehydration and trauma. To manage it:
- Keep nails short: File them to a rounded or square shape to prevent snagging.
- Apply a ridge-filling base coat: This creates a smooth surface and protects the nail plate.
- Use a nail glue for splits: A tiny drop of clear nail glue can seal a split temporarily until it grows out.
For example, if your nail starts peeling at the tip, file it down immediately and apply a protective coat. Avoid picking at the peel, as this can worsen the damage.
Yellow or Discolored Nails
Discoloration often results from acetone exposure or fungal buildup. Try these fixes:
- Soak in baking soda & water: Mix 2 tbsp baking soda in warm water. Soak for 10 minutes, then gently scrub with a soft toothbrush.
- Use hydrogen peroxide (3%): Apply with a cotton swab, then rinse. Limit to once weekly to avoid drying.
- Apply tea tree oil: A natural antifungal. Mix 2 drops with 1 tsp carrier oil and apply to the nail.
If discoloration persists beyond 2 weeks, consult a dermatologist to rule out fungal infections.
Sensitive or Painful Nails
Some experience sensitivity or pain due to exposed nail layers. To soothe:
- Apply aloe vera gel: Its cooling effect reduces inflammation.
- Use a cold compress: Wrap ice in a cloth and hold it over the nail for 5 minutes.
- Avoid tight footwear: Pressure on toenails can worsen discomfort.
If pain lasts more than a week, seek medical advice.
Long-Term Maintenance and Prevention
Adopt a Consistent Nail Care Routine
Recovery doesn’t end after 4 weeks. Maintain healthy nails with:
- Daily cuticle oil: Apply morning and night.
- Weekly exfoliation: Use a hand scrub to remove dead skin around nails.
- Monthly professional check-ups: A manicurist can spot early signs of damage.
For example, schedule a “naked nail” appointment every 8 weeks to assess nail health without enhancements.
Choose Safer Alternatives to Acrylics
If you miss the look of acrylics, consider gentler options:
- Gel polish: Less damaging than acrylics but still requires careful removal.
- Press-on nails: Reusable and easy to apply/remove. Look for non-toxic, breathable brands.
- Natural nail overlays: Thin layers of gel or fiber that protect without heavy filing.
Always ensure proper removal by soaking in acetone (never peeling or prying).
Track Your Nail Growth
Monitor progress by taking weekly photos of your nails. Note changes in thickness, color, and growth rate. A healthy nail grows about 3 mm per month. Use a ruler or nail growth app to measure. For example, if your nails were 1 mm thick pre-acrylics, aim for 1.5–2 mm after 3 months of care.
Data Table: Recommended Products and Timelines
| Product/Method | Key Ingredients | Frequency | Expected Results (Timeline) |
|---|---|---|---|
| Jojoba Cuticle Oil | Jojoba oil, vitamin E | 3–4x daily | Reduced dryness, improved flexibility (1–2 weeks) |
| Biotin Supplement | 2.5–5 mg biotin | Once daily | Increased nail thickness (3–6 months) |
| Olive Oil Soak | Olive oil, lemon juice | 2x weekly | Brighter nails, reduced peeling (4 weeks) |
| Nail Hardener (Formaldehyde-Free) | Calcium, panthenol | Every other day | Stronger surface (2–4 weeks) |
| SPF 30+ Hand Cream | Zinc oxide, aloe vera | Daily (outdoor use) | Prevented yellowing (ongoing) |
Consistency is key. Stick to your routine, and you’ll see noticeable improvement within 6–8 weeks.
Conclusion: Patience and Persistence Pay Off
Caring for your nails after acrylic removal is a marathon, not a sprint. While it’s tempting to rush back to enhancements, true recovery requires time, patience, and a holistic approach. By focusing on hydration, nutrition, protection, and gentle treatments, you’re not just healing your nails—you’re building a foundation for long-term health. Remember, every nail tells a story, and yours deserves a happy, strong ending.
Start with small, manageable changes: drink more water, apply cuticle oil daily, and wear gloves when cleaning. Track your progress, celebrate tiny victories (like the first week without peeling), and don’t hesitate to seek professional advice if issues persist. With the right care, your nails will not only recover but thrive—revealing a natural beauty that’s stronger and more resilient than ever. After all, the best manicure is one that honors your nails’ natural needs.
Frequently Asked Questions
How long should I wait before applying nail polish after acrylic removal?
Wait at least 24-48 hours before applying nail polish to let your nails recover and breathe. This helps prevent further damage and allows natural oils to restore moisture. If your nails are peeling or sensitive, extend this period to a few days.
What’s the best way to care for nails after acrylic removal?
Focus on hydration by applying cuticle oil and a nourishing hand cream 2-3 times daily. Avoid harsh chemicals and wear gloves when cleaning to protect your weakened nails during recovery.
Can I use nail strengtheners after removing acrylics?
Yes, but wait 2-3 days post-removal to avoid irritation. Opt for a keratin or calcium-based strengthener to support natural nail regrowth without causing brittleness.
Why are my nails peeling after acrylic removal?
Peeling is common due to dehydration and trauma from the removal process. Gently buff the surface and use a hydrating nail treatment to minimize peeling while avoiding excessive filing.
How often should I moisturize my nails after acrylic removal?
Moisturize your nails and cuticles at least 2-3 times daily, especially after washing hands. Look for products with jojoba oil, shea butter, or vitamin E for optimal hydration.
When can I get acrylics again after removal?
Wait 2-3 weeks to allow your natural nails to recover fully. Rushing into new acrylics too soon can cause thinning, breakage, or long-term damage to your nail bed.