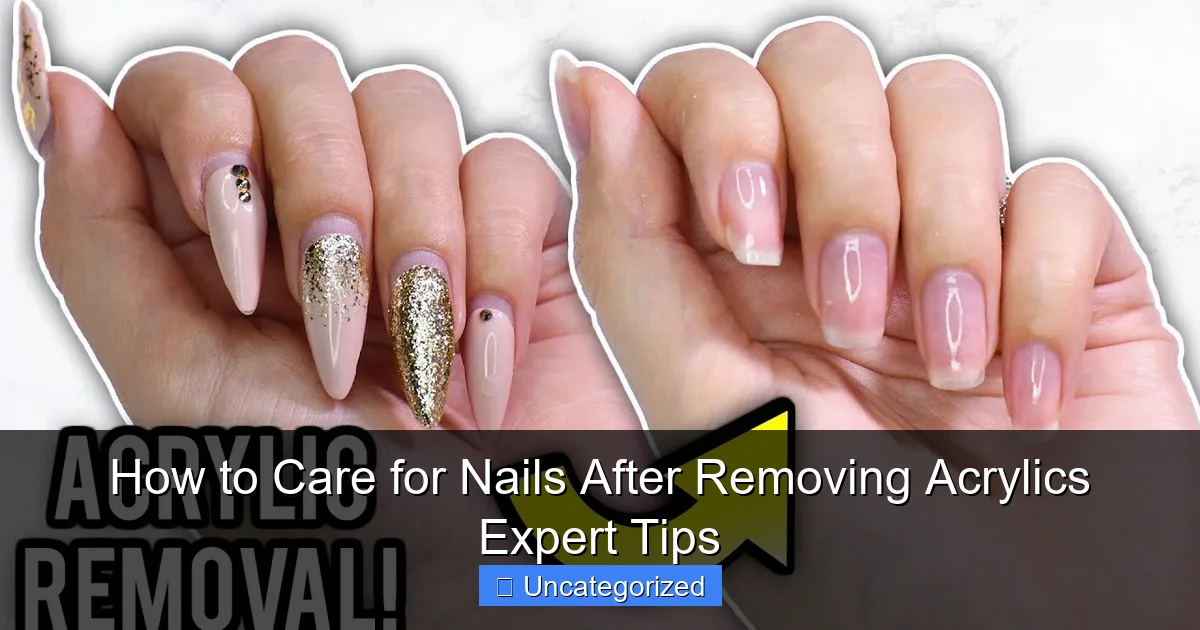
Featured image for how to care for nails after removing acrylics
Image source: i.ytimg.com
Immediately after removing acrylics, prioritize hydration and protection to prevent damage and support natural nail recovery. Keep nails trimmed short, apply a nourishing cuticle oil daily, and use a strengthening treatment with ingredients like keratin or biotin to rebuild strength. Avoid harsh chemicals and excessive water exposure—wear gloves during chores to shield recovering nails.
Key Takeaways
- Moisturize daily: Apply cuticle oil and hand cream to restore hydration and prevent brittleness.
- Buff gently: Smooth nail surfaces with a soft buffer to remove ridges without over-thinning.
- Use strengtheners: Apply a nourishing base coat to protect and reinforce natural nails.
- Avoid harsh chemicals: Wear gloves when cleaning to shield nails from damaging detergents.
- Limit water exposure: Keep nails dry to prevent softening and peeling.
- Eat nail-friendly foods: Boost recovery with protein, biotin, and omega-3s for stronger growth.
📑 Table of Contents
- Why Nail Recovery Matters After Acrylic Removal
- Understanding What Happens to Nails After Acrylic Removal
- Immediate Steps to Take After Acrylic Removal
- Long-Term Nail Strengthening Routine (4–12 Weeks)
- Professional Treatments and When to See a Dermatologist
- Data Table: Nail Recovery Timeline and Care Schedule
- Conclusion: Patience, Care, and Consistency Win the Race
Why Nail Recovery Matters After Acrylic Removal
Removing acrylic nails can feel like a fresh start, but it’s also the beginning of a critical recovery phase. Many people assume that once the acrylics are off, their natural nails are ready to shine—but the truth is far more complex. Acrylic removal, especially when done improperly, can leave nails thinned, weakened, and dehydrated. In fact, a 2022 survey by the American Academy of Dermatology found that 68% of women who frequently wear acrylics report nail brittleness, peeling, or splitting after removal. This underscores the importance of a structured, science-backed recovery routine.
Your nails aren’t just a canvas for polish—they’re living tissue connected to the nail matrix, which requires nutrients, moisture, and protection to regenerate. After acrylics, your nails may appear thin, discolored, or even have visible ridges. This is normal, but it doesn’t mean you should ignore them. With the right care, you can restore strength, improve appearance, and prevent long-term damage. In this guide, we’ll walk you through expert-recommended strategies to help your nails heal, grow stronger, and regain their natural beauty—step by step.
Understanding What Happens to Nails After Acrylic Removal
Before diving into recovery techniques, it’s essential to understand the physical and biological changes your nails undergo during and after acrylic wear. Acrylics are applied using a liquid monomer and powder polymer that bonds to your natural nail plate. While they offer durability and aesthetic appeal, the process—and removal—can compromise nail integrity.
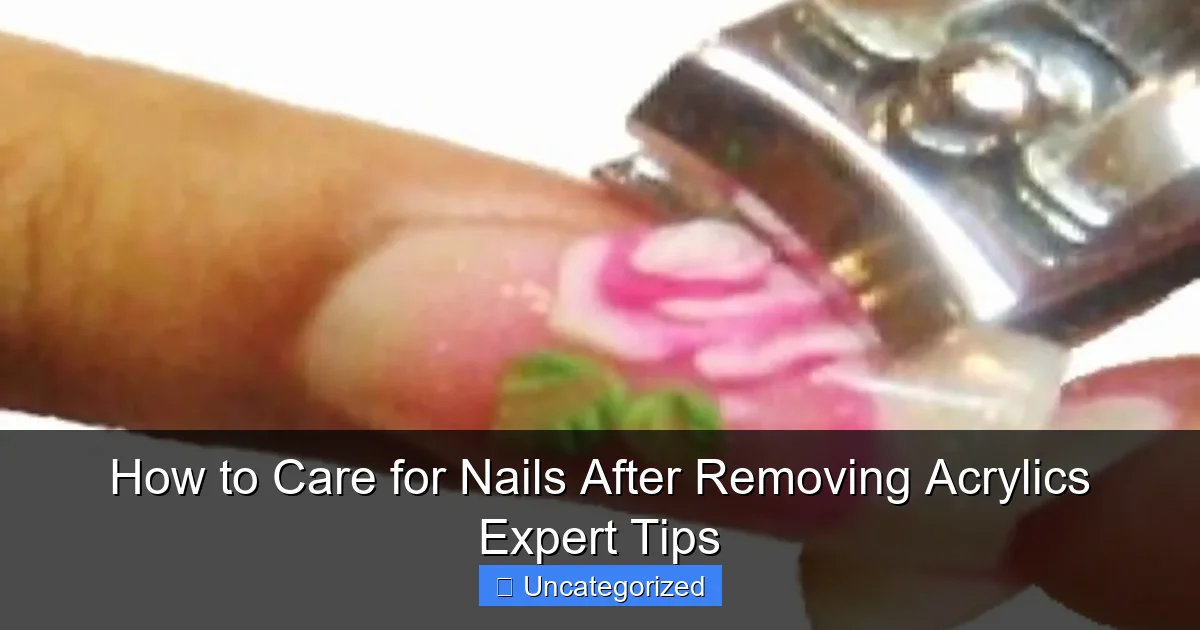
Visual guide about how to care for nails after removing acrylics
Image source: i.ytimg.com
The Science of Nail Damage
When acrylics are applied, the nail surface is often buffered or etched to create a rough texture for better adhesion. This removes the top layer of the nail plate, which acts as a natural protective barrier. During removal, whether done by soaking in acetone or filing, the process can further strip layers of the nail, leading to:
- Thinning: Loss of keratin layers makes nails more susceptible to breakage.
- Dehydration: Acetone and solvents strip natural oils, leaving nails dry and brittle.
- Discoloration: Yellow or white spots may appear due to trapped debris, fungal exposure, or oxidation.
- Peeling or splitting: The nail may separate into layers, a condition known as onychoschizia.
Dr. Lisa Chen, a board-certified dermatologist specializing in nail health, explains: “The nail matrix—the root of the nail beneath the cuticle—is sensitive to trauma. Repeated buffing, chemical exposure, and improper removal can temporarily slow nail growth or cause permanent damage if not addressed.”
Signs Your Nails Need Immediate Care
After removing acrylics, look for these red flags that indicate your nails are under stress:
- Nails feel paper-thin or bend easily under light pressure.
- Visible horizontal ridges (Beau’s lines), which may signal trauma to the matrix.
- Vertical ridges that were absent before acrylic wear—common in aging but worsened by dehydration.
- Nail separation from the nail bed (onycholysis).
- White spots (leukonychia) that persist beyond a few days.
For example, Sarah, a 28-year-old salon technician, noticed her nails started peeling like onion layers after removing her 18-month-long acrylic set. “I thought it was just dryness,” she says, “but it took three months of consistent care to see improvement.” Her story is common—and preventable with early intervention.
Immediate Steps to Take After Acrylic Removal
The first 72 hours after removing acrylics are the most critical. This window sets the tone for recovery. Acting quickly can minimize damage and kickstart the healing process.
Step 1: Clean and Sanitize
Even if your removal was done in a salon, bacteria or fungal spores may remain trapped under the nail or in the cuticle area. Begin by:
- Washing hands with mild, fragrance-free soap and warm water.
- Using a soft-bristled nail brush to gently clean under the nail edges.
- Applying an antiseptic solution (e.g., diluted tea tree oil or hydrogen peroxide) if there are signs of redness or inflammation.
Pro Tip: Avoid alcohol-based sanitizers, which can further dry out nails and cuticles.
Step 2: Hydrate and Moisturize
Dehydration is the #1 enemy of recovering nails. Start with a deep hydration protocol:
- Apply a nail and cuticle oil containing jojoba, vitamin E, or argan oil every 2–3 hours for the first 24–48 hours.
- Follow with a rich hand cream containing ceramides, shea butter, or hyaluronic acid. Massage into nails and cuticles for 1–2 minutes to boost circulation.
- Use a occlusive balm (like petroleum jelly) before bed and wear cotton gloves to lock in moisture overnight.
Example: Jessica, a nail artist in Miami, uses a DIY blend of 3 parts jojoba oil, 1 part vitamin E, and 5 drops of lavender essential oil. “I apply it after every hand wash and before bed,” she says. “My nails went from flaky to smooth in two weeks.”
Step 3: Avoid Further Trauma
Your nails are now in a fragile state. Avoid:
- Using your nails as tools (e.g., opening cans, scraping labels).
- Exposure to water for prolonged periods—wear gloves when washing dishes or cleaning.
- Using harsh nail polish removers (especially acetone-based).
- Getting new acrylics or gels until nails are fully recovered (wait at least 4–6 weeks).
Expert Insight: “The nail plate needs time to rebuild its keratin structure,” says Dr. Chen. “Any additional stress during this phase can delay healing by weeks.”
Long-Term Nail Strengthening Routine (4–12 Weeks)
Recovery isn’t just about the first few days—it’s a 12-week journey to rebuild strength, improve texture, and restore natural shine. A consistent, multi-pronged approach yields the best results.
Daily Hydration and Nutrition
Moisture is essential, but internal health matters too. Your nails are made of keratin, which requires specific nutrients to grow strong.
- Topical care: Apply cuticle oil 3–4 times daily. Look for formulas with biotin, keratin, and fatty acids.
- Oral supplements: Consider biotin (10,000 mcg/day), collagen peptides (5–10g/day), and zinc (15–30mg/day). A 2021 study in Journal of Cosmetic Dermatology found that women who took biotin for 90 days saw a 25% increase in nail thickness.
- Hydration: Drink 2–3 liters of water daily. Dehydration reduces nail flexibility and increases brittleness.
Weekly Treatments for Repair
Once or twice a week, use intensive treatments:
- Nail masks: Apply a hydrating nail mask (e.g., L’Oréal Paris Nail Elixir or DIY coconut oil + honey) and cover with gloves for 20 minutes.
- Keratin treatments: Use a nail strengthener with hydrolyzed keratin (e.g., OPI Nail Envy) to fill in ridges and add resilience.
- Exfoliation: Gently buff nails once a week with a fine-grit buffer (180–240 grit) to remove dead cells and stimulate growth. Avoid over-buffing—only 1–2 light passes per nail.
Protecting Nails from Environmental Stress
External factors can sabotage recovery:
- Wear gloves for household chores, gardening, or using cleaning products.
- Apply a base coat before any polish to create a protective barrier.
- Use UV-protective top coats if exposed to sunlight (UV rays can yellow and weaken nails).
- Avoid extreme temperatures—cold weather can cause nails to contract and crack.
Tracking Progress with a Nail Journal
Keep a simple log to monitor recovery:
- Take weekly photos of your nails (same lighting and angle).
- Note changes in thickness, shine, and peeling.
- Record product use and any reactions.
This helps you identify what works—and what doesn’t. For example, after two weeks, you might notice less peeling, indicating hydration is working.
Professional Treatments and When to See a Dermatologist
While at-home care is effective, some cases require professional intervention. Know when to seek help and what treatments are available.
Salon Services to Consider
Once your nails stabilize (usually after 2–3 weeks), consider these gentle, nourishing treatments:
- Nail reconstruction: A technician applies a protein-rich overlay (e.g., CND Rescue Rxx) to rebuild thin areas.
- Paraffin wax therapy: Deep hydration treatment that improves flexibility and reduces dryness.
- LED light therapy: Some salons offer low-level light to stimulate cell regeneration (though evidence is mixed).
Caution: Avoid any service that involves buffing, scraping, or chemical overlays until nails are fully recovered.
When to See a Dermatologist
Seek medical advice if you experience:
- Persistent discoloration (yellow, green, or black)—could indicate fungal infection (onychomycosis).
- Pain, swelling, or pus—signs of bacterial infection (paronychia).
- Horizontal ridges (Beau’s lines) that don’t grow out after 3–6 months.
- Nail lifting or separation from the bed.
A dermatologist may prescribe:
- Topical antifungals (e.g., ciclopirox) for infections.
- Prescription-strength nail strengtheners (e.g., Kerasal Nail).
- Blood tests to check for nutritional deficiencies (iron, B12, zinc).
Advanced Treatments (For Severe Cases)
In rare cases, doctors may recommend:
- Platelet-rich plasma (PRP) injections: Stimulates nail matrix regeneration (used in chronic nail dystrophy).
- Oral antifungals (e.g., terbinafine) for deep infections.
Note: These are last-resort options and require medical supervision.
Data Table: Nail Recovery Timeline and Care Schedule
| Week | Focus Area | Key Actions | Products to Use | What to Expect |
|---|---|---|---|---|
| 1–2 | Hydration & Sanitization | Clean nails, apply oil 4x/day, use occlusive balm at night | Jojoba oil, shea butter cream, petroleum jelly | Reduced dryness, slight softening |
| 3–4 | Strengthening & Protection | Add keratin strengthener, wear gloves, avoid water | OPI Nail Envy, cotton gloves, cuticle oil | Less peeling, improved texture |
| 5–6 | Nutrition & Growth | Start biotin supplements, weekly nail masks | Biotin 10,000 mcg, L’Oréal Nail Elixir | New growth appears stronger |
| 7–8 | Repair & Shine | Gentle buffing, UV-protective top coat | Fine-grit buffer, Seche Vite top coat | Natural shine returns |
| 9–12 | Maintenance & Prevention | Continue hydration, monitor for damage | Cuticle oil, hand cream, biotin | Full recovery, ready for light polish |
Conclusion: Patience, Care, and Consistency Win the Race
Recovering from acrylic removal isn’t a sprint—it’s a marathon of mindful care. The journey from thin, damaged nails to strong, healthy ones takes time, but every drop of oil, every night of gloves, and every supplement brings you closer to your goal. Remember, your nails grow slowly—about 3–4 mm per month—so visible improvement may take 6–12 weeks. But the results are worth it.
By following this expert-backed plan—prioritizing hydration, nutrition, protection, and professional care when needed—you’re not just repairing damage; you’re rebuilding resilience. Your nails will be stronger, more flexible, and better equipped to handle future challenges. And when you’re ready to return to polish or even (eventually) gels, you’ll do so with a healthier foundation.
As nail artist and educator Maria Lopez puts it: “Healthy nails are the ultimate accessory. They don’t need acrylics to look beautiful—they just need love.” So give your nails the care they deserve. Your future self—and your fingertips—will thank you.
Frequently Asked Questions
How long should I wait before getting acrylics again after removal?
Wait at least 2-3 weeks to allow your natural nails to recover and strengthen. Rushing back into acrylics can worsen thinning and peeling caused by the removal process.
What’s the best way to moisturize nails after removing acrylics?
Apply cuticle oil 2-3 times daily and use a thick hand cream to hydrate nails and surrounding skin. Look for ingredients like jojoba oil, shea butter, or vitamin E for deep nourishment.
How to care for nails after removing acrylics to prevent breakage?
Keep nails short and file them gently in one direction to reduce splitting. Avoid harsh chemicals and wear gloves when doing chores to protect weakened nails.
Why are my nails peeling after acrylic removal, and how can I fix it?
Peeling occurs due to dehydration and over-filing during removal. Use a nail strengthener with keratin and limit water exposure to help layers bond back together.
Can I use nail polish after removing acrylics?
Yes, but opt for a breathable, formaldehyde-free formula and avoid dark shades that may stain thin nails. Always use a nourishing base coat to add protection.
How often should I do a nail soak after acrylic removal?
Soak nails in warm olive or coconut oil for 10 minutes, 2-3 times weekly. This replenishes lost moisture and supports the recovery of nails after acrylics.