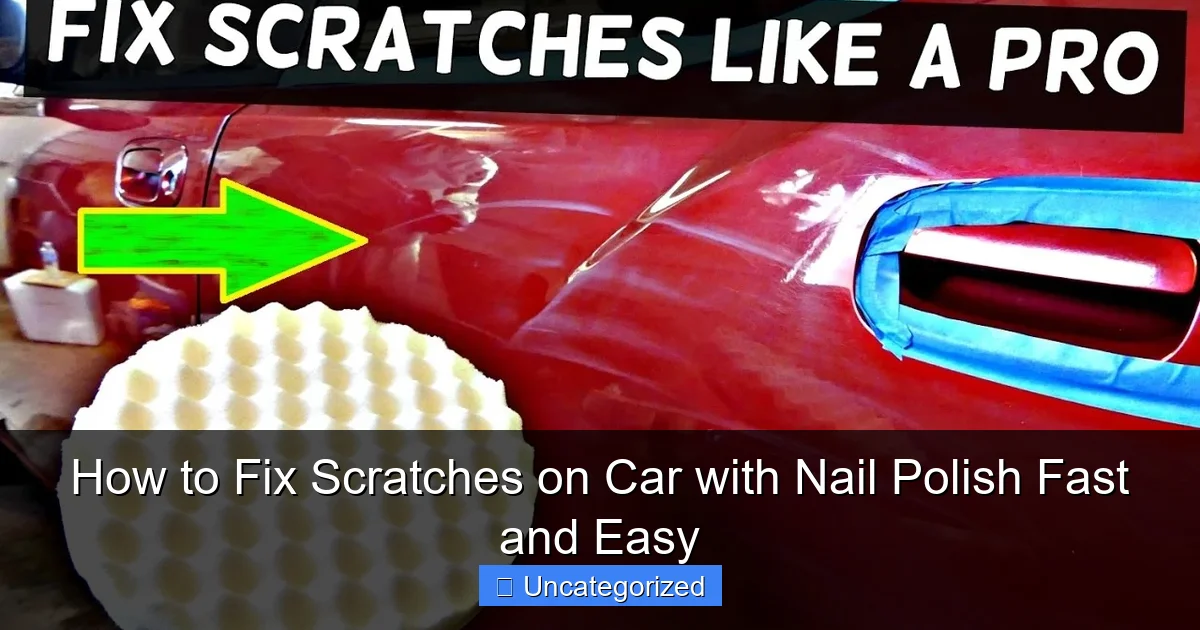
Featured image for how to fix scratches on car with nail polish
Image source: i.ytimg.com
Fix light car scratches instantly with nail polish—this fast, affordable hack saves time and money. Simply clean the area, apply a matching nail polish, and let it dry for a seamless finish that restores your car’s look in minutes. Perfect for DIYers, this method avoids costly repairs while delivering impressive results.
Key Takeaways
- Match the nail polish to your car’s paint color for seamless repair.
- Clean the scratch thoroughly before applying polish to ensure adhesion.
- Use thin, even layers to avoid clumps and uneven texture.
- Buff gently after drying to blend the polish with surrounding paint.
- Seal with clear coat to protect the repair and enhance durability.
- Act quickly on fresh scratches for easier, more effective fixes.
📑 Table of Contents
How to Fix Scratches on Car with Nail Polish Fast and Easy
Few things are as frustrating as discovering fresh scratches on your car’s paintwork. Whether it’s a careless shopping cart, a rogue tree branch, or a parking lot mishap, these imperfections can ruin your vehicle’s appearance and even affect its resale value. While professional detailing or paint correction services are always an option, they often come with a hefty price tag and time commitment. Fortunately, there’s a surprisingly effective, affordable, and accessible solution right in your home: nail polish. Yes, the same product you use on your fingers and toes can be a game-changer for minor car scratches.
Using nail polish to fix car scratches isn’t just a myth—it’s a practical, DIY-friendly method that works remarkably well for surface-level imperfections, especially those that haven’t penetrated the clear coat or base paint. This technique leverages the pigment, adhesive properties, and quick-drying nature of nail polish to fill in shallow scratches, restore visual uniformity, and protect exposed metal from rust and corrosion. Best of all, you can achieve professional-looking results in under 30 minutes, using tools you likely already own. In this guide, we’ll walk you through everything you need to know about how to fix scratches on car with nail polish—fast, easy, and budget-friendly.
Why Nail Polish Works for Car Scratches
The idea of using nail polish on a car may sound unconventional, but it’s grounded in practical science and real-world application. Nail polish isn’t just colored lacquer—it’s a carefully formulated liquid that contains resins, solvents, pigments, and plasticizers. When applied correctly, these components interact with the surrounding paint to create a seamless, protective layer over scratches.
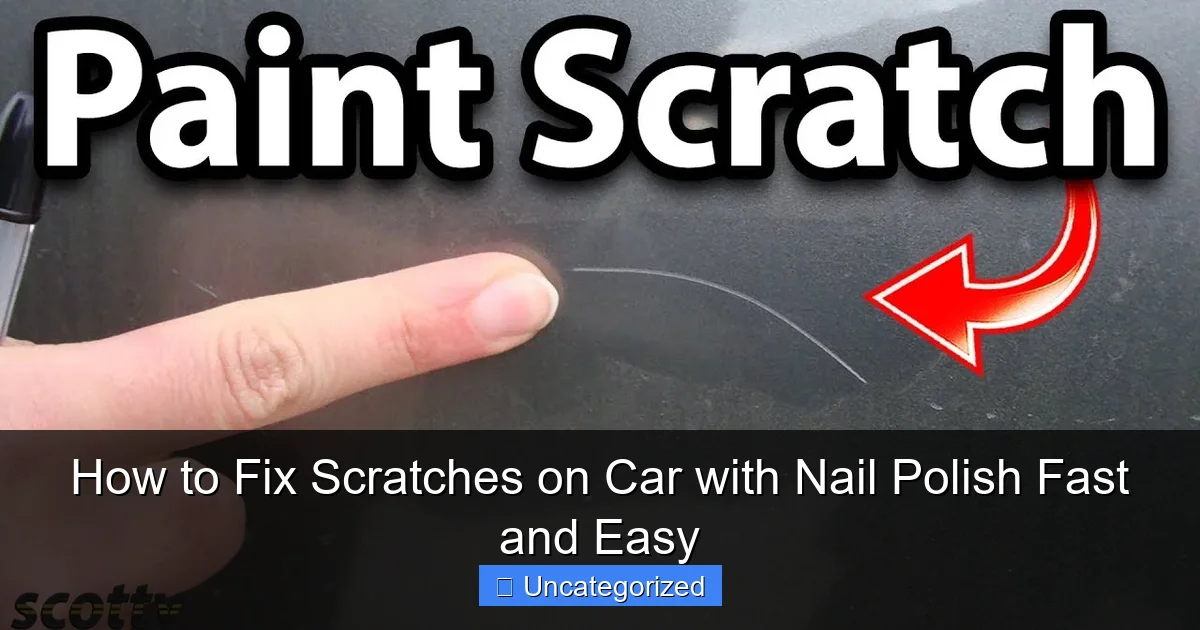
Visual guide about how to fix scratches on car with nail polish
Image source: i.ytimg.com
How Nail Polish Fills and Conceals Scratches
When a scratch occurs on your car, it disrupts the smooth surface of the paint. If the scratch is shallow—meaning it hasn’t cut through the clear coat or base coat—the damage is mostly visual. The nail polish fills the tiny grooves and valleys of the scratch, leveling the surface. Because most nail polishes are designed to dry quickly and form a hard, glossy finish, they mimic the appearance of the original paint once cured. The pigment in the polish matches the surrounding color (if chosen correctly), making the scratch far less noticeable.
For example, imagine a 6-inch scratch on your driver’s side door caused by a key. The scratch is silver—indicating it’s through the clear coat but not into the primer or metal. Applying a matching silver or light gray nail polish fills the gap, and once dried, the surface appears flat and uniform under natural light. The result? A scratch that’s 80–90% less visible, especially from a few feet away.
Chemical and Physical Properties That Help
- Adhesion: Nail polish bonds well to smooth, non-porous surfaces, including automotive paint and clear coat.
- Quick Drying: Most polishes dry in 1–3 minutes, allowing for multiple layers without long wait times.
- Glossy Finish: The high-gloss finish of nail polish reflects light similarly to factory paint, reducing the “flat spot” look of untreated scratches.
- Water and UV Resistance: Once cured, quality nail polishes resist water and moderate UV exposure, offering temporary protection.
Limitations and Realistic Expectations
It’s important to note that nail polish is not a permanent fix. It’s a temporary, cosmetic solution best suited for:
- Superficial scratches (clear coat level)
- Hairline scratches (less than 0.1 mm deep)
- Surface-level paint transfer (e.g., from bumping another car)
For deeper scratches that expose primer or bare metal, nail polish won’t prevent rust or structural damage. In such cases, professional repair is recommended. However, for the vast majority of daily wear-and-tear scratches, nail polish is a fast, effective, and low-cost option.
Choosing the Right Nail Polish for Your Car
Not all nail polishes are created equal—especially when it comes to matching your car’s color and finish. Using the wrong shade or formula can make scratches more noticeable or even damage the paint. Here’s how to choose wisely.
Match the Color Accurately
The most critical step is color matching. Start by checking your car’s paint code, usually found on a sticker inside the driver’s door jamb, under the hood, or in the glove compartment. This code (e.g., “WA8555” for Ford Oxford White) helps identify the exact factory color.
Once you have the code, search online for “nail polish color match [your paint code].” Many brands, like OPI, Essie, and Sally Hansen, offer color-matching tools or databases. Alternatively, visit a nail supply store with a swatch book and compare under natural light. Bring a small piece of your car’s paint (e.g., from an inconspicuous area) if possible.
Pro Tip: If an exact match isn’t available, choose a shade slightly lighter than your car’s color. Darker polishes tend to sink into scratches and appear more obvious.
Select the Right Finish
Cars typically have a glossy or metallic finish. Choose a nail polish with a similar sheen:
- Glossy (High Shine): Best for solid colors like black, white, red, or blue.
- Metallic or Pearl: Use for cars with metallic flakes (e.g., silver, gray, bronze). Look for polishes labeled “metallic,” “chrome,” or “holographic.”
- Matte: Avoid unless your car has a matte finish—most do not.
For example, a Honda Accord in “Lunar Silver Metallic” will look best with a silver metallic nail polish that includes fine reflective particles. A solid black BMW, on the other hand, pairs perfectly with a high-gloss black polish.
Check the Ingredients
Opt for 5-Free or 10-Free nail polishes (free of harmful chemicals like formaldehyde, toluene, and dibutyl phthalate). These are less likely to react with automotive paint or cause long-term damage. Brands like Zoya, Ella + Mila, and Pacifica are known for safer formulas. Avoid quick-dry polishes with high alcohol content, as they can dry too fast and create uneven patches.
Test on a Small Area First
Before applying to the scratch, test the polish on a hidden area (e.g., under the trunk lid or wheel arch). Apply a small dot, let it dry, and check for:
- Color match under sunlight and shade
- Adhesion and gloss level
- Any discoloration or reaction after 24 hours
This step prevents costly mistakes and ensures compatibility.
Step-by-Step Guide: How to Fix Scratches with Nail Polish
Now that you’ve selected the right polish, it’s time to fix those scratches. Follow this detailed, step-by-step process for professional-looking results.
1. Clean and Prep the Area
Start with a clean, dry surface. Use a microfiber cloth and a mild car soap (e.g., Meguiar’s Gold Class) to wash the scratched area. Rinse thoroughly and dry with a lint-free towel. For stubborn grime, use isopropyl alcohol (70%) on a cotton pad to degrease—this ensures the polish adheres properly.
Example: On a scratched front fender, clean a 4-inch radius around the scratch. Avoid touching the area with bare hands to prevent oil transfer.
2. Inspect the Scratch Depth
Run your fingernail across the scratch. If it catches, the scratch is deep and may require more than nail polish. If your nail glides over it, proceed. For shallow scratches, use a flashlight at a 45-degree angle to confirm the damage is surface-level.
3. Apply the Nail Polish
- Shake the nail polish bottle well (30 seconds) to mix pigments.
- Dip the brush into the polish and wipe off excess on the bottle rim.
- Using short, light strokes, apply the polish directly into the scratch. Do not glob it on—start with a thin layer.
- Let it dry for 1–2 minutes. The polish should form a smooth, level surface.
Tip: For long scratches, work in 2–3 inch sections. Overlap slightly to avoid gaps.
4. Add Additional Layers (If Needed)
If the first layer doesn’t fully cover the scratch, apply a second coat after the first dries completely. Use even less polish this time to avoid buildup. Most scratches require 1–2 layers. For deeper surface scratches, a third layer may be necessary—but stop if the polish starts to bubble or crack.
5. Blend the Edges
Use a clean cotton swab dipped in nail polish remover (acetone-free) to gently feather the edges of the repair. This softens the transition between the polish and original paint, reducing visibility. Wipe away excess with a dry swab.
Pro Tip: Work quickly—nail polish remover can damage surrounding paint if left on too long. Test on a hidden area first.
6. Let It Cure and Protect
Allow the polish to cure for at least 30 minutes. For best results, wait 24 hours before washing or waxing. After curing, apply a thin layer of car wax or sealant over the repair to protect the polish and enhance gloss. This also helps the repair blend better with the surrounding paint.
Example: After fixing a scratch on a Toyota Camry’s rear door, apply Collinite 845 wax using a foam applicator. Buff with a microfiber cloth for a seamless finish.
Tips and Tricks for a Flawless Repair
Even with the right tools, small mistakes can affect the outcome. Use these expert tips to maximize success and minimize imperfections.
Work in the Shade
Never apply nail polish in direct sunlight. Heat can cause the polish to dry too quickly, leading to streaks, bubbles, or poor adhesion. Choose a shaded area, garage, or covered porch. Ideal temperature: 60–80°F (15–27°C).
Use a Magnifying Glass
For tiny scratches (e.g., from keys or zippers), a 5x–10x magnifying glass helps you see the scratch clearly and apply polish precisely. This prevents over-application and ensures complete coverage.
Layer, Don’t Flood
Less is more. Overfilling a scratch creates a raised bump that’s more noticeable than the original scratch. Build up coverage gradually with thin layers. If you apply too much, use a cotton swab with a drop of acetone-free remover to wipe away excess before it dries.
Match the Texture
If your car has a metallic or pearlescent finish, use a polish with similar reflective particles. For example, a Ford F-150 in “Oxford White” with metallic flecks will look best with a white polish that includes silver or pearl shimmer. Avoid matte or glitter polishes unless your car’s finish is intentionally textured.
Touch-Up Over Time
Nail polish can last 3–6 months before fading or chipping. Check the repair monthly. If the scratch starts to reappear, clean the area and apply a fresh coat. This maintenance keeps your car looking sharp and protects against moisture.
Combine with Other Methods
For stubborn scratches, combine nail polish with other DIY methods:
- Toothpaste (for very light scratches): Apply non-gel toothpaste with a microfiber cloth in circular motions. Rinse and dry before using nail polish.
- Scratch repair pens: Use a color-matched touch-up pen first, then seal with a thin layer of clear or colored nail polish for extra gloss.
This hybrid approach enhances durability and appearance.
When to Use Nail Polish vs. Professional Repair
While nail polish is a fantastic DIY solution, it’s not a one-size-fits-all fix. Knowing when to use it—and when to seek professional help—is key to long-term car care.
Ideal Scenarios for Nail Polish
- Clear coat scratches: The scratch is shiny and doesn’t catch your fingernail.
- Paint transfer: Another car’s paint is visible in the scratch (e.g., red paint on a white bumper).
- Hairline scratches: Less than 0.1 mm wide and shallow.
- Emergency fixes: Before a car show, sale, or event where appearance matters.
Example: A 3-inch scratch on a Tesla Model 3’s side mirror from a parking garage. The scratch is silver and shallow—perfect for a silver metallic nail polish repair.
When to Seek Professional Help
- Deep scratches: Your fingernail catches, or you see primer (gray) or bare metal (silver).
- Rust spots: Brown or orange discoloration indicates oxidation—requires sanding and repainting.
- Large areas: Scratches over 6 inches long or covering multiple panels.
- Structural damage: Dents, gouges, or cracks that affect the car’s body.
In these cases, professional repair (e.g., paintless dent repair, touch-up kits, or full repaint) is essential for safety, durability, and value retention.
Cost Comparison: DIY vs. Professional
| Repair Type | Average Cost | Time Required | Durability |
|---|---|---|---|
| Nail Polish (DIY) | $3–$10 | 15–30 minutes | 3–6 months |
| Touch-Up Pen (DIY) | $10–$25 | 30–60 minutes | 6–12 months |
| Professional Touch-Up | $100–$300 | 1–2 hours | 2–5 years |
| Full Panel Repaint | $500–$2,000+ | 1–3 days | 5+ years |
This table shows that nail polish is the most cost-effective and time-efficient option for minor damage. While it doesn’t last as long as professional repairs, it’s an excellent stopgap or cosmetic fix.
Conclusion
Learning how to fix scratches on car with nail polish is a valuable skill every car owner should master. It’s fast, easy, affordable, and surprisingly effective for surface-level damage. By choosing the right color and finish, following a careful application process, and maintaining the repair over time, you can restore your car’s appearance and protect it from further deterioration—all without leaving your driveway.
Remember, the key to success lies in preparation, precision, and patience. Clean the area thoroughly, match the polish color as closely as possible, and apply thin, even layers. Use the tips and tricks we’ve shared—like working in the shade, feathering the edges, and protecting with wax—to achieve a seamless, professional-looking finish. While nail polish isn’t a substitute for deep repairs, it’s an indispensable tool for handling the everyday scratches that come with car ownership.
So next time you spot a fresh scratch, don’t panic or rush to the body shop. Grab your nail polish, follow this guide, and give your car the quick, confident fix it deserves. With a little practice, you’ll be amazed at how well this simple hack works—and how much money and time it can save. After all, sometimes the best solutions are the ones hiding in plain sight.
Frequently Asked Questions
Can I really fix scratches on my car with nail polish?
Yes, using nail polish is a quick and affordable DIY solution for minor car scratches, especially clear-coat or paint-level ones. It works best on small, shallow scratches where the metal isn’t exposed.
How do I use nail polish to fix scratches on car paint?
Clean the scratched area, lightly sand with 2000-grit paper if needed, then apply a matching nail polish in thin layers, letting each dry before adding another. Buff gently with a soft cloth for a smooth finish.
What type of nail polish works best for car scratches?
Choose a high-gloss, solvent-based nail polish in a shade that matches your car’s paint. Avoid gel or quick-dry formulas, as they may not blend well or last long on automotive surfaces.
Is using nail polish a permanent fix for car scratches?
No, nail polish is a temporary solution to hide scratches and prevent rust. For deep or long-lasting repairs, professional touch-up paint or clear coat is recommended.
Can I use clear nail polish to fix scratches on my car?
Clear nail polish can work for very light surface scratches in the clear coat, but it won’t match colored paint. For visible color scratches, a tinted polish is a better option.
Will using nail polish damage my car’s paint?
If applied carefully and removed promptly if needed, nail polish won’t damage paint. However, avoid over-applying or using harsh removers, as acetone can strip surrounding clear coat.