Featured image for how to get nail glue off car seat
Image source: canary.contestimg.wish.com
Act fast and use isopropyl alcohol or acetone-based nail polish remover to dissolve nail glue from your car seat without damaging the upholstery. Gently dab the affected area with a clean cloth and avoid scrubbing to prevent spreading the adhesive. For delicate fabrics, test any solution on a hidden spot first to ensure colorfastness and material safety.
Key Takeaways
- Act fast: Remove nail glue immediately to prevent permanent damage.
- Use acetone: Apply sparingly with a cotton swab for quick removal.
- Test first: Always patch-test on a hidden area to avoid discoloration.
- Blot, don’t scrub: Gently dab the glue to avoid spreading or staining.
- Neutralize residue: Wipe with soapy water after acetone to clean the area.
- Protect your seat: Use a leather/vinyl conditioner post-cleanup to restore shine.
📑 Table of Contents
- Understanding the Challenge of Nail Glue on Car Seats
- Assessing the Damage: Identifying Glue Type and Seat Material
- Safe and Effective Removal Methods by Seat Type
- DIY Solutions and Household Hacks
- Preventing Damage and Protecting Your Car Seat
- When to Call a Professional: Recognizing Limits
- Comparison of Removal Methods and Effectiveness
- Conclusion: Quick, Safe, and Lasting Solutions
Understanding the Challenge of Nail Glue on Car Seats
Accidents happen, and one particularly sticky situation is when nail glue spills or drips onto a car seat. Whether you’re a DIY manicurist who lost control of the bottle or a passenger who accidentally brushed against a fresh nail, the result is the same: a hardened, stubborn adhesive that seems impossible to remove. Unlike water-based stains, nail glue—often composed of cyanoacrylate—bonds quickly to fabric, leather, and synthetic materials, making it a nightmare for car interiors. The challenge isn’t just about removing the glue; it’s about doing so without damaging the delicate upholstery that gives your car its comfort and aesthetic appeal.
Why is nail glue so difficult to remove? Cyanoacrylate, the main ingredient in most nail adhesives, polymerizes rapidly upon contact with moisture, forming a strong, plastic-like bond. This chemical reaction means that once the glue sets, it adheres to fibers and surfaces at a molecular level. Attempting to scrape or pull it off with brute force can lead to frayed fabric, discoloration, or even permanent tears in the seat material. The key lies in using the right combination of chemical solvents, mechanical techniques, and patience to dissolve or loosen the glue without compromising the integrity of the seat. In this guide, we’ll walk you through proven methods, safety precautions, and real-life scenarios to help you tackle this sticky problem effectively.
Assessing the Damage: Identifying Glue Type and Seat Material
Step 1: Determine the Type of Nail Glue
Not all nail glues are created equal. Before you reach for any cleaning solution, identify the type of adhesive you’re dealing with. Most commercial nail glues are cyanoacrylate-based, which harden quickly and are resistant to water. However, some specialty brands may use ethyl cyanoacrylate or methoxyethyl cyanoacrylate, which differ slightly in their reactivity and solubility. Check the label if the bottle is still available—or look for clues like drying speed, viscosity, and packaging claims (e.g., “quick-dry,” “medical-grade”).
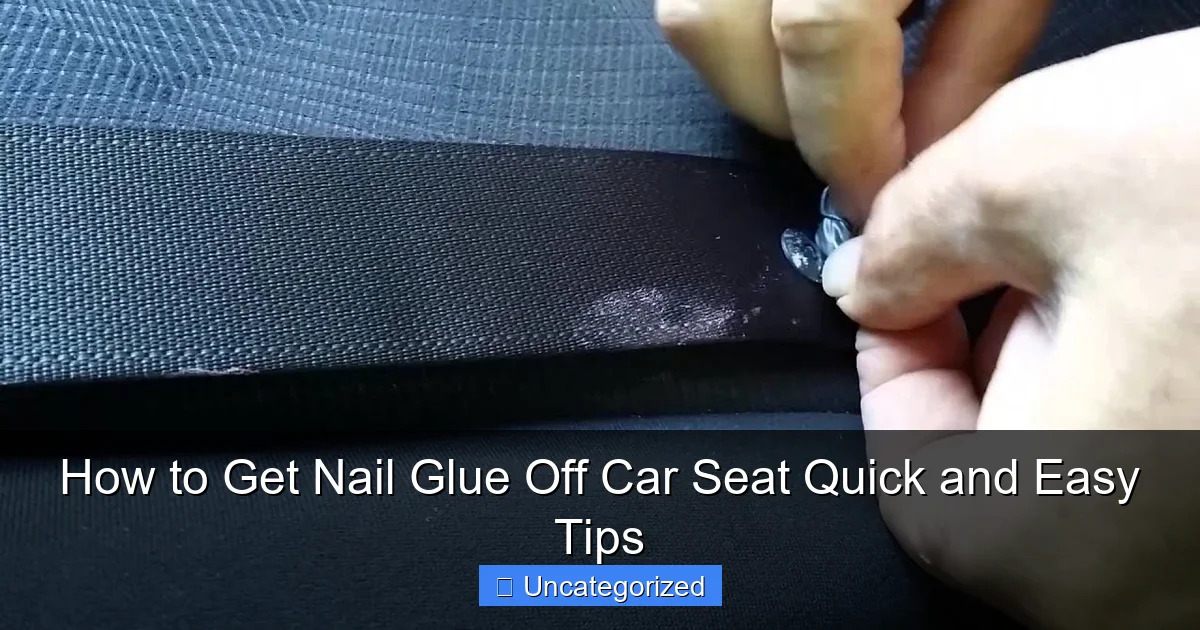
Visual guide about how to get nail glue off car seat
Image source: i.ytimg.com
For example, if the glue hardened within seconds, it’s likely a high-concentration cyanoacrylate. Slower-drying glues might contain additives that affect how they interact with solvents. Knowing the type helps you choose the most effective removal method—acetone works best on standard cyanoacrylate, while gentler options may be needed for modified formulas.
Step 2: Identify Your Car Seat Material
The material of your car seat dramatically influences the removal strategy. Here are the most common types and their sensitivities:
- Fabric (cloth) seats: Highly porous and prone to staining. Solvents can spread the glue or leave residue if not controlled.
- Leather seats: Delicate and expensive. Harsh chemicals like acetone can strip natural oils, causing cracking or discoloration.
- Faux leather (vinyl/PU): More resilient than real leather but still vulnerable to solvent damage if the wrong product is used.
- Microfiber or Alcantara: Synthetic blends that resist water but can be damaged by aggressive scrubbing.
Pro Tip: Always test any solution on a hidden area first—like the back of the seat or under the headrest—to ensure it won’t cause discoloration or texture changes.
Step 3: Evaluate the Size and Age of the Glue Stain
Fresh glue (less than 24 hours old) is easier to remove because it hasn’t fully polymerized. Small spots (under 1 inch) can often be tackled with targeted applications, while larger areas may require multiple steps or professional help. Old, cured glue is more brittle but also more stubborn—it may need soaking or extended solvent exposure.
For instance, a small, fresh drop on a fabric seat might come off with a few minutes of acetone and a cotton swab, while a large, week-old spill on leather could require a multi-day process involving gentle soaking and careful scraping.
Safe and Effective Removal Methods by Seat Type
Method 1: Removing Nail Glue from Fabric Seats
Fabric seats offer more flexibility due to their absorbency, but they’re also at higher risk of chemical penetration. Here’s a step-by-step approach:
- Blot, don’t rub: Use a clean, dry microfiber cloth to gently press down on the glue, absorbing excess moisture without spreading the stain.
- Apply acetone with precision: Dampen a cotton swab or Q-tip with 100% acetone (found in nail polish remover). Dab—do not pour—directly onto the glue. Let it sit for 1–2 minutes to soften.
- Scrape gently: Use a plastic razor blade or credit card edge to lift the loosened glue. Work from the outside in to prevent spreading.
- Repeat if necessary: Large or thick glue patches may need 2–3 rounds of acetone application.
- Neutralize and clean: Mix 1 part white vinegar with 2 parts water. Dab the area to neutralize acetone residue, then blot dry. Follow with a mild fabric cleaner to restore color and texture.
Example: Sarah, a college student, spilled a drop of nail glue on her car’s backseat while doing her nails during a road trip. Using a cotton swab and travel-sized acetone, she removed it in under 5 minutes without damaging the fabric.
Method 2: Safeguarding Leather and Faux Leather Seats
Leather requires extreme caution. Acetone can strip the protective coating, so opt for gentler alternatives:
- Use isopropyl alcohol (70%): Dampen a cloth and dab the glue. Wait 3–5 minutes. Alcohol evaporates slower than acetone, giving it time to penetrate without overdrying the leather.
- Try a leather-safe adhesive remover: Products like 3M Adhesive Cleaner or Lexol Leather Cleaner are formulated to dissolve adhesives without harming leather.
- Soak with warm water and dish soap: For stubborn glue, create a paste of warm water and mild dish soap. Apply with a soft cloth, let it sit for 10 minutes, then gently scrub with a soft-bristle brush.
- Condition afterward: Once the glue is gone, apply a leather conditioner to restore moisture and prevent cracking.
Tip: Avoid vinegar or ammonia-based cleaners on leather—they can degrade the material over time.
Method 3: Special Care for Microfiber and Alcantara
These synthetic blends are durable but sensitive to heat and abrasion. Use a non-acetone approach:
- Steam cleaning: A handheld garment steamer can soften glue without chemicals. Hold the steamer 6 inches away and let the heat loosen the adhesive for 1–2 minutes before wiping.
- Olive oil or coconut oil: Dab a small amount onto the glue. Let it sit for 5–10 minutes to break down the polymer bonds. Wipe with a microfiber cloth.
- Commercial microfiber cleaners: Brands like Alcantara Cleaner or Chemical Guys Microfiber Cleaner are designed to lift stains without residue.
Real-life scenario: Mark, a rideshare driver, got nail glue on his Alcantara seats from a passenger. He used a steam cleaner followed by a microfiber-safe cleaner and restored the seats to their original condition in 30 minutes.
DIY Solutions and Household Hacks
Household Items That Work (and Why)
You don’t always need specialty products. Common household items can be surprisingly effective:
- Acetone-free nail polish remover: Contains ethyl acetate, a milder solvent that’s safer for sensitive materials. Ideal for small glue spots on leather or faux leather.
- White vinegar and baking soda paste: The acetic acid in vinegar softens glue, while baking soda acts as a gentle abrasive. Apply, wait 5 minutes, then scrub lightly with a soft toothbrush.
- Rubbing alcohol (isopropyl): Effective for breaking down cyanoacrylate. Use 70% or higher concentration for best results.
- Petroleum jelly (Vaseline): Smear a thick layer over the glue. Let it sit for 1–2 hours to penetrate. Wipe away with a cloth—the jelly lifts the glue without harsh chemicals.
Example: After a manicure mishap, Lisa used a paste of baking soda and vinegar on her fabric car seat. The fizzing action helped loosen the glue, which she then scraped off with a plastic card.
Natural Alternatives for Eco-Conscious Cleaners
For those avoiding harsh chemicals, these natural options can help:
- Lemon juice and sunlight: Apply lemon juice to the glue and place the car in direct sunlight for 30 minutes. The citric acid and UV rays weaken the adhesive. Wipe clean.
- Castor oil: Soak a cloth in castor oil and place it over the glue. Let it sit overnight. The oil’s viscosity allows deep penetration, breaking down bonds slowly.
- Warm water and dish soap soak: For fresh glue, a warm, soapy cloth can soften the adhesive enough to wipe away before it fully hardens.
Note: Natural methods take longer but are safer for delicate materials and reduce environmental impact.
When to Avoid DIY Methods
DIY isn’t always the answer. Avoid these hacks if:
- The glue has spread over a large area (e.g., >6 inches).
- Your car seat has a warranty that could be voided by improper cleaning.
- You’re dealing with vintage or rare leather (e.g., Nappa, aniline).
- Previous attempts have left residue or discoloration.
In these cases, consult a professional upholstery cleaner or auto detailer.
Preventing Damage and Protecting Your Car Seat
Protective Measures During Removal
Even with the right method, accidents happen. Protect your seat with these precautions:
- Use a barrier: Place a clean towel or paper towel under the seat to catch drips.
- Work in a well-ventilated area: Acetone and alcohol fumes can be strong. Open windows or work outdoors.
- Wear gloves and goggles: Protect your skin and eyes from solvents.
- Blot, don’t scrub: Excessive rubbing can embed glue deeper or damage fibers.
Post-Cleaning Care and Maintenance
After removing the glue, restore your seat’s health:
- Fabric seats: Vacuum thoroughly to remove any loosened fibers. Apply a fabric protector (e.g., Scotchgard) to resist future stains.
- Leather seats: Condition with a pH-balanced leather balm. Avoid direct sunlight to prevent fading.
- Faux leather/microfiber: Use a UV-protectant spray to prevent cracking.
Example: After removing glue from her leather seats, Maria applied a leather conditioner and parked her car in the shade for a week to prevent drying.
Long-Term Prevention Tips
- Keep nail glue in a sealed container: Store it upright in a bag to prevent leaks.
- Do manicures at home: Avoid applying nails in the car.
- Use seat covers: Removable covers (e.g., neoprene, microfiber) can be washed if glue spills.
When to Call a Professional: Recognizing Limits
Signs You Need Expert Help
Some situations are beyond DIY:
- Glue has bonded to multiple layers: If the adhesive has seeped into the seat padding, solvents may not reach it fully.
- Discoloration or texture changes: If your attempts have left the seat stained or rough, a professional can re-dye or recondition it.
- Expensive or custom upholstery: Luxury cars (e.g., BMW, Mercedes) often have specialized materials requiring expert care.
What to Expect from a Professional
Auto detailers and upholstery specialists have industrial-grade tools:
- Steam extractors: Deep-clean without chemicals.
- pH-balanced solvents: Safe for all materials.
- Color-matching dyes: For seamless repairs.
Cost estimate: $50–$150 depending on seat type and glue area.
Comparison of Removal Methods and Effectiveness
Below is a data table comparing common methods for removing nail glue from car seats. Effectiveness is rated on a scale of 1 (ineffective) to 5 (highly effective), based on material compatibility, ease of use, and safety.
| Method | Best For | Effectiveness (1–5) | Time Required | Risk of Damage | Cost |
|---|---|---|---|---|---|
| Acetone + cotton swab | Fabric seats | 5 | 5–10 minutes | Medium (can bleach fabric) | $1–$3 |
| Isopropyl alcohol | Leather, faux leather | 4 | 10–15 minutes | Low | $2–$5 |
| Olive oil soak | Microfiber, Alcantara | 3 | 30–60 minutes | Very low | $0 (household item) |
| Baking soda + vinegar paste | Fabric, small spots | 3 | 15–20 minutes | Low | $0 |
| Steam cleaning | Microfiber, Alcantara | 4 | 10–15 minutes | Very low | $5–$10 (if renting steamer) |
| Professional detailing | All materials (severe cases) | 5 | 1–2 hours | None (when done correctly) | $50–$150 |
Conclusion: Quick, Safe, and Lasting Solutions
Removing nail glue from a car seat doesn’t have to be a stressful ordeal. By understanding the glue type, respecting your seat material, and using the right combination of solvents, mechanical techniques, and patience, you can restore your car’s interior to its original condition. Start with the gentlest method possible—especially for leather and synthetic blends—and escalate only if needed. Remember, speed is crucial for fresh glue, but patience is key for cured adhesive.
Whether you opt for DIY solutions like acetone, isopropyl alcohol, or natural alternatives like olive oil, always prioritize safety and material compatibility. When in doubt, consult a professional to avoid irreversible damage. With the tips and methods outlined in this guide, you’re equipped to handle even the stickiest situations. Keep your car clean, your seats protected, and your DIY manicures—well, maybe just do them at home next time! Your car (and your passengers) will thank you.
Frequently Asked Questions
How do I remove nail glue from a car seat without damaging the fabric?
To safely remove nail glue, start by gently scraping off excess glue with a plastic card. Then apply a small amount of acetone-free nail polish remover to a cotton ball and dab the stain—always test on a hidden area first to avoid discoloration.
What’s the fastest way to get nail glue off a car seat?
The quickest method is using a hairdryer to heat the glue until soft, then wiping it away with a microfiber cloth. For stubborn spots, follow up with rubbing alcohol to dissolve residue without harming the upholstery.
Can I use acetone to remove nail glue from a car seat?
Acetone can dissolve nail glue but may damage certain car seat materials like leather or vinyl. Opt for acetone-free solutions like isopropyl alcohol or specialized upholstery cleaners for safer results.
How to get nail glue off car seat if it’s dried?
For dried glue, soften it with warm soapy water and a soft brush, or use a specialized adhesive remover. Let it sit for 5 minutes before gently scrubbing and wiping clean.
Are there home remedies to remove nail glue from car seats?
Yes, try mixing baking soda and water to form a paste, applying it to the glue, and scrubbing gently with a toothbrush. Alternatively, white vinegar or olive oil can help loosen the adhesive.
How to get nail glue off car seat leather safely?
For leather seats, use a leather-safe cleaner or a 1:1 mix of water and isopropyl alcohol. Avoid harsh chemicals and always condition the leather after cleaning to prevent drying or cracking.