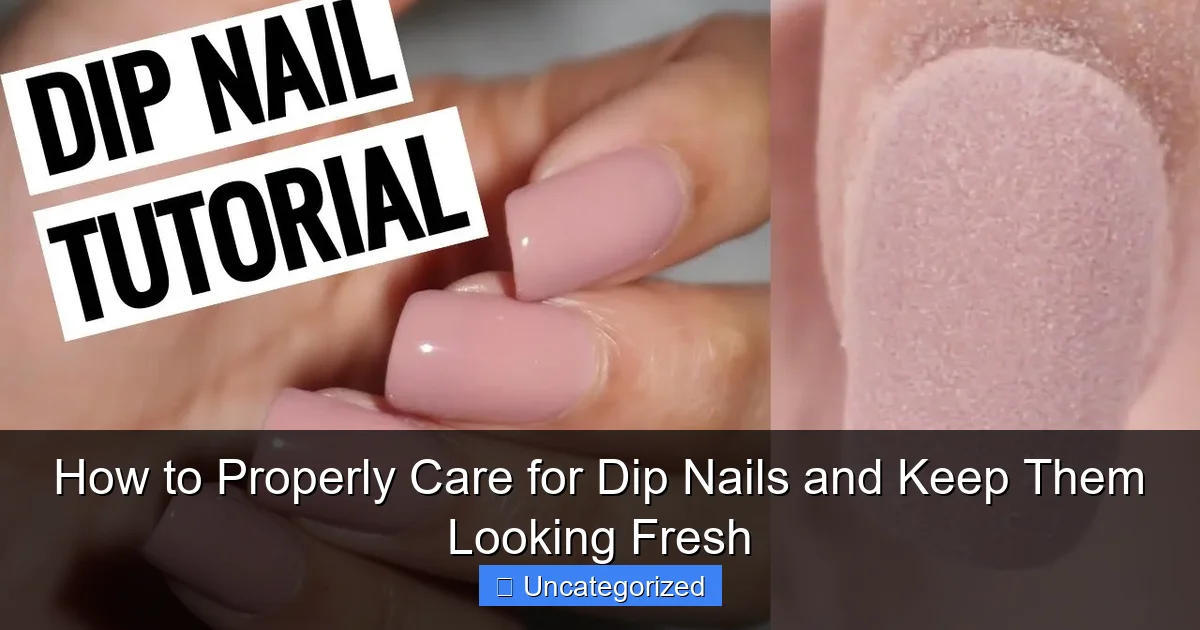
Featured image for how to properly care for dip nails
Image source: i.ytimg.com
Properly caring for dip nails starts with avoiding water exposure and harsh chemicals—wear gloves during chores to protect the polish and prevent lifting. Moisturize cuticles daily with oil and gently buff the nail surface every few weeks to maintain shine and adhesion. Schedule professional fills every 2–3 weeks to keep them looking fresh and damage-free.
Key Takeaways
- Moisturize daily: Apply cuticle oil to prevent dryness and maintain shine.
- Wear gloves: Protect nails during chores to avoid chipping and lifting.
- Limit water exposure: Reduce long soaks to preserve adhesive strength.
- File gently: Buff lightly to shape without damaging the dip layer.
- Refill every 2-3 weeks: Maintain integrity with timely touch-ups.
- Remove safely: Never peel; soak in acetone to avoid damage.
📑 Table of Contents
- How to Properly Care for Dip Nails and Keep Them Looking Fresh
- Understanding How Dip Nails Work and Why Care Matters
- Daily Maintenance Routine for Long-Lasting Dip Nails
- Weekly and Monthly Care: Beyond the Basics
- Seasonal Adjustments to Protect Your Dip Nails
- Safe Removal and Aftercare: Preserving Natural Nail Health
- When to Seek Professional Help: Red Flags and Solutions
- Data Table: Dip Nail Care Schedule
How to Properly Care for Dip Nails and Keep Them Looking Fresh
Dip nails have taken the beauty world by storm, offering a durable, chip-resistant alternative to traditional nail polish and even some gel manicures. Unlike regular polish, which can chip within days, dip powder nails use a bonding agent and colored powder to create a long-lasting, high-gloss finish that can last up to four weeks—sometimes longer with proper care. Their popularity has skyrocketed, especially among those seeking a low-maintenance yet salon-quality manicure. Whether you’re a first-time dip user or a seasoned fan, the key to maximizing their lifespan and maintaining that fresh-from-the-salon look lies in proper aftercare.
But here’s the catch: while dip nails are known for their resilience, they aren’t indestructible. Without the right care routine, you risk premature lifting, chipping, or even nail damage during removal. The good news? With a few simple habits, you can extend the life of your dip manicure, keep your natural nails healthy, and ensure your fingertips always look flawless. In this comprehensive guide, we’ll walk you through everything you need to know—from daily maintenance to seasonal adjustments—so you can enjoy stunning, long-lasting dip nails that turn heads without breaking the bank.
Understanding How Dip Nails Work and Why Care Matters
The Science Behind Dip Nail Application
Dip nails, also known as dip powder nails or SNS (Signature Nail Systems), are created using a multi-step process that bonds colored powder to your natural nail. The process typically involves:
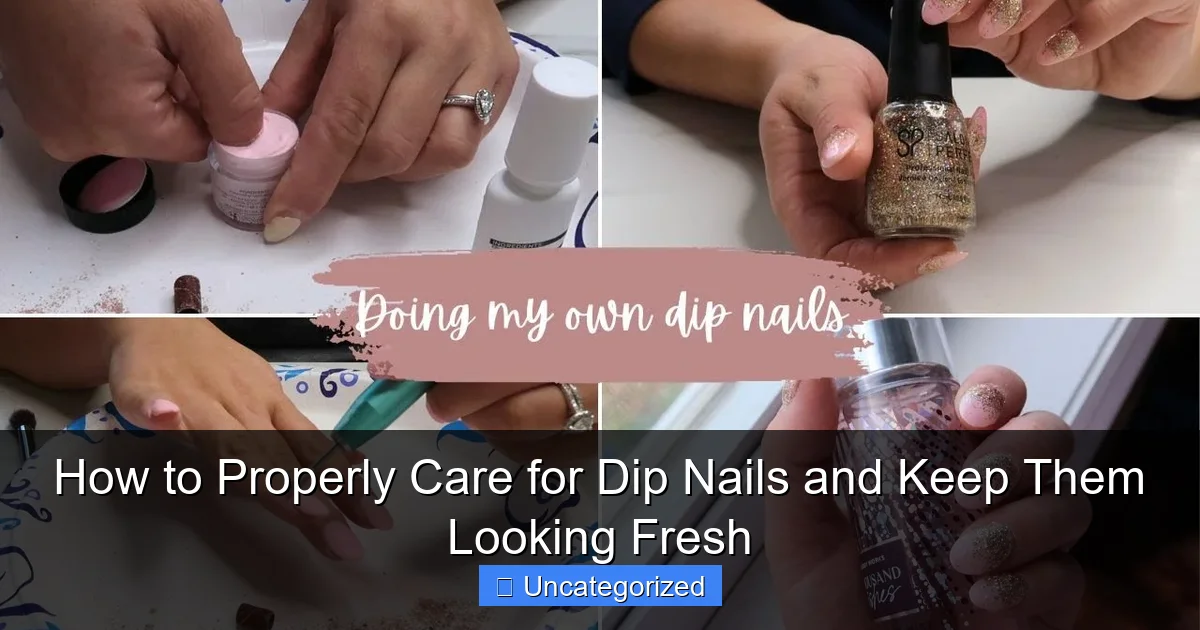
Visual guide about how to properly care for dip nails
Image source: i.ytimg.com
- Prepping the nail (cuticle work, buffing, and cleaning)
- Applying a base coat (usually a resin or bonding agent)
- Dipping the nail into colored powder or applying it with a brush
- Reapplying the base and powder 2–3 times for opacity and strength
- Sealing with an activator and top coat
Unlike gel polish, which cures under a UV/LED lamp, dip powders harden through a chemical reaction with the activator. This creates a durable, flexible layer that adheres tightly to the nail plate. Because the powder bonds directly to the nail (not just on top), dip nails are less likely to peel or crack—but only if the natural nail is healthy and properly prepped.
Why Proper Care Is Essential
While dip nails are strong, they’re not immune to everyday wear and tear. The edges of the dip layer, especially at the free edge and cuticle line, are vulnerable to lifting when exposed to moisture, friction, or impact. Lifting creates a gap where bacteria and water can accumulate, leading to fungal infections or nail damage. Additionally, improper removal (like peeling or picking) can remove layers of your natural nail, causing thinning, peeling, and sensitivity.
Proper care isn’t just about aesthetics—it’s about nail health. A well-maintained dip manicure protects your natural nails from environmental stressors, prevents infections, and ensures a smoother removal process. Think of it like caring for a new car: regular washes, waxing, and oil changes keep it running smoothly. Your dip nails need the same attention to stay in top condition.
Daily Maintenance Routine for Long-Lasting Dip Nails
Hydrate Your Cuticles and Nail Beds
One of the most overlooked aspects of dip nail care is hydration. Dry, brittle nails are more prone to lifting and cracking. To combat this, apply a cuticle oil or nail serum at least twice a day—morning and night. Look for formulas containing:
- Jojoba oil (mimics natural skin oils)
- Vitamin E (antioxidant that strengthens nails)
- Argan oil (deeply moisturizing)
- Hyaluronic acid (retains moisture in the nail bed)
Pro Tip: Apply cuticle oil after washing your hands or showering. Warm water opens pores, allowing the oil to penetrate deeper. Gently massage it into the cuticle and surrounding skin for 30 seconds to boost circulation and promote nail growth.
Wear Gloves for Household Chores
Water, harsh detergents, and cleaning chemicals are dip nails’ worst enemies. Prolonged exposure to moisture can weaken the bond between the dip layer and your natural nail, while bleach and ammonia can degrade the powder and top coat. Always wear rubber or latex gloves when:
- Washing dishes
- Cleaning bathrooms or kitchens
- Doing yard work
- Using hand sanitizer frequently (alcohol dries out nails)
For extra protection, choose gloves with a cotton lining. They’re more comfortable for extended wear and reduce friction between your nails and the glove’s interior.
Be Mindful of Your Nail’s Role in Daily Tasks
Dip nails are strong, but they’re not tools. Avoid using your nails to:
- Open cans, packages, or bottles
- Scratch off labels or stickers
- Pick at hangnails (use cuticle nippers instead)
- Text excessively (repeated tapping can stress the free edge)
If you frequently use your hands for typing or crafting, consider using nail caps or silicone protectors during high-impact activities. These thin, flexible covers absorb shock and prevent chipping.
Weekly and Monthly Care: Beyond the Basics
Buff the Free Edge Every 7–10 Days
Even with perfect application, the free edge (tip) of your dip nails will naturally wear down over time. To prevent splitting and maintain a clean shape, lightly buff the edges every week using a fine-grit buffer (220+ grit). This removes minor imperfections and smooths any rough spots.
How to do it: Gently glide the buffer over the edge in one direction (never back-and-forth, which can cause friction burns). Focus on the sides and tip, not the center of the nail. Finish by wiping away dust with a lint-free wipe and applying cuticle oil.
Refill the Free Edge for Extended Wear
If you’re aiming for a 4+ week manicure, you may notice slight lifting or thinning at the free edge. Instead of removing the entire set, try a free edge refill:
- Use a nail file to gently roughen the edge of the existing dip layer.
- Clean the area with alcohol and a lint-free wipe.
- Apply a thin layer of dip base coat and dip into matching powder.
- Seal with activator and top coat.
This “spot repair” technique extends your manicure’s life by 1–2 weeks and saves time and money. It’s especially useful if you’re between salon visits or prefer DIY maintenance.
Deep Condition with a Nail Mask or Soak
Once a month, treat your nails to a deep conditioning treatment. You have two options:
- Nail mask: Apply a thick layer of cuticle butter or a specialized nail mask (e.g., butter LONDON’s Nail Foundation). Wrap each finger in a warm towel for 10 minutes, then massage in the excess.
- Nail soak: Mix 1 tablespoon of coconut oil, 1 teaspoon of vitamin E oil, and 1 drop of tea tree oil in warm (not hot) water. Soak your fingertips for 15 minutes, then pat dry and apply cuticle oil.
These treatments rehydrate the nail bed, repair micro-cracks in the dip layer, and strengthen the natural nail underneath.
Seasonal Adjustments to Protect Your Dip Nails
Winter: Combat Dryness and Cold Weather Damage
Cold air, indoor heating, and frequent hand-washing in winter create a perfect storm for dry, brittle nails. To protect your dip manicure:
- Apply cuticle oil three times daily (morning, afternoon, night).
- Use a humidifier at home and in your workspace to maintain 40–60% humidity.
- Wear gloves outdoors—even for short walks. Cold air contracts the nail plate, increasing the risk of lifting.
- Switch to a non-acetone hand sanitizer to reduce drying.
Example: A 2022 study in the Journal of Cosmetic Dermatology found that participants who used cuticle oil twice daily in winter reported 68% less nail peeling compared to controls.
Summer: Guard Against Sun, Salt, and Chlorine
Sun exposure, saltwater, and chlorine can fade dip powder color and weaken the top coat. To prevent damage:
- Apply a UV-protective top coat (e.g., CND Shellac SolarOil) to shield color from fading.
- Wear waterproof gloves while swimming or doing water sports.
- Rinse your hands with fresh water after swimming, then apply cuticle oil.
- Reapply a top coat every 5–7 days to maintain shine and seal the edges.
Chlorine is particularly damaging—it can turn white dip powder yellow and degrade the activator’s bond. A quick rinse and oil application within 30 minutes of pool time can prevent this.
Traveling: Pack a Nail Care Survival Kit
Traveling exposes your nails to dry airplane air, unfamiliar water quality, and increased handling. Prepare with a mini nail care kit:
- Travel-sized cuticle oil
- Fine-grit buffer
- Non-acetone nail polish remover wipes
- Top coat (for touch-ups)
- Disposable gloves
Use a reusable water bottle with a wide mouth to avoid opening it with your nails. For long flights, apply a thick layer of cuticle butter before boarding.
Safe Removal and Aftercare: Preserving Natural Nail Health
Never Peel or Pick Off Dip Nails
Peeling or picking at your dip nails may seem like a quick fix, but it’s the #1 cause of nail damage. When you pull off the layer, you risk removing:
- The top layers of your natural nail
- Cuticle tissue
- Moisture-rich keratin cells
This leads to thinning, peeling, and sensitivity that can take weeks to heal. Always opt for professional or DIY soaking removal.
Step-by-Step Soaking Removal
To safely remove dip nails at home:
- File the top coat: Use a coarse file (100–180 grit) to remove the shiny top layer. This allows the remover to penetrate.
- Soak cotton pads: Cut cotton pads into small squares and saturate them with 100% acetone.
- Wrap fingers: Place a cotton pad on each nail and wrap tightly with aluminum foil.
- Wait 15–20 minutes: The dip layer should soften and lift off easily.
- Gently push off residue: Use a wooden cuticle stick to remove remaining powder. Never scrape aggressively.
- Moisturize: Wash hands, apply cuticle oil, and use a nail hardener for 1–2 weeks.
Pro Tip: For stubborn areas, rewrap and wait 5 more minutes. Avoid soaking for over 30 minutes to prevent skin irritation.
Post-Removal Recovery
After removal, your natural nails need time to recover. Follow this 14-day recovery plan:
- Days 1–3: Apply cuticle oil 3x daily. Avoid water exposure (wear gloves).
- Days 4–7: Use a nail strengthener (e.g., OPI Nail Envy) every other day.
- Days 8–14: Resume regular care. Wait at least 2 weeks before applying new dip powder.
When to Seek Professional Help: Red Flags and Solutions
Signs of Trouble
Even with perfect care, issues can arise. Watch for these red flags:
- Lifting with discoloration: Yellow, green, or black spots under the dip layer signal fungal or bacterial infection. See a dermatologist.
- Persistent pain or swelling: Could indicate an allergic reaction to the base or activator.
- Thinning natural nails: Often caused by improper removal or over-filing.
- Allergic reactions: Redness, itching, or rash around the nails. Discontinue use and consult a doctor.
Choosing the Right Salon
Not all salons use high-quality products or follow safe practices. When booking a dip manicure, ask:
- “Do you use medical-grade disinfectants on tools?”
- “Can I see the ingredient list for the dip powder and base?” (Avoid formaldehyde, toluene, and DBP.)
- “How do you prep the nail bed?” (Proper prep includes cuticle removal and buffing—not just cleaning.)
Reputable salons use single-use files and buffers, sterilized tools, and non-toxic products. A good tech will also educate you on aftercare—not just upsell add-ons.
Data Table: Dip Nail Care Schedule
| Frequency | Action | Product/Tool | Goal |
|---|---|---|---|
| Daily | Apply cuticle oil | Jojoba or argan oil | Hydrate nail bed |
| Daily | Wear gloves for chores | Rubber or latex gloves | Prevent water/chemical exposure |
| Weekly | Buff free edge | 220+ grit buffer | Prevent splitting |
| Every 5–7 days | Apply top coat | UV-protective top coat | Maintain shine and seal |
| Monthly | Deep conditioning treatment | Nail mask or soak | Repair and strengthen |
| As needed | Free edge refill | Dip powder + activator | Extend manicure life |
| Every 3–4 weeks | Safe removal | Acetone + foil | Preserve natural nail health |
Caring for dip nails isn’t rocket science—but it does require consistency and attention to detail. By following this guide, you’ll not only extend the life of your manicure but also protect your natural nails from damage. Remember: dip nails are an investment, and like any investment, they thrive with proper maintenance. Whether you’re a busy professional, a parent, or a DIY enthusiast, these tips can be tailored to fit your lifestyle. So go ahead—enjoy your flawless, chip-free nails for weeks on end, and never let a lifting edge or dull top coat dim your confidence. With the right care, your dip nails will stay as fresh as the day you got them—ready to shine at every moment.
Frequently Asked Questions
How long do dip nails last, and how can I make them last longer?
Dip nails typically last 2–4 weeks with proper care. To extend their lifespan, avoid prolonged water exposure, wear gloves during chores, and apply cuticle oil daily to prevent lifting.
What’s the best way to remove dip nails at home?
Soak a cotton pad with 100% acetone, place it on the nail, and wrap with foil for 10–15 minutes to soften the layers. Gently push off the residue with an orangewood stick—never force or peel them off.
How do I prevent lifting or chipping of my dip nails?
Proper prep is key: clean, dehydrate, and prime your nails before application. Avoid picking or biting, and use a high-quality top coat to seal the edges and protect against daily wear.
Can I reuse dip powder, and how should I store it?
Yes, unused dip powder can be reused if stored properly. Keep it in a cool, dry place with the lid tightly sealed to prevent moisture exposure and clumping.
How often should I moisturize my nails and cuticles with dip nails?
Apply cuticle oil at least once daily, ideally after washing hands. Regular moisturizing prevents dryness, reduces lifting, and keeps your natural nails healthy under the dip powder layers.
Are dip nails damaging to natural nails over time?
Dip nails are generally less damaging than acrylics if applied and removed correctly. To minimize harm, ensure a professional applies them, avoid picking off layers, and give your nails a break between applications.