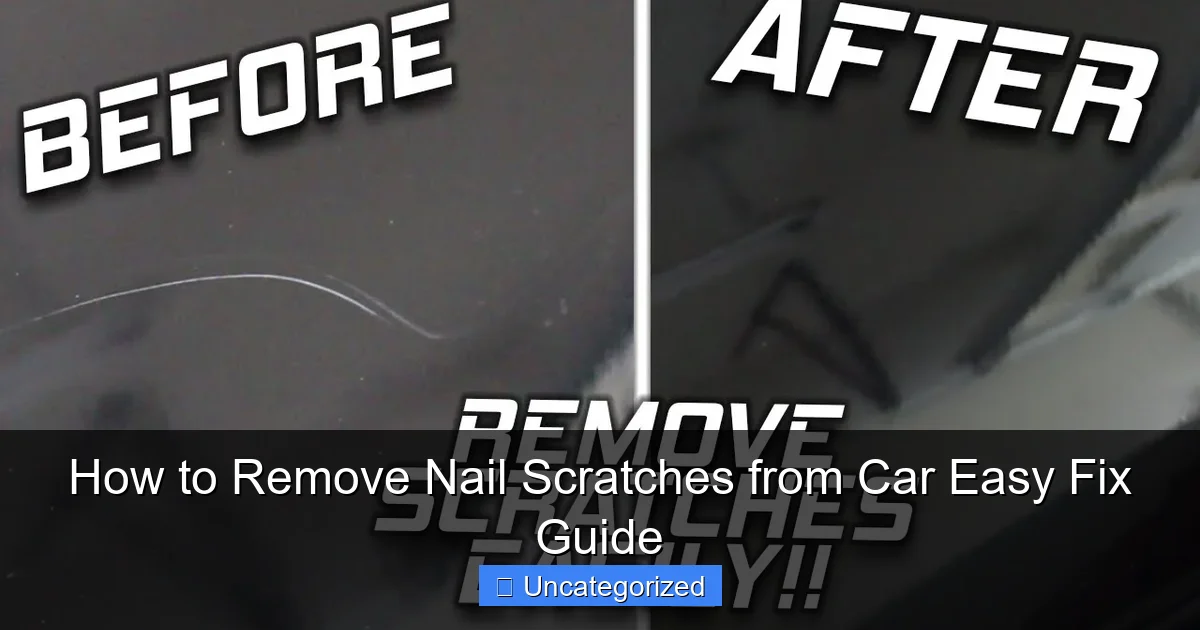
Featured image for how to remove nail scratches from car
Image source: i.ytimg.com
Remove nail scratches from your car quickly and effectively using simple DIY methods that restore your paint’s shine without costly repairs. Start by cleaning the area and applying a quality scratch remover or rubbing compound, then buff with a microfiber cloth for a seamless finish. For deeper scratches, touch-up paint or professional-grade polishing may be needed—but most light marks vanish in minutes with the right technique.
Key Takeaways
- Act fast: Address nail scratches early to prevent rust and further damage.
- Clean first: Wash the area thoroughly before attempting any scratch repair.
- Use toothpaste: Apply non-gel toothpaste for light, surface-level scratches.
- Try scratch removers: Use commercial products for deeper nail marks.
- Polish after: Always finish with car polish to restore shine and protection.
- Prevent future scratches: Park carefully and use protective coatings regularly.
📑 Table of Contents
Understanding Nail Scratches on Your Car
Few things are more frustrating than discovering unsightly nail scratches on your car’s paintwork. Whether it’s a deliberate act or accidental contact—perhaps from a shopping cart, a careless passerby, or even a pet’s claw—these scratches can mar the appearance of your vehicle and diminish its resale value. The good news? Most nail scratches can be removed or significantly minimized without professional help, especially if you act quickly and use the right techniques. This guide will walk you through a comprehensive, step-by-step process to restore your car’s finish and regain that showroom shine.
Nail scratches, also known as surface scratches or clear coat scratches, typically affect only the topmost layer of your car’s paint system—the clear coat. Unlike deeper scratches that penetrate into the base color or primer, nail scratches are often shallow and confined to the transparent layer that protects the paint. Because they don’t expose underlying layers, they’re usually easier and less expensive to repair. With the right tools, products, and patience, you can achieve professional-looking results in your own driveway. This guide will cover everything from identifying the depth of the scratch to choosing the best repair method and maintaining your car’s finish afterward.
Identifying the Depth and Severity of the Scratch
Why Scratch Depth Matters
Before you begin any repair, it’s crucial to determine how deep the scratch is. The treatment method depends entirely on whether the scratch is surface-level, moderate, or deep. A surface scratch only affects the clear coat, while deeper scratches may penetrate into the base color or even expose bare metal. Misidentifying the depth can lead to ineffective repairs or, worse, further damage.
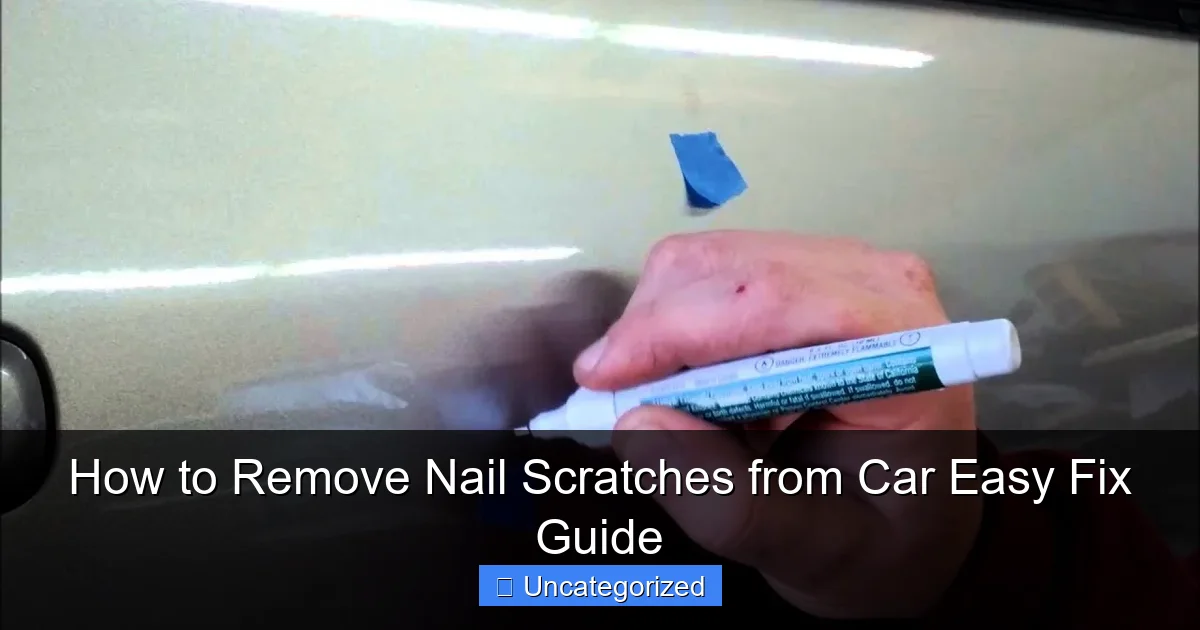
Visual guide about how to remove nail scratches from car
Image source: i.ytimg.com
To assess the scratch, start by thoroughly cleaning the area with a car-safe soap and microfiber towel. Dirt and grime can obscure the true depth. Once clean, inspect the scratch under natural sunlight or bright LED lighting. Use your fingernail to gently run along the scratch:
- If your fingernail doesn’t catch: The scratch is likely only in the clear coat and can be polished out.
- If your fingernail catches slightly: The scratch may have reached the base coat but not the metal. It’s still repairable with compound and polish.
- If your fingernail catches deeply or you see bare metal: This is a deep scratch requiring touch-up paint and possibly professional attention.
Tools for Accurate Scratch Assessment
While the fingernail test is reliable, you can enhance accuracy with a few simple tools:
- Magnifying glass: Helps identify micro-scratches and paint layer transitions.
- Flashlight or LED penlight: Shine at an angle to create shadows that highlight scratch depth.
- Paint depth gauge (optional): A digital tool that measures the thickness of paint layers. Useful for serious car enthusiasts or when preparing for resale.
Example: Sarah noticed a long scratch on her sedan’s door after parking at a crowded mall. Using a flashlight and her fingernail, she determined it was a clear coat scratch. She avoided unnecessary touch-up paint and saved time by opting for a polishing kit instead.
Common Misconceptions About Scratch Depth
Many car owners assume all scratches are deep or that every scratch needs touch-up paint. This leads to over-treatment and wasted money. Remember:
- Scratches that appear white or opaque under the clear coat are often deeper.
- Glossy, silver-like scratches are usually just in the clear coat.
- Color transfer (e.g., red paint from another car) doesn’t always mean the scratch is deep.
By accurately diagnosing the scratch, you’ll avoid unnecessary steps and ensure the most effective repair strategy.
Essential Tools and Products for Scratch Removal
Must-Have Supplies for DIY Scratch Repair
Having the right tools makes all the difference in achieving a seamless finish. Below is a list of essential products for removing nail scratches from your car:
- Car wash soap and microfiber wash mitt: For initial cleaning.
- Isopropyl alcohol (70% or higher): To degrease the area before polishing.
- Clay bar kit: Removes embedded contaminants that can interfere with polishing.
- Scratch remover compound (medium or fine cut): Removes clear coat imperfections. Brands like Meguiar’s Ultimate Compound or 3M Scratch Remover are highly rated.
- Dual-action (DA) polisher or foam applicator pad: A DA polisher provides even, controlled abrasion. If you don’t have one, use a foam pad with a drill (on low speed).
- Microfiber towels (lint-free): For wiping and buffing.
- Polishing compound and finishing polish: To restore gloss after compounding.
- Wax or sealant: To protect the repaired area.
- Touch-up paint (if needed): For scratches that penetrate the base coat. Use OEM or high-quality aftermarket paint matched to your car’s color code.
- Toothpick or fine-tip brush: For precise paint application.
Choosing the Right Compound and Polish
Not all compounds are created equal. The key is matching the product to the scratch severity:
- Fine-cut compound (e.g., Meguiar’s Ultimate Compound): Best for light to moderate clear coat scratches. Removes 1000–1500 grit sanding marks.
- Medium-cut compound: For deeper surface scratches. Use sparingly to avoid removing too much clear coat.
- Non-abrasive polish: Follows compounding to restore shine without further abrasion.
Tip: Always start with the least aggressive product. You can always step up to a stronger compound, but you can’t undo over-sanding.
Where to Buy and How to Store Supplies
High-quality car care products are available at auto parts stores (e.g., AutoZone, O’Reilly), online retailers (Amazon, CarCareKits.com), and specialty detailing shops. Look for brands with good customer reviews and clear instructions.
Store products in a cool, dry place away from direct sunlight. Compounds and polishes can degrade if exposed to heat or humidity. Keep applicators and microfiber towels clean and lint-free—contaminated towels can reintroduce scratches.
Cost Comparison: DIY vs. Professional Repair
Here’s a quick cost breakdown to help you decide whether to DIY or hire a pro:
| Service/Product | DIY Cost (USD) | Professional Cost (USD) |
|---|---|---|
| Scratch removal compound + polish | $15–$30 | Included in service |
| DA polisher (one-time purchase) | $50–$150 | — |
| Touch-up paint kit | $10–$25 | Included |
| Labor (per scratch) | $0 | $50–$150 |
| Total (per scratch) | $25–$50 (one-time) | $50–$150 |
DIY is significantly cheaper for multiple scratches, but if you’re uncomfortable with tools or have deep damage, professional help may be worth the investment.
Step-by-Step Guide to Removing Nail Scratches
Step 1: Clean and Prep the Area
Start with a clean surface. Wash the scratched panel using a pH-balanced car shampoo and a microfiber mitt. Rinse thoroughly and dry with a clean microfiber towel. Then, use a clay bar to remove any embedded contaminants like tar, tree sap, or industrial fallout. Lubricate the area with a detailing spray or water, then glide the clay bar over the scratch in straight lines. This ensures the compound will work on the actual paint, not dirt.
After claying, wipe the area with isopropyl alcohol using a lint-free towel. This removes any residue and ensures maximum adhesion for compounds and polishes.
Step 2: Apply Scratch Remover Compound
Shake the compound well. Apply a dime-sized amount to a foam applicator pad or directly onto the scratch. Using a dual-action polisher (or hand application with moderate pressure), work the compound into the scratch in straight, overlapping passes. Keep the pad flat and avoid circular motions, which can create holograms or swirls.
Work in small sections (6×6 inches) and apply for 1–2 minutes. The compound will turn from white to gray as it breaks down. Wipe off the residue with a clean microfiber towel and inspect the scratch. If it’s still visible, repeat the process once or twice—don’t overdo it.
Tip: Use a flashlight to check your progress. A properly treated scratch should appear much lighter or disappear entirely.
Step 3: Polish to Restore Gloss
After compounding, the area may appear hazy or dull. This is normal. Now, apply a fine polish (e.g., Meguiar’s Ultimate Polish) with a clean foam pad. Work in the same manner, using light pressure and straight passes. This step removes the micro-marring left by the compound and restores the clear coat’s shine.
Buff with a fresh microfiber towel until the area is clear and glossy. Compare it to the surrounding paint—there should be no visible difference.
Step 4: Apply Touch-Up Paint (If Needed)
If the scratch is deeper and exposes the base coat or metal, skip polishing and move to touch-up paint. Shake the touch-up bottle thoroughly. Use a toothpick or fine-tip brush to carefully fill the scratch with paint. Apply thin layers—don’t flood the area. Let each layer dry for 10–15 minutes before adding another.
After 2–3 layers, let the paint cure for 24 hours. Then, lightly sand the raised area with 2000-grit wet sandpaper (dipped in soapy water) to level it. Follow with compound and polish to blend the repair.
Step 5: Seal with Wax or Sealant
Protect your hard work by applying a layer of carnauba wax or synthetic sealant. Use a foam applicator and apply in thin, even coats. Let it haze, then buff with a microfiber towel. This step prevents future scratches and UV damage.
Pro tip: For best results, apply a second coat of wax after 24 hours.
Advanced Techniques for Challenging Scratches
Dealing with Long or Curved Scratches
Long nail scratches that span multiple panels (e.g., door to fender) require extra care. Work in sections, overlapping each area slightly to avoid visible lines. Use a longer foam pad or a rotary buffer with a 6-inch backing plate for better coverage. Always feather the edges of the repair zone to blend seamlessly with the surrounding paint.
Using a Rotary Buffer (For Experienced Users)
A rotary buffer (high-speed polisher) is more aggressive than a DA polisher and can remove scratches faster. However, it’s easy to burn through the clear coat if you’re not careful. Use only with a medium-cut compound and keep the buffer moving at all times—never stop in one spot. Maintain a 15–20 degree angle and use light to moderate pressure.
Beginners should stick to a DA polisher. If using a rotary, practice on a hidden area first.
Color Matching and Blending
Even with perfect touch-up paint, color mismatch can be an issue. To improve blending:
- Use OEM touch-up paint (check your car’s VIN or owner’s manual for the color code).
- Apply paint in thin layers and feather the edges.
- After curing, polish the entire panel to unify the finish.
- Consider a paintless dent repair (PDR) specialist for large or complex repairs.
When to Seek Professional Help
Some scratches are beyond DIY repair. Seek a professional if:
- The scratch exposes bare metal (risk of rust).
- It’s longer than 12 inches or wraps around a panel edge.
- You’re uncomfortable using power tools.
- The repair is on a high-visibility area (hood, roof).
Professional detailers use advanced tools like dual-action sanders, infrared curing lamps, and spectrophotometers for color matching. Their work is often guaranteed.
Prevention and Long-Term Care
Protecting Your Car from Future Scratches
Prevention is better than cure. Here’s how to minimize future nail scratches:
- Park smart: Choose end spots, avoid tight spaces, and stay away from high-traffic areas.
- Use a car cover: Especially in urban areas or during winter.
- Install door edge guards or paint protection film (PPF): PPF is a transparent urethane layer that absorbs impacts and scratches. It’s ideal for high-risk areas like doors and bumpers.
- Wash regularly: Dirt and grit can scratch paint during washing. Use the two-bucket method and a grit guard.
- Apply ceramic coating: A long-lasting protective layer that resists scratches, UV rays, and chemicals. Lasts 2–5 years with proper maintenance.
Regular Maintenance Tips
Even with protection, regular care is essential:
- Wax or seal your car every 3–6 months.
- Inspect paint monthly for new scratches.
- Use a quick detailer spray for spot cleaning between washes.
- Keep a scratch repair kit in your garage for immediate fixes.
Example: Mark applied a ceramic coating to his SUV. After a year, he noticed only minor micro-scratches, all of which buffed out with a quick polish. His car still looks new.
Building a Car Care Routine
Create a simple monthly schedule:
- Weekly: Quick wash and inspection.
- Monthly: Deep clean, clay bar, and wax.
- Quarterly: Full paint inspection and minor scratch touch-up.
- Annually: Consider professional detailing or reapplication of ceramic coating.
Consistency is key to preserving your car’s appearance and value.
Conclusion
Removing nail scratches from your car doesn’t have to be a daunting task. With the right knowledge, tools, and techniques, you can restore your vehicle’s finish and protect it from future damage. From accurately assessing scratch depth to choosing the best repair method—whether it’s polishing, touch-up paint, or professional help—this guide equips you with everything you need for a successful DIY fix.
Remember, early intervention is critical. The sooner you address a scratch, the easier and more effective the repair. Don’t wait until the damage worsens or rust begins to form. Build a routine that includes regular inspections and preventive measures like PPF or ceramic coating. Not only will your car look better, but its resale value will also remain higher.
By following the steps outlined here, you’ll save money, gain confidence in your car care skills, and enjoy the pride of a scratch-free, showroom-quality finish. Whether it’s a single fingernail mark or a series of minor abrasions, you now have the power to make your car look as good as new—right from your own driveway.
Frequently Asked Questions
What causes nail scratches on a car?
Nail scratches typically occur from accidental contact with sharp objects like keys, fingernails, or metal surfaces. They often appear as thin, shallow marks in the clear coat or paint layer and are common in parking lots or tight spaces.
Can I remove nail scratches from my car at home?
Yes, light nail scratches can be removed at home using DIY methods like scratch repair kits, polishing compounds, or toothpaste. For deeper scratches exposing metal or primer, professional repair is recommended to prevent rust.
What’s the easiest way to remove nail scratches from car paint?
For minor scratches, use a rubbing compound or a dedicated scratch remover product. Apply it with a microfiber cloth in circular motions, then buff to restore shine—this method works best for surface-level clear coat damage.
Do scratch removal products actually work for nail marks?
Quality scratch removal products can effectively eliminate light nail scratches by smoothing the paint surface and filling micro-grooves. Always follow product instructions and test on a small area first to avoid further damage.
How to remove nail scratches from a car without damaging paint?
Use a non-abrasive polish or clay bar first to assess scratch depth. For shallow marks, a dual-action polisher with mild compound minimizes paint wear while restoring gloss—avoid excessive pressure or sanding unless necessary.
When should I see a pro to fix nail scratches on my car?
Consult a professional if the scratch penetrates the base coat, exposing metal or primer, or if DIY methods fail. Deep scratches risk corrosion and require paint touch-up or panel repainting for long-term protection.