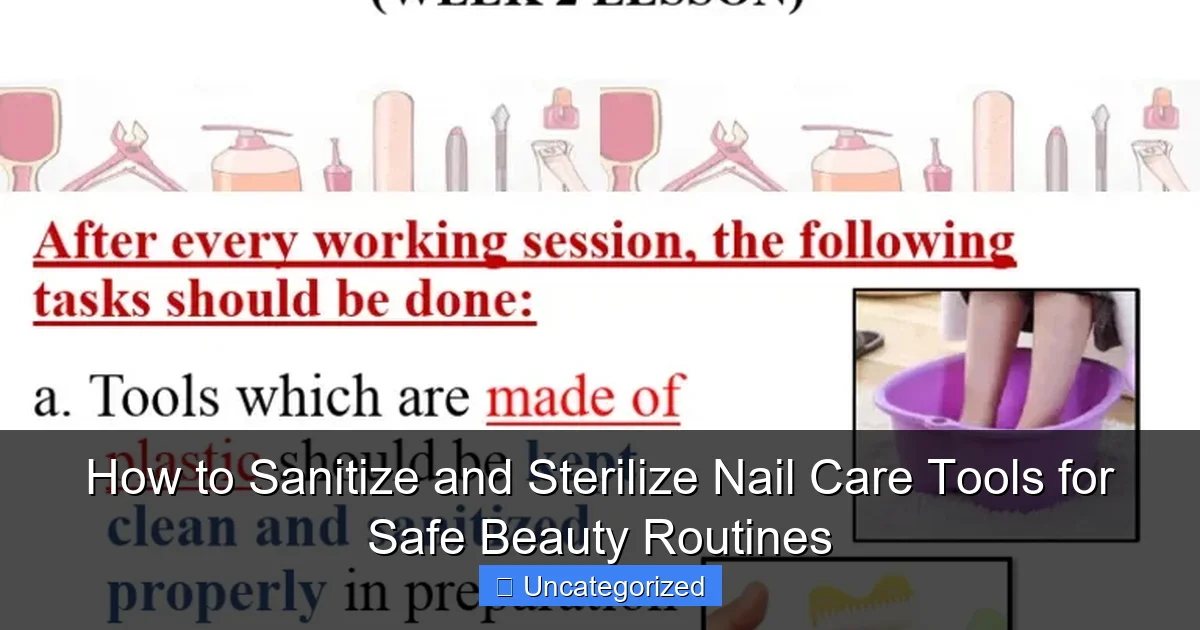
Featured image for how to sanitize and sterilize nail care tools
Image source: imgv2-2-f.scribdassets.com
Properly sanitizing and sterilizing nail care tools is essential to prevent infections and ensure safe beauty routines. Always clean tools with soap and water, then disinfect using 70% isopropyl alcohol or an EPA-registered sterilizer for at least 10 minutes to kill bacteria and viruses. This simple yet critical process protects your health and keeps your nail tools in top condition.
Key Takeaways
- Clean tools first: Wash with soap and water to remove debris before sanitizing.
- Use EPA-approved disinfectants: Apply hospital-grade solutions for effective germ elimination.
- Autoclave for sterilization: Heat tools at 250°F for 15–20 minutes to kill all pathogens.
- Soak in 70% isopropyl alcohol: Immerse tools for 10 minutes as a quick sanitizing step.
- Store dry and sealed: Prevent contamination by keeping tools in airtight, clean containers.
- Replace damaged tools: Discard worn or rusted instruments to avoid infection risks.
📑 Table of Contents
- The Importance of Sanitizing and Sterilizing Nail Care Tools
- Understanding the Difference Between Sanitizing, Disinfecting, and Sterilizing
- Step-by-Step Guide to Cleaning and Preparing Tools
- Methods to Sanitize and Sterilize Nail Care Tools
- Best Practices for Storage and Maintenance
- Common Mistakes and How to Avoid Them
- Conclusion: Prioritize Safety in Your Beauty Routine
The Importance of Sanitizing and Sterilizing Nail Care Tools
When it comes to maintaining a safe and effective beauty routine, few things are as critical as the cleanliness of your nail care tools. Whether you’re a professional nail technician, a DIY enthusiast, or someone who simply enjoys the occasional manicure at home, the tools you use—such as nail clippers, cuticle pushers, nail files, and cuticle nippers—can become breeding grounds for bacteria, fungi, and even viruses if not properly sanitized and sterilized. These pathogens can lead to infections such as paronychia (nail bed infections), fungal growths, or even more serious health concerns like hepatitis B and C. According to the Centers for Disease Control and Prevention (CDC), improper tool disinfection is a leading cause of skin and nail infections in salons and at-home settings.
Sanitizing and sterilizing your nail tools isn’t just about aesthetics or hygiene—it’s a vital health precaution. The process removes visible dirt, eliminates harmful microorganisms, and ensures that your tools are safe for use on sensitive skin and nails. While many people assume that simply wiping tools with alcohol or washing them with soap and water is enough, these methods may not fully eradicate all pathogens. True sterilization requires a multi-step approach involving cleaning, disinfecting, and, in some cases, high-level sterilization. This guide will walk you through the essential steps, best practices, and expert-recommended methods to sanitize and sterilize nail care tools effectively, ensuring your beauty routine is not only beautiful but also safe and infection-free.
Understanding the Difference Between Sanitizing, Disinfecting, and Sterilizing
Before diving into the practical steps, it’s essential to understand the key differences between sanitizing, disinfecting, and sterilizing. These terms are often used interchangeably, but they refer to distinct levels of microbial reduction, each with specific applications in nail care.
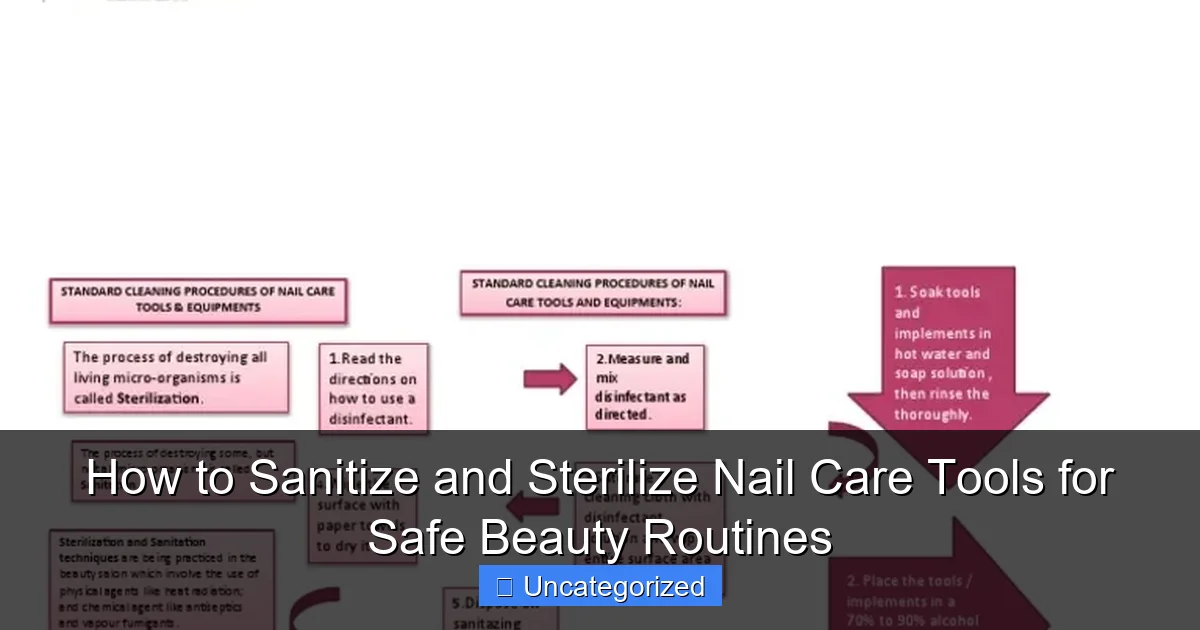
Visual guide about how to sanitize and sterilize nail care tools
Image source: imgv2-1-f.scribdassets.com
Sanitizing: Reducing Microbes to Safe Levels
Sanitizing is the process of reducing the number of microorganisms (such as bacteria, viruses, and fungi) on a surface to a level deemed safe by public health standards. This is typically achieved through cleaning with soap and water or using low-level disinfectants. While sanitizing is effective for general cleaning and removing visible debris, it does not kill all pathogens. It’s a good first step but insufficient on its own for high-risk tools that come into contact with broken skin or blood.
- Best for: Nail files, buffers, and non-invasive tools that don’t pierce the skin.
- Method: Wash with mild soap and warm water, then wipe with 70% isopropyl alcohol.
- Example: After a manicure, sanitize a glass nail file by rinsing it under running water and wiping it with alcohol.
Disinfecting: Killing Most Pathogens
Disinfecting goes a step further by using chemical agents to kill most disease-causing microorganisms (except bacterial spores). This level is crucial for tools that may come into contact with skin or nails, especially if there’s a risk of micro-abrasions. The CDC recommends disinfection for most reusable nail tools in salons and at-home kits.
- Best for: Clippers, cuticle pushers, and nippers that touch the skin.
- Method: Soak tools in an EPA-registered hospital-grade disinfectant (e.g., Barbicide, Clorox Healthcare Bleach Germicidal Wipes) for the manufacturer’s recommended time (usually 5–10 minutes).
- Tip: Always follow the dilution instructions—too much water reduces effectiveness; too little can damage tools.
Sterilizing: Eliminating All Microorganisms
Sterilizing is the highest level of microbial control, destroying all forms of microbial life, including spores. This is essential for tools that pierce or cut the skin, such as cuticle nippers or lancet-style tools. While not always required for at-home use (unless you have compromised immunity), it’s the gold standard in professional salons and medical settings.
- Best for: Tools used on open wounds, ingrown nails, or in high-risk environments.
- Method: Use autoclaving (steam under pressure) or chemical sterilants (e.g., glutaraldehyde solutions).
- Example: A podiatrist uses an autoclave to sterilize nail nippers before treating an ingrown toenail.
Pro Tip: Always check the manufacturer’s guidelines for each tool—some materials (like plastic handles) may not withstand high heat or certain chemicals.
Step-by-Step Guide to Cleaning and Preparing Tools
Proper cleaning is the foundation of effective sanitization and sterilization. No amount of disinfectant can work properly on tools covered in nail polish, dead skin, or debris. Here’s a detailed, step-by-step process to prepare your nail care tools for deeper treatment.
Step 1: Remove Visible Debris
Start by removing any visible buildup. Use a soft-bristled brush (a clean toothbrush works well) and warm, soapy water to scrub each tool. Pay special attention to crevices, hinges, and cutting edges where grime accumulates.
- For nail clippers: Open and close the clipper while brushing to dislodge trapped debris.
- For cuticle pushers: Use a cotton swab dipped in acetone to remove dried polish from the metal edge.
- For nippers: Wiggle the blades gently to clean between them—avoid forcing, which can damage the tool.
Tip: Do this immediately after use to prevent residue from hardening.
Step 2: Soak in Soapy Water
Fill a small container with warm water and a few drops of dish soap. Submerge the tools for 5–10 minutes. This helps loosen any remaining organic matter. Use a container with a lid to contain splashes and protect your countertop.
- Never soak wooden-handled tools—they can warp or crack.
- For tools with rubber or silicone grips, limit soaking to 10 minutes to prevent degradation.
Step 3: Rinse and Dry Thoroughly
Rinse each tool under running water to remove soap residue. Then, pat dry with a clean, lint-free towel. Air-dry completely before moving to the next step. Moisture can dilute disinfectants and promote microbial growth.
- Use a hair dryer on cool setting to speed up drying for tools with tight hinges.
- Store tools on a clean, dry surface—never place them back in a drawer while damp.
Step 4: Inspect for Damage
Before disinfecting, inspect each tool for signs of wear: rust, dull blades, cracks in handles, or loose joints. Damaged tools are less effective and can harbor bacteria in cracks. Replace or repair them as needed.
Example: A rusted nail file can scratch the nail bed, creating entry points for infection—discard it immediately.
Step 5: Label and Organize
For salons or multi-user households, label tools by function or user to prevent cross-contamination. Use color-coded pouches or trays to keep sanitized tools separate from dirty ones.
- Red pouch: Dirty tools
- Green pouch: Sanitized tools
- Blue pouch: Sterilized tools (if applicable)
Methods to Sanitize and Sterilize Nail Care Tools
Once your tools are clean and dry, it’s time to apply the appropriate microbial control method based on the tool’s use and your risk level. Below are the most effective, evidence-based techniques for sanitizing and sterilizing nail care tools.
Method 1: Chemical Disinfection (For Most Home and Salon Use)
Chemical disinfectants are the most accessible and practical option for daily use. They’re effective against bacteria, viruses, and fungi when used correctly.
- Recommended Products:
- Barbicide (EPA-registered, hospital-grade, effective against HBV, HIV, and MRSA)
- Clorox Healthcare Bleach Germicidal Wipes (for surface disinfection)
- 70% Isopropyl Alcohol (for quick wipes between clients or uses)
- Procedure:
- Prepare the disinfectant solution per manufacturer instructions (e.g., 1 oz Barbicide per quart of water).
- Submerge tools completely in a covered container. Ensure no air bubbles are trapped.
- Soak for the recommended time (usually 5–10 minutes; check the label).
- Remove tools with clean tongs or gloves—never use your hands.
- Rinse with sterile water (if required by the product) and air-dry.
- Safety Tips:
- Always work in a well-ventilated area—some disinfectants release fumes.
- Wear gloves and eye protection when handling concentrated chemicals.
- Replace the solution daily or when visibly cloudy.
Example: A nail technician soaks clippers and nippers in Barbicide for 10 minutes between clients, then stores them in a UV sterilizer drawer.
Method 2: UV-C Sterilization (High-Tech Option)
UV-C light (wavelength 254 nm) damages microbial DNA, effectively killing bacteria, viruses, and fungi. UV sterilizer boxes are popular in salons and homes for their convenience and non-chemical approach.
- How to Use:
- Place clean, dry tools inside the UV chamber.
- Ensure all surfaces are exposed to light (use trays or dividers).
- Run the cycle for 5–15 minutes (varies by model).
- Store tools in the closed chamber to prevent recontamination.
- Pros: No chemicals, quick cycle, reusable.
- Cons: Shadows or overlapping tools may block UV rays; not effective on organic debris (must pre-clean).
- Tip: Choose a model with a timer and auto-shutoff feature for safety.
Method 3: Autoclaving (Medical-Grade Sterilization)
Autoclaves use high-pressure saturated steam (typically 121°C at 15 psi for 15–20 minutes) to achieve complete sterilization. This method is used in hospitals and high-end salons for tools that penetrate the skin.
- Equipment Needed: Tabletop autoclave (e.g., Midmark, Tuttnauer).
- Procedure:
- Wrap tools in autoclave pouches (with indicator strips).
- Load into the autoclave, ensuring space between pouches for steam circulation.
- Run a sterilization cycle (follow machine instructions).
- Cool tools before removing—hot metal can cause burns.
- Pros: Kills spores, highly reliable, reusable tools.
- Cons: Expensive equipment, requires maintenance, not suitable for heat-sensitive materials.
Note: Autoclaving is overkill for most at-home users but essential for professionals treating diabetic clients or performing minor procedures.
Method 4: Boiling (Low-Cost Alternative)
Boiling water (100°C) can disinfect tools for 10–15 minutes, killing most bacteria and viruses (but not spores). This is a viable option for budget-conscious users.
- How to Boil:
- Use a dedicated pot—never the one used for food.
- Add tools to boiling water; keep submerged with a mesh basket.
- Boil for 10–15 minutes (longer at high altitudes).
- Remove with clean tongs and air-dry.
- Limitations: Not true sterilization; avoid for tools with plastic or wooden parts.
- Best For: Metal clippers, files, and pushers in low-risk settings.
Best Practices for Storage and Maintenance
Even the most thoroughly sterilized tools can become contaminated if stored improperly. Follow these best practices to maintain hygiene between uses.
Use Sealed, Dry Storage
Store sanitized tools in airtight containers or zip-lock bags to prevent dust and airborne microbes. Avoid cardboard or fabric pouches, which can harbor moisture and bacteria.
- Use individual tool sleeves for nippers and clippers.
- Add silica gel packs to absorb moisture in humid climates.
Label and Rotate Tools
Implement a “first-in, first-out” system. Label containers with the date of last sterilization. Replace or re-sterilize tools every 6–12 months, depending on use.
Regular Maintenance
Sharpen dull blades and oil moving parts (e.g., clipper hinges) with food-grade mineral oil. This prevents rust and ensures smooth operation.
- Sharpening: Use a fine-grit sharpening stone or take to a professional.
- Oiling: Apply a drop of oil to hinges, then open and close the tool 10 times to distribute it.
Avoid Cross-Contamination
Never share tools between people without re-sanitizing. In salons, use a “clean tray” system: one tray for dirty tools, another for clean ones. At home, designate separate tools for each family member.
Pro Tip: Keep a logbook to track cleaning dates, especially if you have multiple tool sets.
Common Mistakes and How to Avoid Them
Even with the best intentions, many people make critical errors in tool hygiene. Avoid these common pitfalls to ensure your sanitizing and sterilizing efforts are effective.
Mistake 1: Using Household Cleaners
Products like Windex, Lysol spray, or vinegar may seem convenient, but they’re not designed for medical-grade disinfection. They often lack efficacy against nail-specific pathogens and can damage tool finishes.
- Solution: Always use EPA-registered disinfectants labeled for salon or medical use.
Mistake 2: Reusing Disinfectant Solution
Dirty or old disinfectant loses potency and can recontaminate tools. A study by the Journal of the American Academy of Dermatology found that reused Barbicide was 30% less effective after 48 hours.
- Solution: Change solutions daily or when cloudy. Label the container with the date.
Mistake 3: Skipping Pre-Cleaning
Disinfectants can’t penetrate organic debris. A tool covered in nail glue or polish will remain contaminated even after soaking.
- Solution: Clean tools immediately after use—don’t wait until the end of the day.
Mistake 4: Improper Drying
Moisture promotes mold and bacterial growth. Damp tools can re-contaminate even after sterilization.
- Solution: Air-dry for at least 30 minutes in a clean, dust-free area. Use a fan to speed up drying.
Mistake 5: Overlooking Tool Material
Not all materials can withstand the same methods. Boiling can melt plastic handles; UV light may fade colors; harsh chemicals can corrode metal.
- Solution: Check manufacturer guidelines. For example, glass files can be autoclaved, but acrylic ones cannot.
Data Table: Recommended Sanitization Methods by Tool Type
| Tool Type | Recommended Method | Frequency | Notes |
|---|---|---|---|
| Nail Clippers | Chemical disinfection (Barbicide) or UV-C | After each use | Boiling acceptable for metal-only clippers |
| Cuticle Nippers | Chemical disinfection or autoclave (if skin-piercing) | After each use | Never boil if plastic handles |
| Nail Files (Glass/Crystal) | Sanitize with alcohol; UV-C for deeper cleaning | After each use | Glass can be autoclaved; avoid soaking |
| Nail Files (Emery Board) | Discard after use | Single-use | Not reusable; replace weekly |
| Cuticle Pushers | Chemical disinfection or UV-C | After each use | Metal tips only; wood handles require special care |
| Buffers (Foam) | Sanitize with alcohol; replace monthly | Weekly cleaning |
Conclusion: Prioritize Safety in Your Beauty Routine
Sanitizing and sterilizing nail care tools is not an optional step—it’s a non-negotiable component of a safe, responsible beauty routine. Whether you’re a professional technician or a home user, the methods outlined in this guide empower you to protect yourself and others from preventable infections. From understanding the nuances of sanitizing versus sterilizing to implementing practical, step-by-step protocols, every action you take contributes to a healthier, more hygienic experience.
Remember, clean tools are beautiful tools. By investing time in proper cleaning, using EPA-registered disinfectants, and adopting smart storage practices, you’re not just enhancing the longevity of your tools—you’re safeguarding your skin, nails, and overall well-being. Make sanitizing and sterilizing nail care tools a ritual, not an afterthought. Your body will thank you. In a world where self-care is celebrated, let hygiene be the foundation of your glow.
Frequently Asked Questions
How do I properly sanitize and sterilize nail care tools at home?
To sanitize and sterilize nail care tools, first clean them with soap and water to remove debris. Then, soak them in 70% isopropyl alcohol or a disinfectant solution for at least 10 minutes, followed by air-drying in a clean, covered space to prevent contamination.
What’s the difference between sanitizing and sterilizing nail tools?
Sanitizing reduces bacteria and germs on surfaces, while sterilizing completely eliminates all microorganisms, including spores. For high-risk tools like cuticle nippers, sterilization (e.g., autoclaving) is ideal, whereas sanitizing with alcohol suffices for low-risk tools like nail files.
Can I use bleach to sanitize nail care tools?
Yes, but dilute 1 part bleach with 9 parts water and soak tools for 10 minutes. Rinse thoroughly afterward to avoid chemical residue, which can irritate skin or corrode metal tools over time.
How often should I sanitize and sterilize my nail tools?
Sanitize tools after each use, especially if shared with others. Sterilize metal tools weekly or after contact with broken skin or infections to maintain hygiene and prevent cross-contamination.
Is UV light effective for sterilizing nail care tools?
UV light can kill surface bacteria but isn’t a substitute for chemical sterilization. Use it as a supplementary step after soaking tools in alcohol, as shadows or debris can block UV rays from reaching all areas.
How do I store sanitized nail tools to keep them sterile?
Store tools in sealed, airtight containers or sterilized pouches. Keep them in a dry, dust-free area to avoid recontamination, and avoid open trays or drawers where airborne particles can settle.