Featured image for how to take care of acrylic nails at home
Image source: i.ytimg.com
Proper aftercare is essential to maintain the shine and longevity of your acrylic nails at home. Avoid prolonged water exposure and always wear gloves during household chores to prevent lifting and breakage. Moisturize your cuticles daily and gently buff the nail surface weekly to preserve that salon-quality luster.
Key Takeaways
- Moisturize cuticles daily: Use cuticle oil to prevent dryness and maintain nail flexibility.
- Avoid harsh chemicals: Wear gloves when cleaning to protect acrylics from damage.
- Buff gently for shine: Use a soft buffer to restore luster without thinning the acrylic.
- Limit water exposure: Minimize soaking to prevent lifting or weakening of the nails.
- Schedule regular fills: Maintain shape and strength with professional fills every 2-3 weeks.
- File edges carefully: Smooth snags immediately with a fine-grit file to avoid peeling.
- Skip acetone removers: Use non-acetone polish remover to preserve acrylic integrity.
📑 Table of Contents
- How to Take Care of Acrylic Nails at Home for Long Lasting Shine
- 1. Daily Maintenance: The Foundation of Healthy Acrylic Nails
- 2. Protecting Your Acrylics: Preventing Damage and Breakage
- 3. Repairing Minor Damage: DIY Fixes for Common Issues
- 4. Refreshing Your Manicure: Reviving Dull or Faded Acrylics
- 5. When to Visit a Professional: Recognizing Limits of At-Home Care
- 6. Long-Term Nail Health: Caring for Your Natural Nails
How to Take Care of Acrylic Nails at Home for Long Lasting Shine
Acrylic nails have become a staple in the beauty world, offering a durable and customizable solution for those who desire long, elegant nails. Whether you’re a fan of bold, colorful designs or prefer a minimalist, natural look, acrylics provide endless possibilities. However, achieving that perfect manicure is only half the battle—maintaining it is where the real work begins. Without proper care, even the most stunning acrylic nails can quickly lose their shine, become chipped, or even cause damage to your natural nails. The good news? With the right techniques and a bit of dedication, you can extend the life of your acrylics and keep them looking salon-fresh from the comfort of your home.
This guide is designed to help you master the art of at-home acrylic nail care. From daily maintenance to troubleshooting common issues, we’ll walk you through everything you need to know to preserve your manicure’s longevity and brilliance. Whether you’re a seasoned acrylic enthusiast or a first-time wearer, these tips will empower you to protect your investment and keep your nails looking their best. So, let’s dive into the world of acrylic nail care and unlock the secrets to maintaining that flawless, long-lasting shine.
1. Daily Maintenance: The Foundation of Healthy Acrylic Nails
Just like your natural nails, acrylics require consistent care to stay in top condition. Daily maintenance is the cornerstone of keeping your acrylics looking fresh and preventing premature damage. Neglecting this routine can lead to lifting, chipping, and even bacterial growth under the nails. Here’s how to build a simple yet effective daily care regimen.
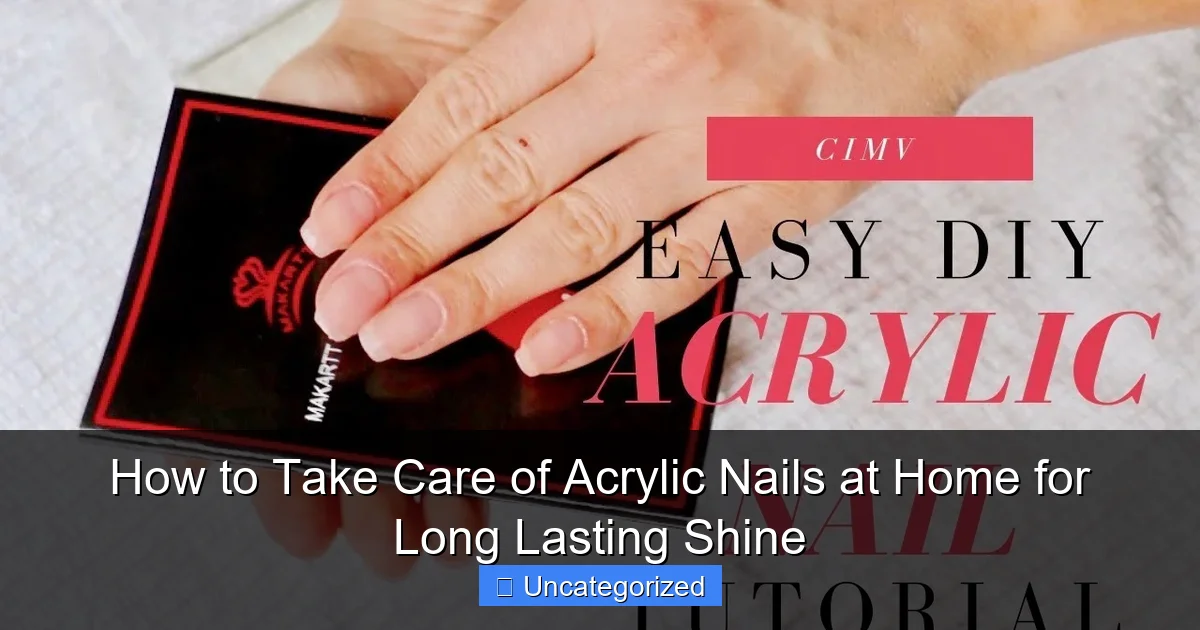
Visual guide about how to take care of acrylic nails at home
Image source: i.ytimg.com
Moisturize Your Cuticles and Nail Beds
One of the most overlooked aspects of acrylic nail care is hydration. Acrylics create a barrier that can trap moisture, leading to dryness and brittleness in the surrounding skin. To combat this, apply a cuticle oil or a rich hand cream at least twice a day—once in the morning and once at night. Look for products containing jojoba oil, vitamin E, or shea butter, as these ingredients deeply nourish the cuticles and prevent them from peeling or cracking. For example, a few drops of almond oil can be gently massaged into the nail beds to stimulate circulation and promote healthy nail growth.
Keep Your Nails Clean and Dry
Acrylics are porous, meaning they can absorb water and bacteria if not properly dried. After washing your hands or doing dishes, pat your nails dry with a clean towel and use a soft brush to remove any debris trapped under the tips. Avoid soaking your nails for extended periods (e.g., long baths or swimming without gloves), as prolonged exposure to water can weaken the acrylic and cause lifting. A practical tip: wear rubber gloves when doing household chores to protect your nails from harsh detergents and moisture.
File and Shape Regularly
Even the most durable acrylics can develop rough edges or snags. Use a fine-grit nail file (180-240 grit) to gently smooth any jagged areas. Always file in one direction to prevent splitting or peeling. If you notice your acrylics growing unevenly, you can reshape them at home using a buffer block to restore symmetry. Pro tip: file your nails after a shower when they’re slightly softer, making the process smoother and less likely to cause damage.
2. Protecting Your Acrylics: Preventing Damage and Breakage
Acrylic nails are strong, but they’re not indestructible. Everyday activities like typing, opening cans, or even gripping objects can put stress on your nails, leading to cracks, chips, or breaks. Protecting your acrylics requires a mix of smart habits and proactive measures.
Use Nails as Tools—Never as Tools
This might sound obvious, but it’s a common mistake. Acrylics are not designed for tasks like prying open packages, scraping off stickers, or digging into hard surfaces. Instead, use your fingers or tools (e.g., scissors, bottle openers) to avoid putting unnecessary pressure on your nails. For example, if you need to open a stubborn jar, place a rubber band around the lid for grip rather than using your nail as a lever.
Apply a Protective Top Coat
A high-quality top coat acts as a shield, protecting your acrylics from UV damage, scratches, and general wear. Look for a gel-like top coat with UV protection (e.g., Seche Vite or Out the Door) and apply a fresh layer every 2-3 days. This not only extends the life of your manicure but also enhances its shine. Tip: Avoid quick-dry top coats with acetone, as they can weaken the acrylic over time.
Be Mindful of Heat Exposure
Extreme heat (e.g., direct sunlight, hot water, or styling tools) can cause acrylics to warp or discolor. For instance, avoid holding your hands too close to a curling iron or blow-dryer. If you’re outdoors on a sunny day, consider wearing gloves or applying sunscreen to your hands to prevent yellowing or fading of your nail polish.
3. Repairing Minor Damage: DIY Fixes for Common Issues
Even with the best care, minor damage like lifting, chips, or scratches can occur. Instead of rushing to the salon, many of these issues can be fixed at home with a few simple tools and techniques.
Addressing Lifting
Lifting happens when the acrylic separates from the natural nail, often due to moisture or improper application. If you notice a small gap at the base, clean the area with acetone, apply a drop of acrylic nail glue, and press the lifted section down firmly for 10-15 seconds. For larger lifts, it’s best to consult a professional, as trapped moisture can lead to fungal infections.
Fixing Chips and Cracks
Small chips can be repaired using a nail buffer to smooth the edges, followed by a fresh layer of acrylic powder and liquid (if you have the supplies). For minor surface cracks, apply a clear gel top coat and cure it under a UV/LED lamp. If the crack is deep, file it down gently and reinforce it with a small amount of acrylic mixture.
Removing Scratches
Surface scratches can be buffed out using a polishing block. Start with the coarsest side to remove imperfections, then work your way to the finer sides for a glossy finish. For deeper scratches, apply a thin layer of clear acrylic or gel and cure it before buffing.
4. Refreshing Your Manicure: Reviving Dull or Faded Acrylics
Over time, even the most vibrant acrylics can lose their luster due to exposure to sunlight, oils, or general wear. Refreshing your manicure at home can restore its shine and color without a full redo.
Soak-Off and Reapply Polish
If your nail polish is chipped or faded, you can remove it at home using an acetone-based remover. Soak a cotton pad with remover, place it on the nail, and wrap it with foil for 10-15 minutes. Gently scrape off the polish with an orangewood stick, then reapply a fresh coat of your favorite color. Tip: Use a base coat first to prevent staining and improve adhesion.
Buff and Shine
For acrylics that are still intact but look dull, a thorough buffing session can work wonders. Use a four-way buffer block: start with the coarse side to smooth, then the medium side for shine, followed by the fine side for gloss. Finish with a polishing cloth to remove any residue. This process can restore the acrylic’s original shine and make it look brand new.
Reinforce with a Gel Top Coat
If your acrylics are starting to lift or feel weak, a gel top coat can add extra strength. Apply a thin layer of builder gel, cure it under a UV/LED lamp, and finish with a glossy top coat. This technique is especially useful for extending the life of your manicure between salon visits.
5. When to Visit a Professional: Recognizing Limits of At-Home Care
While at-home care can handle many issues, some problems require professional intervention. Knowing when to seek help can save you from further damage and ensure your natural nails stay healthy.
Signs You Need a Fill or Removal
- Significant lifting or gaps that can’t be fixed with glue.
- Deep cracks or breaks extending to the natural nail.
- Discoloration or odor under the acrylic, which may indicate infection.
- Growth past the fingertip (usually 2-3 weeks post-application).
In these cases, a nail technician can safely remove the acrylics, perform a fill, or recommend treatments for underlying issues.
Professional Removal vs. At-Home Removal
While it’s possible to remove acrylics at home (using acetone and foil), this method can be harsh on your natural nails. A professional will use specialized tools and techniques to minimize damage. If you must remove them yourself, follow these steps:
- File the top layer of acrylic to break the seal.
- Soak cotton pads in 100% acetone and place them on the nails.
- Wrap each finger in foil and wait 20-30 minutes.
- Gently push off the softened acrylic with an orangewood stick.
- Moisturize your nails and cuticles afterward.
Regular Maintenance Visits
Even with excellent at-home care, schedule a salon visit every 2-3 weeks for fills. This prevents excessive lifting and ensures your acrylics stay balanced with your natural nail growth.
6. Long-Term Nail Health: Caring for Your Natural Nails
Acrylics shouldn’t come at the expense of your natural nail health. Long-term care ensures your nails stay strong and resilient, even between manicures.
Give Your Nails a Break
Prolonged acrylic wear can weaken natural nails. Take a 2-4 week break every 3-6 months to let your nails breathe. During this time, focus on strengthening treatments like keratin-rich polishes or biotin supplements.
Nutrition for Nail Strength
A diet rich in protein, biotin, and omega-3 fatty acids promotes healthy nail growth. Incorporate foods like eggs, nuts, salmon, and leafy greens. Consider a biotin supplement (1,000-2,500 mcg daily) for added support.
Hydration Inside and Out
Drink plenty of water to keep your nails hydrated from within. Pair this with a nightly routine of cuticle oil and hand cream to lock in moisture.
Data Table: Recommended Products for At-Home Acrylic Care
| Product Type | Recommended Brands | Key Benefits |
|---|---|---|
| Cuticle Oil | OPI ProSpa, Essie Apricot Cuticle Oil | Hydrates and prevents peeling |
| Top Coat | Seche Vite, Sally Hansen Insta-Dri | Long-lasting shine and protection |
| Nail File | Glass Nail File, Mia Secret 240/240 Grit | Prevents splitting and snags |
| Acrylic Glue | Kiss Nail Glue, CND Superbond | Repairs lifting and small gaps |
| Buffing Block | Onsen 4-Way Buffer, MelodySusie Buffer | Restores shine and smooths edges |
By following these guidelines, you can enjoy stunning, long-lasting acrylic nails without constant salon visits. Remember, consistency is key—small daily efforts add up to significant results. With the right care, your acrylics will stay flawless, shiny, and healthy for weeks to come. Now, go ahead and flaunt those beautiful nails with confidence!
Frequently Asked Questions
How do I prevent lifting and chipping of my acrylic nails at home?
To prevent lifting and chipping, avoid prolonged water exposure and wear gloves during chores. Keep your acrylic nails clean and dry, and apply a nail strengthener to reinforce weak areas.
What’s the best way to maintain shine on acrylic nails at home?
Buff your acrylic nails gently with a soft buffer block and apply a high-gloss top coat every few days to restore shine. Avoid using harsh nail polish removers to preserve the finish.
Can I use cuticle oil on acrylic nails, and how often?
Yes, apply cuticle oil daily to keep the skin around your acrylic nails hydrated and prevent dryness or cracking. Focus on the nail base to maintain flexibility and reduce lifting.
How to take care of acrylic nails between salon visits?
Fill in gaps at the nail base with a nail adhesive and gently file rough edges. Moisturize cuticles and avoid using nails as tools to prevent damage.
Why do my acrylic nails feel weak, and how can I strengthen them?
Weakness can result from improper application or moisture exposure. Use a protein-rich nail treatment and limit water contact to keep your acrylic nails durable.
How often should I clean under my acrylic nails?
Clean under your acrylic nails weekly using a soft brush and mild soap to prevent bacteria buildup. Ensure they’re fully dry afterward to avoid moisture-related lifting.