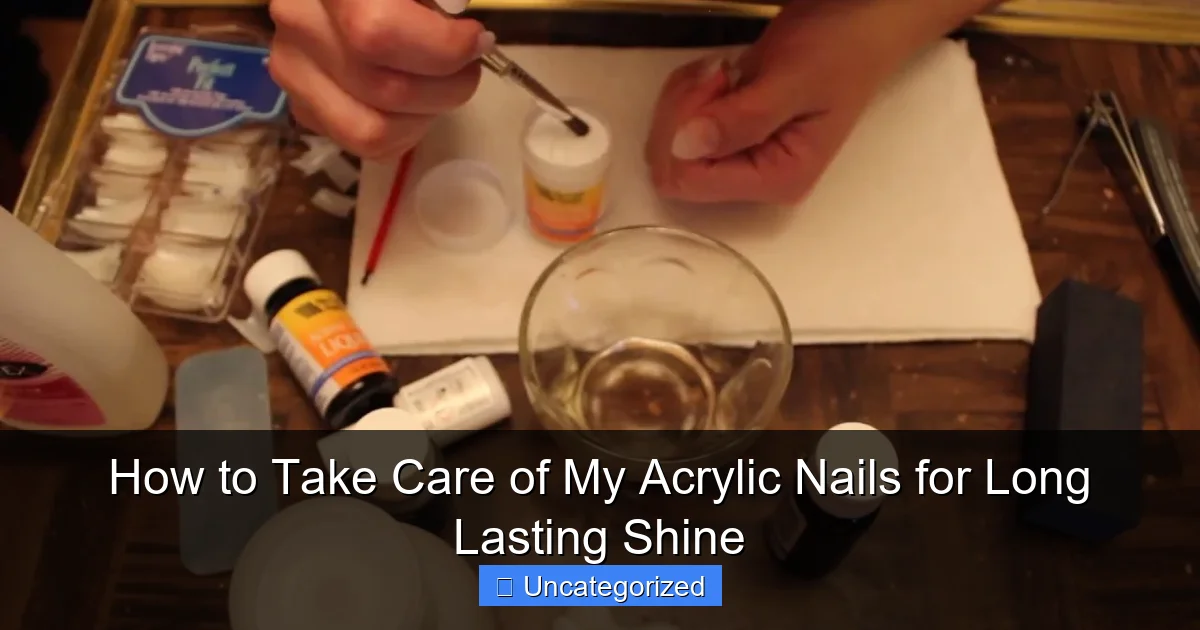
Featured image for how to take care of my acrylic nails
Image source: i.ytimg.com
Keep your acrylic nails flawless and long-lasting by practicing proper aftercare and avoiding harsh conditions. Moisturize cuticles daily, wear gloves during chores, and avoid using your nails as tools to prevent lifting or breakage. Regular fills every 2–3 weeks and gentle handling ensure a high-gloss shine that lasts.
Key Takeaways
- Moisturize daily: Apply cuticle oil to prevent dryness and cracking.
- Avoid harsh chemicals: Wear gloves when cleaning or using strong products.
- Limit water exposure: Keep nails dry to prevent lifting or weakening.
- Use gentle tools: Opt for soft buffers and non-acetone polish removers.
- Schedule fills: Maintain every 2-3 weeks to ensure nail integrity.
- Protect from impact: Avoid using nails as tools to prevent breaks.
📑 Table of Contents
- How to Take Care of My Acrylic Nails for Long Lasting Shine
- Understanding Acrylic Nails: What They Are and How They Work
- Daily Habits for Maintaining Acrylic Nails
- Professional Maintenance: When and How to Visit the Salon
- Protecting and Enhancing Shine: Top Coat and Polishing Tips
- Removal and Nail Health: What to Do When It’s Time to Remove
- Data Table: Acrylic Nail Care Schedule & Tips
- Conclusion
How to Take Care of My Acrylic Nails for Long Lasting Shine
Acrylic nails have become a staple in modern beauty routines, offering a durable, customizable, and glamorous extension to natural nails. Whether you’re a first-time wearer or a seasoned acrylic enthusiast, one question always arises: how to take care of my acrylic nails? The allure of acrylics lies not just in their aesthetic appeal but in their longevity—when properly maintained, they can last up to 3–4 weeks between fills. Yet, without the right care, even the most expertly applied set can chip, lift, or dull, leaving you frustrated and back at the salon sooner than expected.
Taking care of acrylic nails is more than just a weekly touch-up; it’s a holistic approach that involves daily habits, protective measures, and timely professional maintenance. From preventing lifting and breakage to preserving that salon-fresh shine, this guide dives deep into the best practices, insider tips, and expert-backed strategies to help your acrylics look flawless for weeks. Whether you’re typing at a desk, doing dishes, or enjoying a night out, your nails can remain strong, beautiful, and resilient. With the right knowledge and routine, you’ll not only extend the life of your acrylics but also protect your natural nail health underneath.
Understanding Acrylic Nails: What They Are and How They Work
Composition and Application Process
Acrylic nails are created using a combination of liquid monomer and powder polymer, which chemically bond to form a hard, durable layer over your natural nails. The process begins with a nail technician filing and shaping your natural nails, applying a primer to enhance adhesion, and then using a brush to build the acrylic in layers. This mixture hardens in minutes, resulting in a strong, sculpted nail that can be shaped into stiletto, coffin, almond, or square forms. Unlike gel or dip systems, acrylics are known for their strength and durability, making them ideal for people with weak or brittle natural nails.
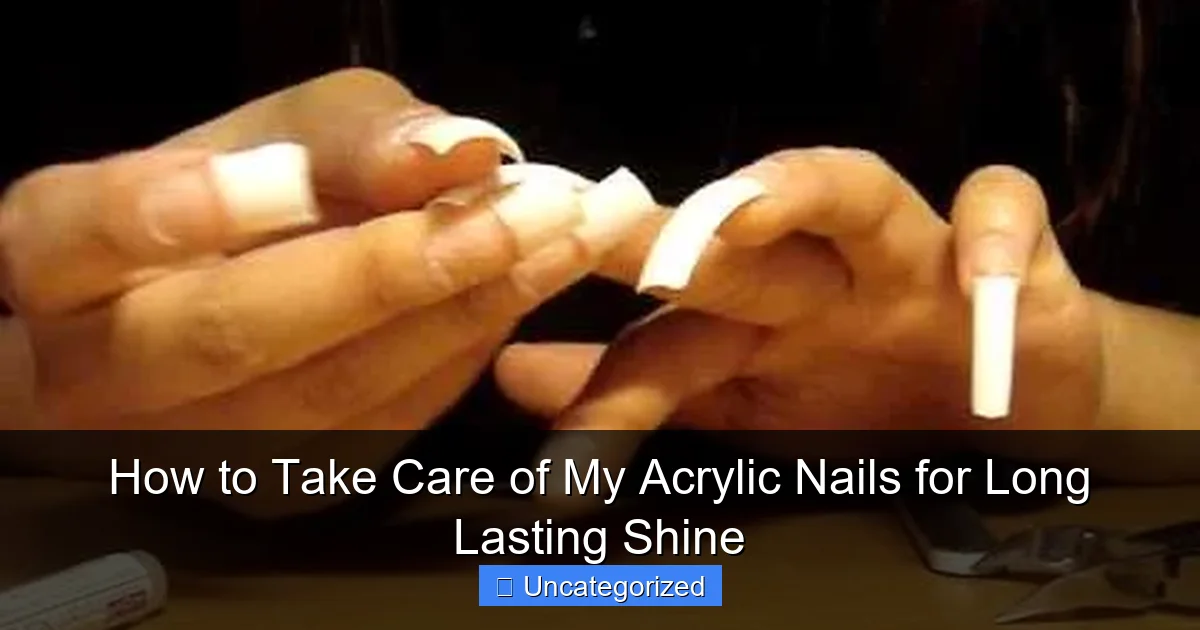
Visual guide about how to take care of my acrylic nails
Image source: i.ytimg.com
During application, the technician ensures the acrylic is properly sealed at the cuticle and free edge to prevent water, bacteria, and debris from getting trapped underneath. A well-applied set should feel snug, with no air bubbles or uneven thickness. The final step involves buffing and polishing to achieve a smooth, glossy finish. Understanding this process is essential because it highlights the importance of sealing and adhesion—two areas where improper care can lead to lifting and premature damage.
Why Acrylic Nails Require Special Care
While acrylics are strong, they are not indestructible. They are a foreign material bonded to your natural nail, and over time, the natural nail grows, creating tension at the cuticle area. This growth, combined with daily wear and tear, can cause lifting—where the acrylic separates from the natural nail. Once lifting begins, it creates a pocket where moisture, bacteria, and dirt can accumulate, increasing the risk of fungal infections and further detachment.
Moreover, acrylics are susceptible to chipping, yellowing, and dullness due to exposure to chemicals, UV light, and physical stress. Unlike natural nails, acrylics don’t regenerate, so once damage occurs, it must be repaired or replaced. This is why daily care and preventive maintenance are crucial. For example, someone who works with their hands—like a nurse, chef, or artist—will need to take extra precautions compared to someone with a desk job. Recognizing the unique vulnerabilities of acrylics helps you tailor your care routine accordingly.
Daily Habits for Maintaining Acrylic Nails
Keep Your Nails Dry and Clean
Moisture is the #1 enemy of acrylic nails. Prolonged exposure to water, especially hot water, can soften the bond between the acrylic and natural nail, leading to lifting. After washing your hands, showering, or doing the dishes, always dry your nails thoroughly with a clean, lint-free towel. Pay special attention to the cuticle and free edge areas where water can seep in.
Tip: Use a soft-bristled nail brush with mild soap to clean under the nails, but avoid scrubbing too hard. For extra protection, wear waterproof gloves when doing household chores like laundry, dishwashing, or gardening. A study by the Journal of Cosmetic Dermatology found that 68% of acrylic nail failures were linked to moisture exposure during routine cleaning tasks. Wearing gloves can reduce this risk by up to 80%.
Moisturize Your Cuticles and Hands
While keeping your nails dry is important, your skin and cuticles need moisture to stay healthy. Dry cuticles can lead to hangnails, which can catch on clothing or bedding and cause the acrylic to snag or lift. Apply a rich cuticle oil or hand cream at least twice daily—morning and night. Look for products with ingredients like jojoba oil, vitamin E, and shea butter, which nourish and strengthen the nail bed.
Example: Try massaging a few drops of cuticle oil into each nail before bed. This not only hydrates the skin but also helps the acrylic adhere better by keeping the surrounding tissue supple. Avoid oil-based lotions directly on the acrylic surface, as they can break down the polish or top coat over time. Instead, focus on the cuticle and skin around the nail.
Avoid Using Nails as Tools
One of the most common mistakes people make is using their acrylic nails to open soda cans, peel off stickers, or pry open packages. This puts immense stress on the nail structure and can lead to cracks, chips, or complete breakage. Acrylics may look tough, but they are not designed for mechanical work.
Practical tip: Keep a small multi-tool or keychain nail file in your bag or car. Use it for tasks like opening mail or removing price tags. If you’re typing frequently, consider using a silicone finger sleeve or a soft keyboard cover to reduce impact on your nails. Remember: your nails are an accessory, not a utility tool.
Wear Gloves in Harsh Environments
Beyond household chores, acrylics are vulnerable in other environments. If you work in a kitchen, salon, or industrial setting, exposure to heat, steam, chemicals, or solvents can weaken the acrylic or discolor the polish. Always wear protective gloves when:
- Using cleaning products (especially bleach or ammonia)
- Handling paint, glue, or adhesives
- Working in extreme heat or cold
- Swimming in chlorinated pools or hot tubs
Chlorine, in particular, can cause yellowing and brittleness. If you swim regularly, consider applying a UV-protective top coat or wearing fingerless gloves during non-essential water activities.
Professional Maintenance: When and How to Visit the Salon
Schedule Regular Fill-Ins Every 2–3 Weeks
No matter how well you care for your acrylics at home, they will eventually need a fill-in. As your natural nails grow, a visible gap forms between the cuticle and the acrylic. This gap is not just unsightly—it’s a breeding ground for bacteria and moisture. Most professionals recommend a fill-in every 2 to 3 weeks, depending on your nail growth rate and lifestyle.
During a fill-in, the technician will:
- Remove excess polish
- File down the lifted area
- Apply new acrylic to the gap
- Re-shape and re-buff the entire nail
- Apply fresh polish or gel top coat
Skipping fill-ins can lead to excessive lifting, making future repairs more difficult and potentially damaging your natural nails. For example, if you wait 4 weeks, the lift may extend halfway down the nail, requiring more filing and weakening the structure.
Recognize Signs That You Need a Fill or Repair
Don’t wait until your acrylics are falling off to visit the salon. Watch for these early warning signs:
- Lifting at the cuticle: Gently press on the nail near the base. If it moves or feels loose, it’s time for a fill.
- Discoloration or dark spots: Could indicate trapped moisture or early fungal growth.
- Cracks or chips: Even small ones can worsen quickly.
- Unpleasant odor: A sign of bacterial buildup underneath.
If you notice any of these, schedule a repair immediately. A small chip can often be fixed in 10 minutes, but a large lift may require removing and replacing the entire nail, which takes longer and costs more.
Choose the Right Technician and Salon
Not all salons are created equal. A poorly applied or maintained acrylic set can lead to chronic issues like peeling, yellowing, or nail bed damage. When selecting a salon, look for:
- Certified and licensed nail technicians
- Positive reviews mentioning acrylic longevity and cleanliness
- Use of high-quality products (e.g., OPI, CND, Kiara Sky)
- Proper sanitation practices (autoclave tools, disposable files, etc.)
Tip: Ask your technician about their aftercare advice. A good professional will offer personalized tips based on your lifestyle and nail type. For instance, if you have oily nail beds, they might recommend a different primer or base coat to improve adhesion.
Protecting and Enhancing Shine: Top Coat and Polishing Tips
Apply a High-Quality Top Coat Weekly
The secret to long-lasting shine lies in the top coat. A good top coat protects the polish from chipping, seals the edges, and adds a glossy finish. Use a gel or long-wear top coat designed for acrylics, and reapply it every 5–7 days.
How to apply:
- Clean the nail with alcohol to remove oils and residue.
- Apply a thin, even layer of top coat, wrapping the brush around the free edge to seal it.
- Let it dry completely (use a UV lamp if using gel).
Brands like Seche Vite, Essie Good to Go, and Kiara Sky Gelly Off are popular for their durability and shine. Avoid water-based top coats, which wear off quickly.
Buff and Polish for a Salon-Like Shine
Over time, acrylics can lose their luster due to micro-scratches and surface wear. To restore shine, use a buffing block or fine-grit buffer once a week. Gently buff the surface in one direction—never in circles—to avoid thinning the acrylic.
Follow up with a polishing pad or a drop of cuticle oil to bring out the shine. This technique, known as “buffing to glass,” can make your nails look freshly done without a salon visit. Example: After a week of typing, buff your nails for 30 seconds and apply oil—your coworkers will think you just got a manicure.
Prevent Yellowing and Discoloration
Acrylics can yellow due to UV exposure, smoking, or dark polishes. To prevent this:
- Use a UV-protective base coat (especially under dark colors)
- Apply a stain-resistant top coat if wearing red, blue, or black polish
- Avoid smoking or using nicotine products
- Store polish in a cool, dark place
If yellowing occurs, a professional buffing or polish change can often resolve it. For stubborn stains, a salon-grade whitening treatment may be needed.
Removal and Nail Health: What to Do When It’s Time to Remove
Never Peel or Force Off Acrylics
One of the worst things you can do is peel or pry off your acrylics. This removes layers of your natural nail, leading to thinning, peeling, and sensitivity. The only safe removal method is professional soaking.
At the salon, the technician will:
- File down the top layer of acrylic
- Soak each nail in acetone for 10–15 minutes
- Gently push off the softened acrylic with a wooden stick
- Buff and condition the natural nail
Never use metal tools or excessive force. Acetone soaks are safe when done properly, but frequent removal can dry out nails, so follow up with deep conditioning treatments.
Nourish Your Natural Nails After Removal
After removing acrylics, your natural nails may feel weak or brittle. Give them time to recover with a 3–4 week break before reapplying. During this time:
- Apply a nail hardener or strengthening treatment
- Use cuticle oil 2–3 times daily
- Wear gloves when doing wet work
- Eat a diet rich in biotin, protein, and omega-3s
Example: Try a biotin supplement (2.5 mg daily) and a nail serum with keratin. Many users report stronger, faster-growing nails within 4–6 weeks.
Know When to Take a Break
Continuous wear of acrylics can weaken the natural nail over time. Signs you need a break include:
- Chronic lifting or peeling
- Yellowing or discoloration
- Pain or sensitivity at the nail bed
- Slow nail growth
Taking a 4–6 week break every 3–4 months allows your nails to regenerate and stay healthy. During this time, opt for a natural manicure or a gentle gel overlay.
Data Table: Acrylic Nail Care Schedule & Tips
| Task | Frequency | Product/Tool | Pro Tip |
|---|---|---|---|
| Apply cuticle oil | 2x daily | Jojoba oil, vitamin E oil | Massage gently to boost circulation |
| Reapply top coat | Weekly | Seche Vite, Kiara Sky Gelly Off | Seal the free edge to prevent chipping |
| Buff nails | Every 7–10 days | Fine-grit buffer, polishing pad | Use light pressure to avoid thinning |
| Salon fill-in | Every 2–3 weeks | Acrylic monomer/polymer | Choose a licensed, reputable technician |
| Wear gloves | During wet/harsh tasks | Rubber or nitrile gloves | Change gloves if they tear or leak |
| Acrylic removal | Every 6–8 weeks (or as needed) | Acetone, foil wraps | Never peel—always soak professionally |
Conclusion
Taking care of your acrylic nails isn’t just about keeping them shiny—it’s about preserving their strength, preventing damage, and protecting your natural nail health. By understanding how acrylics work and adopting a consistent care routine, you can enjoy beautiful, long-lasting nails for weeks at a time. From daily habits like moisturizing and wearing gloves to professional maintenance like fill-ins and proper removal, every step plays a crucial role in your nail’s longevity.
Remember, how to take care of my acrylic nails is a question with many answers—each tailored to your lifestyle, environment, and nail type. Whether you’re a busy professional, a creative artist, or a stay-at-home parent, the key is consistency and awareness. Use the tips in this guide to build a personalized routine, and don’t hesitate to consult your nail technician for customized advice. With the right care, your acrylics won’t just look stunning—they’ll stay that way, week after week, with that enviable, salon-fresh shine.
Frequently Asked Questions
How do I keep my acrylic nails from lifting or chipping?
To prevent lifting or chipping, avoid exposing your acrylic nails to excessive water, harsh chemicals, or physical stress. Use gloves while cleaning and apply cuticle oil daily to maintain flexibility and adhesion.
How often should I fill or maintain my acrylic nails?
Schedule a fill every 2–3 weeks to address new nail growth and maintain the shape of your acrylic nails. Regular upkeep prevents gaps that can trap bacteria or cause breakage.
Can I use regular nail polish on my acrylic nails?
Yes, you can apply regular nail polish on acrylic nails, but always use a non-acetone remover to avoid weakening the acrylic. Opt for a strengthening base coat for added protection.
Why do my acrylic nails look dull, and how can I restore shine?
Dullness often results from product buildup or lack of moisture. Clean your nails with a gentle buffer and apply a nourishing top coat or cuticle oil to revive shine.
How can I safely remove acrylic nails at home?
Soak a cotton pad in acetone, place it on your nail, and wrap with foil for 15–20 minutes to loosen the acrylic. Gently push off the residue with a cuticle stick—never force or peel them off.
What’s the best way to moisturize acrylic nails and cuticles?
Apply cuticle oil or a hydrating hand cream 2–3 times daily to keep the skin and acrylic nails flexible. Focus on the nail base and edges to prevent dryness and cracking.