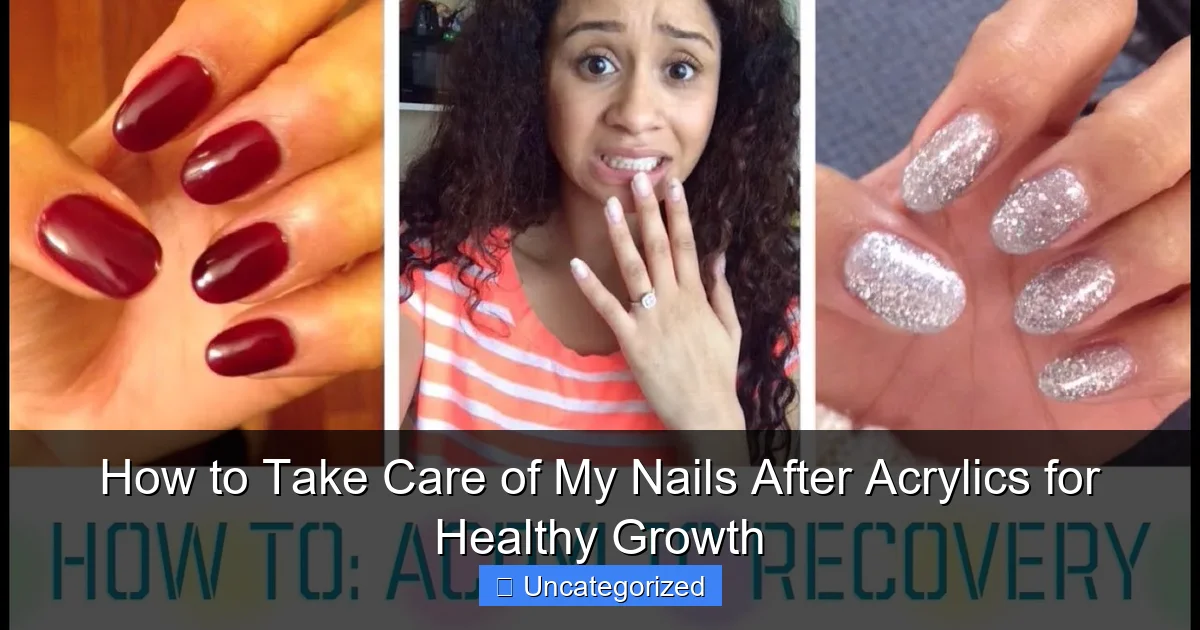
Featured image for how to take care of my nails after acrylics
Image source: i.ytimg.com
Moisturize and nourish your nails daily to repair damage and support healthy growth after acrylics—use cuticle oil and a rich hand cream to restore hydration and strengthen weak, peeling nails. Give your nails a break from enhancements for at least 2–4 weeks to allow natural recovery and prevent further thinning or breakage.
Key Takeaways
- Moisturize daily: Apply cuticle oil to nourish nails and prevent dryness.
- Keep nails dry: Limit water exposure to avoid weakening natural nails.
- File gently: Use a soft file to shape without damaging the nail bed.
- Wear gloves: Protect nails during chores to prevent breakage and trauma.
- Give nails a break: Avoid reapplying acrylics immediately to allow recovery.
- Eat nail-friendly foods: Boost growth with protein, biotin, and vitamins.
📑 Table of Contents
- How to Take Care of My Nails After Acrylics for Healthy Growth
- 1. Immediate Post-Acrylic Nail Recovery: What to Do Right After Removal
- 2. Daily Nail Care Routine for Long-Term Health
- 3. Nutrition and Supplements: Fueling Nail Regrowth from Within
- 4. Repair and Strengthen with Targeted Treatments
- 5. Avoiding Common Pitfalls During Recovery
- 6. Tracking Progress and Maintaining Long-Term Nail Health
How to Take Care of My Nails After Acrylics for Healthy Growth
Removing your acrylic nails can feel like a moment of freedom, but it often comes with a harsh reality: your natural nails may look thin, brittle, or even damaged. The process of applying and removing acrylics—especially if done repeatedly or incorrectly—can leave your nails dehydrated, weak, and vulnerable to breakage. If you’ve ever asked yourself, “How to take care of my nails after acrylics?”, you’re not alone. Thousands of people who’ve enjoyed the glamour of acrylic extensions are now seeking ways to restore their natural nail health and promote strong, healthy growth.
Acrylics, while visually appealing, involve the use of strong adhesives, harsh solvents like acetone, and sometimes improper removal techniques that can strip the nail plate of moisture and essential proteins. The result? Peeling, splitting, and slow regrowth. But here’s the good news: with the right care routine, your nails can recover and even thrive. This comprehensive guide will walk you through every step of post-acrylic nail care—from immediate recovery to long-term maintenance. Whether you’re transitioning back to natural nails for health reasons, a lifestyle change, or simply a break from enhancements, this article is your roadmap to stronger, healthier nails. By following these expert-backed strategies, you’ll not only repair the damage but also create an environment where your natural nails can grow longer and more resilient than ever before.
1. Immediate Post-Acrylic Nail Recovery: What to Do Right After Removal
The first 48 to 72 hours after removing acrylics are critical. Your nails are in a fragile state, having been subjected to prolonged chemical exposure, dehydration, and physical stress. The goal during this period is to stabilize, hydrate, and protect your natural nail plate to prevent further damage and kickstart the healing process.
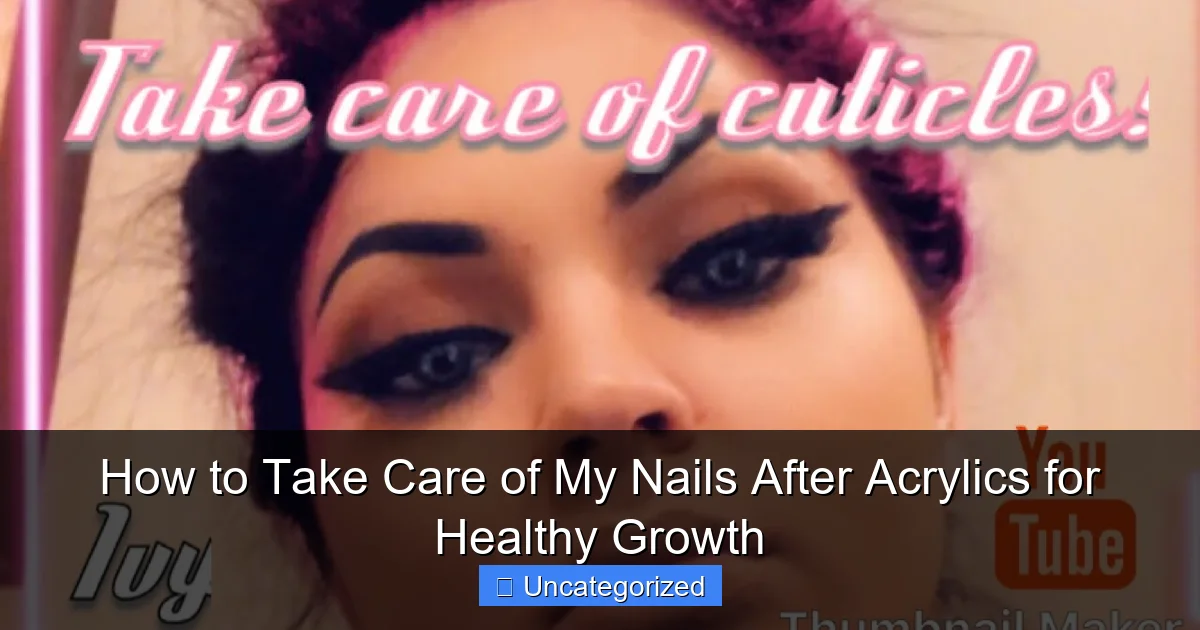
Visual guide about how to take care of my nails after acrylics
Image source: i.ytimg.com
Assess the Damage
Before diving into treatments, take a close look at your nails. Are they peeling in layers? Do they have white spots or ridges? Is the surface smooth or rough? These signs can indicate different types of trauma. For example:
- Peeling or flaking: Usually due to moisture loss or improper removal (e.g., peeling off acrylics instead of soaking).
- Ridges (horizontal or vertical): Often caused by trauma to the nail matrix or nutritional deficiencies.
- Yellow or stained nails: A result of prolonged contact with pigments in nail products or fungal issues (if accompanied by thickening or odor).
<
Document your nail condition with photos. This helps track progress over time and identify improvements or setbacks.
Start Hydration with a Nourishing Soak
Begin with a warm water soak to gently rehydrate your nails and cuticles. Add a few drops of jojoba oil or olive oil to the water—both are excellent emollients that mimic the skin’s natural oils. Soak your nails for 10–15 minutes, then gently pat dry. This helps soften the nail plate and prepares it for deeper treatments.
Example: Try this nightly routine: Fill a bowl with warm water, add 1 tsp jojoba oil and 2–3 drops of tea tree essential oil (antimicrobial). Soak for 12 minutes, then apply cuticle oil before bed.
Apply a Recovery-Enhancing Nail Serum or Treatment
Look for products containing biotin, keratin, panthenol (vitamin B5), or hyaluronic acid. These ingredients help rebuild the nail structure and retain moisture. Apply the serum directly to clean, dry nails and massage it into the cuticles and surrounding skin.
- Biotin: Supports keratin production, the protein that makes up nails.
- Keratin: Repairs and strengthens the nail plate.
- Hyaluronic acid: Attracts and retains moisture in the nail and cuticle area.
Apply this treatment 2–3 times per day for the first week, then reduce to once daily as nails improve.
2. Daily Nail Care Routine for Long-Term Health
Consistency is key when it comes to restoring nail health after acrylics. A daily routine that focuses on hydration, protection, and gentle care will yield the best results. Think of this as your “nail wellness regimen.”
Moisturize Religiously: Nails and Cuticles
Your nails need moisture just like your skin. Use a cuticle oil or nail cream at least twice a day—morning and night. The best times are after washing your hands and before bedtime, as these are when your nails are most dehydrated.
Choose oils rich in:
- Jojoba oil: Mimics natural sebum, easily absorbed.
- Sweet almond oil: Lightweight, high in vitamin E.
- Avocado oil: Deeply nourishing, ideal for very dry nails.
Pro Tip: Keep a cuticle oil pen in your bag, at your desk, and by your bedside. Apply a small amount and massage in circular motions for 30 seconds per hand. This increases blood flow and enhances absorption.
Wear Gloves for Protection
Your natural nails are now more porous and sensitive. Exposure to water, cleaning chemicals, and cold air can cause further drying and breakage. Always wear nitrile or rubber gloves when:
- Doing dishes
- Cleaning with bleach or detergents
- Gardening or handling soil
- Washing your hair (shampoo and conditioner can be harsh)
Even brief exposure to water (like handwashing) can cause nails to swell and weaken. Wearing thin cotton gloves under rubber ones can help prevent sweating and discomfort.
Use a Gentle Nail Cleanser and File
Avoid harsh soaps or alcohol-based hand sanitizers, which strip natural oils. Use a pH-balanced hand soap and a soft nail brush to clean under nails. When filing, use a glass or crystal nail file instead of emery boards. These cause less micro-tearing and help maintain a smooth edge.
Example: File in one direction (not sawing back and forth) to prevent splitting. Keep nails short during recovery—around 2–3 mm beyond the fingertip—to reduce snagging and breakage.
3. Nutrition and Supplements: Fueling Nail Regrowth from Within
Healthy nails grow from the inside out. While topical care is essential, your diet and internal health play a major role in nail strength, growth rate, and resilience. After acrylics, your body may be low on key nutrients that support keratin production and nail matrix function.
Essential Nutrients for Nail Health
Focus on incorporating these nutrients into your diet:
- Protein: Nails are made of keratin, a protein. Eat lean meats, eggs, legumes, and Greek yogurt.
- Biotin (B7): One of the most studied nutrients for nail health. Found in eggs, nuts, sweet potatoes, and spinach. A daily supplement of 2.5–5 mg can help strengthen weak nails.
- Iron: Deficiency leads to brittle nails and spoon-shaped deformities. Sources: red meat, lentils, tofu, fortified cereals.
- Zinc: Supports cell growth and repair. Found in pumpkin seeds, chickpeas, and shellfish.
- Omega-3 Fatty Acids: Reduce inflammation and support moisture retention. Eat salmon, flaxseeds, and walnuts.
- Vitamin E: Antioxidant that protects nail cells. Avocados, almonds, and sunflower seeds are excellent sources.
Top Supplements to Consider
If your diet is inconsistent or you have absorption issues, supplements can help bridge the gap. Look for high-quality formulations with clinically studied ingredients:
- Biotin + Collagen Complex: Supports both nail and skin health. Collagen provides amino acids essential for keratin synthesis.
- Omega-3 (Fish Oil or Algae Oil): Reduces nail brittleness and supports cuticle health.
- Multivitamin with Iron and Zinc: Especially important for women, vegetarians, or those with heavy menstrual cycles.
Tip: Take supplements with meals for better absorption. Avoid mega-doses—excess biotin, for example, can interfere with lab tests. Consult your doctor if you have health conditions or take medications.
Hydration: The Overlooked Hero
Dehydration affects nail flexibility. Aim for 6–8 glasses of water per day, and more if you’re active or in a dry climate. Add lemon or cucumber slices for flavor and extra vitamin C, which supports collagen production.
4. Repair and Strengthen with Targeted Treatments
During the recovery phase, your nails may need more than just moisturizers. Targeted treatments can accelerate repair, fill in ridges, and provide a protective barrier while natural growth occurs.
Use a Nail Hardener (Sparingly)
Many people reach for nail hardeners immediately, but use them with caution. Some hardeners contain formaldehyde, which can over-dry and make nails brittle over time. Instead, opt for:
- Calcium-enriched treatments: Support mineralization without harsh chemicals.
- Peptide-based strengtheners: Help rebuild the nail matrix.
- Acrylic-free nail wraps or silk wraps: Provide temporary reinforcement without the damage of full acrylics.
Example: Apply a calcium-rich nail treatment every other night for 2 weeks, then reduce to 2–3 times per week. Follow with cuticle oil to prevent drying.
Try a Ridge Filler or Nail Buffer
Vertical ridges are common after acrylic removal. While they often smooth out over time, a ridge-filling base coat can create a smoother surface for natural growth and improve appearance. Use a gentle nail buffer (not a coarse file) to lightly smooth the surface—once a week max.
Pro Tip: Apply ridge filler as a base, let it dry, then add a clear top coat. This creates a smooth, even surface that protects the nail and reduces snagging.
Overnight Repair Masks
Use a nail and cuticle mask 2–3 times per week. These thick, occlusive treatments lock in moisture and deliver concentrated nutrients. Apply before bed and wear cotton gloves to enhance absorption.
- Shea butter + vitamin E: Deeply nourishing.
- Beeswax + lanolin: Creates a protective barrier.
- Hyaluronic acid gel + occlusive oil: Hydrates and seals.
Example: Mix 1 tsp shea butter, 1/2 tsp jojoba oil, and 5 drops vitamin E. Warm in hands, apply to nails and cuticles, wear gloves, and sleep.
5. Avoiding Common Pitfalls During Recovery
Even with the best intentions, certain habits can sabotage your progress. Being aware of these pitfalls helps you stay on track and avoid setbacks.
Don’t Pick, Peel, or Bite
One of the most damaging habits is picking at the nail bed or peeling layers. This causes further trauma to the matrix and can lead to permanent damage. Use a nail clipper to trim any loose edges instead. If you’re prone to nail biting, try:
- Bitter-tasting nail polish
- Keeping nails short and smooth
- Wearing gloves during high-stress times
Avoid Harsh Nail Products
Skip acetone-based removers, even for regular polish. Use acetone-free, nourishing removers that contain oils. Also, avoid:
- Alcohol-based hand sanitizers (use moisturizing gels instead)
- Harsh nail polishes with toluene, formaldehyde, or DBP
- Frequent gel manicures (they require UV curing and can dehydrate nails)
Don’t Rush Back to Enhancements
Give your nails at least 4–6 weeks of recovery before considering any new enhancements. If you must, opt for soft gels, dip powders, or press-ons—these are less damaging than traditional acrylics. Always have a professional apply and remove them to minimize trauma.
Monitor for Infections
If you notice:
- Thickening of the nail
- Yellow or green discoloration
- Pain, swelling, or odor
…it could be a fungal or bacterial infection. Consult a dermatologist promptly. Avoid covering it with polish, which can trap moisture and worsen the issue.
6. Tracking Progress and Maintaining Long-Term Nail Health
Recovery isn’t a sprint—it’s a marathon. Tracking your progress helps you stay motivated and adjust your routine as needed.
Keep a Nail Journal
Document your nail health weekly with:
- Photos (same lighting and angle)
- Notes on texture, strength, and growth
- Changes in diet, supplements, or treatments
After 4 weeks, you should notice reduced peeling, smoother texture, and visible growth. After 8–12 weeks, nails should be significantly stronger.
When to Reintroduce Light Enhancements
Once your nails are healthy (no peeling, smooth surface, strong edges), you can consider light enhancements:
- Natural-looking press-ons: Easy to apply and remove.
- Soft gel overlays: Less rigid than acrylics, better for natural nail health.
- Breaks between services: Never wear enhancements continuously. Take 2–4 week breaks.
Lifelong Habits for Strong Nails
Even after recovery, maintain these habits:
- Moisturize daily
- Wear gloves during chores
- Eat a balanced, nutrient-rich diet
- File gently and avoid trauma
- Get regular manicures (professional, gentle ones)
Data Table: Nail Recovery Timeline
| Week | Expected Improvements | Recommended Actions |
|---|---|---|
| 1–2 | Reduced peeling, softer texture | Soak, oil, avoid water exposure, start supplements |
| 3–4 | Visible growth, smoother surface | Introduce strengthener, wear gloves, monitor ridges |
| 5–8 | Stronger edges, less breakage | Reduce treatments, maintain moisturizing, track progress |
| 9–12+ | Healthy, resilient nails | Consider light enhancements, maintain lifelong habits |
Recovering from acrylics is not just about fixing damage—it’s about building a sustainable, healthy nail lifestyle. By following this guide, you’re not only answering “How to take care of my nails after acrylics?” but also investing in the long-term beauty and strength of your natural nails. Remember, patience and consistency are your greatest allies. With time, care, and the right tools, your nails can emerge stronger, healthier, and more beautiful than ever before. Embrace the journey, celebrate small wins, and enjoy the freedom of natural, thriving nails.
Frequently Asked Questions
How can I strengthen my nails after acrylics?
To strengthen nails post-acrylics, apply a nail hardener or keratin treatment and keep them moisturized with cuticle oil daily. Avoid harsh chemicals and wear gloves during chores to prevent further damage.
How to take care of my nails after acrylics to prevent breakage?
Keep nails trimmed short and file gently in one direction to minimize splitting. Use a nourishing base coat and limit exposure to water to maintain flexibility and reduce breakage.
What should I avoid doing after removing acrylics?
Avoid picking or peeling your natural nails, as this can cause layers to tear. Also, skip heavy typing or using nails as tools to prevent stress and weakening.
How often should I moisturize my nails after acrylic removal?
Massage cuticle oil into your nails and surrounding skin 2–3 times daily to restore moisture lost during acrylic wear. Follow with hand cream to lock in hydration.
Can I use nail polish after acrylics, and which kind is best?
Yes, opt for breathable, acetone-free polishes and hydrating formulas to protect recovering nails. A ridge-filling base coat can also smooth out uneven surfaces for healthier growth.
When can I get acrylics again after removal?
Wait 4–6 weeks to let your nails recover fully; look for reduced peeling and white spots as signs of readiness. During this time, prioritize how to take care of my nails after acrylics to promote long-term health.