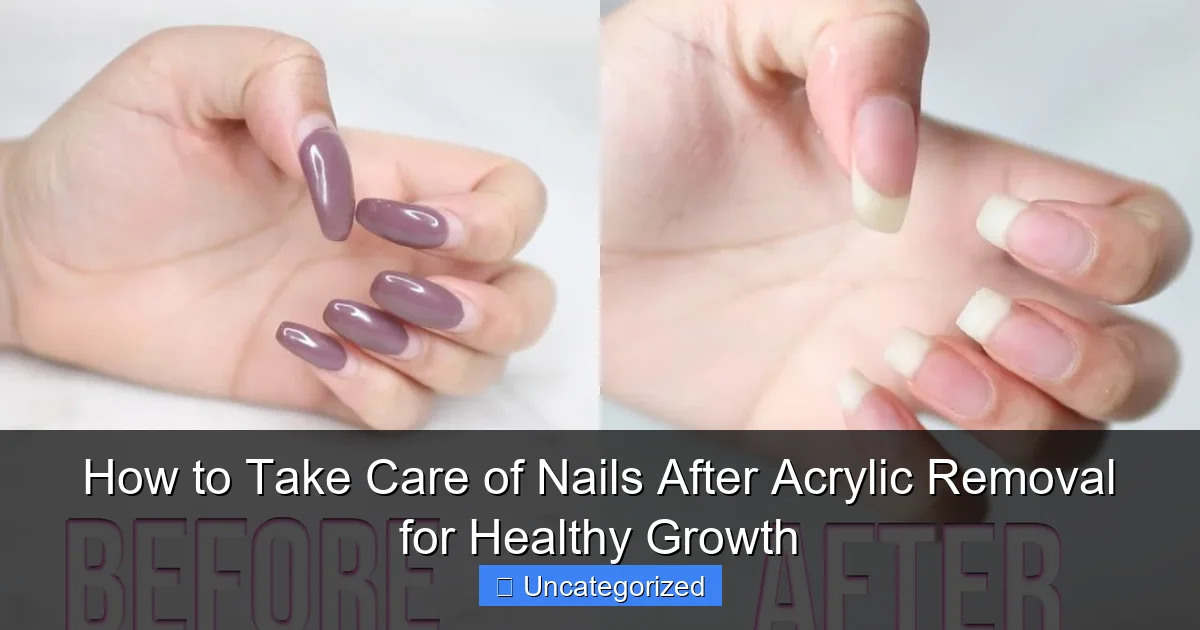
Featured image for how to take care of nails after acrylic removal
Image source: i.ytimg.com
Immediately after acrylic removal, keep nails clean and moisturized to prevent dryness and splitting. Gently file edges, avoid harsh chemicals, and apply a nourishing nail oil or treatment rich in biotin and vitamin E to support strong, healthy regrowth in the weeks ahead.
Key Takeaways
- Moisturize daily: Apply cuticle oil and hand cream to prevent dryness and brittleness.
- Buff gently: Smooth nail surfaces with a soft buffer to avoid further damage.
- Stay hydrated: Drink plenty of water to support strong, healthy nail growth.
- Avoid harsh chemicals: Wear gloves when cleaning to protect nails from irritants.
- Use a nail strengthener: Apply a nourishing treatment to rebuild nail resilience.
- Limit water exposure: Keep nails dry to prevent weakening and peeling.
📑 Table of Contents
- How to Take Care of Nails After Acrylic Removal for Healthy Growth
- Understanding the Impact of Acrylic Removal on Nails
- Immediate Post-Removal Care: The First 72 Hours
- Long-Term Nail Care Routine for Recovery and Growth
- Nutrition and Hydration: Fueling Nail Growth from Within
- Professional and At-Home Treatments to Support Recovery
- Data Table: Nail Recovery Timeline and Progress Tracking
- Conclusion: Patience, Care, and Consistency Are Key
How to Take Care of Nails After Acrylic Removal for Healthy Growth
Acrylic nails have long been a popular choice for those looking to achieve long, polished, and eye-catching nails. Whether for special occasions or daily wear, acrylics offer durability and aesthetic appeal. However, the process of applying and, more importantly, removing acrylic nails can take a significant toll on your natural nail health. After removal, many people notice their nails are thinner, brittle, and prone to peeling. This is due to the mechanical stress of filing during the removal process, as well as the chemical exposure from nail products and solvents like acetone.
The period following acrylic removal is crucial for recovery and long-term nail health. Without proper aftercare, your nails may remain weak, discolored, or even develop infections. The good news? With the right care routine, you can restore your natural nails to their former strength and promote healthy, robust growth. This guide will walk you through every essential step to take care of your nails after acrylic removal, from immediate post-removal care to long-term maintenance. Whether you’ve just had your acrylics taken off or are planning to remove them soon, this comprehensive resource will help you nurture your nails back to health and keep them thriving for months to come.
Understanding the Impact of Acrylic Removal on Nails
Why Acrylic Removal Damages Natural Nails
Acrylic nails are applied using a combination of liquid monomer and powdered polymer, which hardens into a durable shell over your natural nails. While this creates a strong, long-lasting manicure, the removal process often involves soaking in acetone-based nail polish removers for 15–30 minutes and aggressive filing with electric or manual buffers. Both steps can compromise the integrity of your natural nail plate.
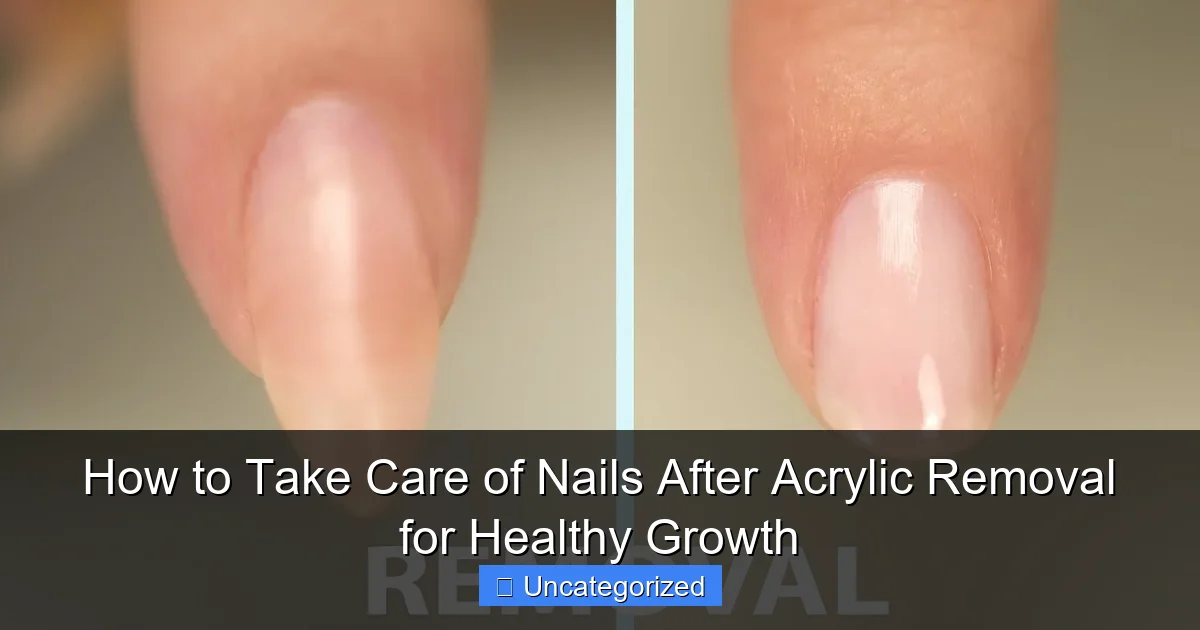
Visual guide about how to take care of nails after acrylic removal
Image source: i.ytimg.com
During removal, the acetone softens the acrylic, but it also dehydrates the natural nail, stripping away essential oils and moisture. This leads to dryness, brittleness, and increased risk of splitting. Additionally, over-filing can thin the nail plate, sometimes even removing layers of the nail itself. According to dermatologists, repeated trauma to the nail matrix (the area under the cuticle where new nail cells are produced) can disrupt normal growth and lead to permanent changes in nail shape or texture.
Signs of Nail Damage After Acrylic Removal
After acrylic removal, it’s common to observe several telltale signs of damage:
- Thin or peeling nails: The top layers of the nail may flake or split easily.
- Discoloration: Yellow, white, or brown streaks may appear due to staining from polish or fungal exposure.
- Ridges: Horizontal or vertical ridges can form as a result of trauma to the nail matrix.
- Brittleness: Nails may snap or chip with minimal pressure.
- Sensitivity or pain: The nail bed may feel tender, especially if the cuticle was damaged during removal.
Recognizing these signs early allows you to take targeted action to repair and protect your nails. The key is to treat your nails as you would a healing wound—nurturing, moisturizing, and shielding them from further harm.
Immediate Post-Removal Care: The First 72 Hours
Step 1: Avoid Harsh Chemicals and Water Exposure
The first 72 hours after acrylic removal are the most critical. Your nails are at their most vulnerable, so it’s essential to minimize exposure to anything that could further dry or damage them. Avoid prolonged contact with water, including dishwashing, swimming, or even frequent handwashing. Water swells the nail plate, which can worsen peeling and splitting.
When you do need to wash your hands, use lukewarm water and wear gloves when cleaning. If you must do dishes, use rubber gloves to protect your nails. This reduces moisture absorption and helps preserve the natural oils in your nail beds.
Step 2: Hydrate with Nail and Cuticle Oils
Moisture is the cornerstone of recovery. Begin applying a high-quality cuticle and nail oil immediately after removal. Look for oils containing:
- Jojoba oil (mimics natural skin oils)
- Sweet almond oil (rich in vitamin E and fatty acids)
- Argan oil (deeply nourishing and antioxidant-rich)
- Vitamin E oil (healing and anti-inflammatory)
Apply 2–3 drops of oil per nail, gently massaging it into the nail plate, cuticles, and surrounding skin. Repeat this 3–4 times a day, especially after washing your hands. A practical tip: keep a small bottle of oil in your purse, desk, and bedside table so you never miss a dose.
Step 3: Use a Nail Hardener or Strengthener (Cautiously)
While it may be tempting to apply a nail hardener right away, use caution. Some hardeners contain formaldehyde or toluene, which can further dry out already weakened nails. Instead, opt for hydrating strengtheners that include ingredients like:
- Hydrolyzed keratin (repairs nail structure)
- Calcium (supports nail density)
- Hyaluronic acid (intense hydration)
- Natural plant extracts (soothing and anti-inflammatory)
Apply a thin layer every other day for the first week, then reduce to 2–3 times per week. Avoid using traditional nail polish during this time—stick to bare nails or a clear, nourishing base coat.
Long-Term Nail Care Routine for Recovery and Growth
Daily Moisturizing and Protection
Once the initial 72 hours have passed, continue a consistent moisturizing routine. Dry, dehydrated nails are more likely to split and peel. In addition to cuticle oil, incorporate a rich hand and nail cream into your daily routine. Look for products with:
- Shea butter (intense hydration)
- Urea (softens and strengthens)
- Lanolin (locks in moisture)
- Peptides (stimulate nail cell regeneration)
Apply the cream morning and night, focusing on the nail folds and cuticles. A great tip: apply cream before bed and wear cotton gloves overnight. This creates a “moisture lock” effect, allowing the ingredients to penetrate deeply while you sleep.
Weekly Nail Treatments
Once a week, treat your nails to a deep-conditioning session. Here’s a simple yet effective routine:
- Soak: Soak your nails in warm olive oil or a mixture of 1 part honey, 1 part olive oil, and 1 part lemon juice for 10 minutes. Honey is a natural humectant, lemon juice gently brightens discoloration, and olive oil deeply nourishes.
- Exfoliate: Gently buff the surface of each nail with a soft nail buffer to remove dead cells and stimulate blood flow. Do not over-buff—use only light pressure and limit to once a week.
- Mask: Apply a DIY nail mask made of 1 tsp castor oil, 1 tsp vitamin E oil, and 1 egg yolk. Leave on for 15 minutes, then rinse with lukewarm water. Castor oil is rich in ricinoleic acid, which promotes nail growth and thickness.
Protect Your Nails from Daily Wear and Tear
Everyday activities can stress recovering nails. To protect them:
- Wear gloves when doing housework, gardening, or using cleaning products.
- Use your knuckles or tools (like a key or stylus) to open packages or press buttons instead of your nails.
- Keep nails short during recovery—longer nails are more prone to snagging and breaking.
- Avoid using your nails as tools (e.g., scraping off labels, peeling stickers).
A practical example: Sarah, a 28-year-old graphic designer, noticed her nails were splitting after acrylic removal. She started wearing rubber gloves during chores and using a stylus for her tablet. Within six weeks, her nails were noticeably stronger and less prone to breakage.
Nutrition and Hydration: Fueling Nail Growth from Within
Essential Nutrients for Healthy Nails
Healthy nails start from the inside. Your diet plays a crucial role in nail strength, growth rate, and resistance to damage. Focus on incorporating these key nutrients:
- Biotin (Vitamin B7): Known to improve nail thickness and reduce splitting. Found in eggs, almonds, sweet potatoes, and salmon. Recommended intake: 2.5–5 mg/day.
- Protein: Nails are made of keratin, a type of protein. Include lean meats, tofu, beans, and Greek yogurt in your diet.
- Iron: Prevents brittle, spoon-shaped nails. Sources: spinach, lentils, red meat, and fortified cereals.
- Omega-3 Fatty Acids: Reduce inflammation and support nail flexibility. Found in fatty fish, flaxseeds, and chia seeds.
- Zinc: Supports nail cell regeneration. Found in pumpkin seeds, chickpeas, and oysters.
- Vitamins A, C, and E: Antioxidants that protect nail cells from oxidative stress and support collagen production.
Hydration: The Overlooked Nail Health Factor
Dehydration affects every part of your body—including your nails. When your body is low on water, it prioritizes vital organs, leaving nails dry and brittle. Drink at least 2–3 liters of water daily, especially if you live in a dry climate or spend time indoors with heating or air conditioning.
A simple way to track hydration: your urine should be pale yellow. Dark yellow or amber indicates dehydration. You can also add electrolytes (like a pinch of sea salt and a squeeze of lemon) to your water for better absorption.
Supplements: Do They Help?
While a balanced diet should provide most nutrients, some people benefit from supplements. Biotin supplements are widely used for nail health. A 2015 study published in the Journal of Cosmetic Dermatology found that 2.5 mg of biotin daily improved nail thickness by 25% and reduced splitting in 63% of participants after six months.
However, supplements are not a magic fix. They work best when combined with a healthy diet, hydration, and external care. Always consult a healthcare provider before starting any new supplement, especially if you have underlying health conditions.
Professional and At-Home Treatments to Support Recovery
When to See a Dermatologist or Nail Specialist
While most nail damage from acrylic removal resolves with proper care, some cases require professional attention. See a dermatologist or licensed nail technician if you experience:
- Persistent pain, redness, or swelling (signs of infection)
- Severe discoloration or black streaks (possible fungal infection or melanoma)
- Deep ridges or pitting that don’t improve after 3 months
- Signs of onycholysis (nail separating from the bed)
A dermatologist can perform tests to rule out fungal infections, psoriasis, or other nail disorders. They may prescribe medicated creams, antifungal treatments, or recommend laser therapy for stubborn issues.
At-Home Devices and Tools
Several at-home tools can support nail recovery:
- LED Light Therapy Devices: Some handheld devices use red or near-infrared light to stimulate blood flow and nail cell regeneration. Use for 5–10 minutes per hand, 3 times a week.
- Nail Drills with Buffing Attachments: For gentle, controlled buffing. Use only on low speed and avoid metal bits that can overheat the nail.
- Electric Nail Files: Useful for smoothing rough edges without over-filing. Choose models with multiple grit options and use only the finest grit for recovery.
Salon Treatments: What to Avoid and What to Try
Avoid getting new acrylics, gels, or even heavy polish during the recovery phase. Instead, opt for:
- Paraffin Wax Treatments: These salon services involve dipping hands into warm paraffin wax, which deeply moisturizes and soothes dry nails and skin. Ideal for monthly maintenance.
- Hydrating Manicures: Look for salons that use oil-based products and avoid harsh scrubs or cuticle cutting. Ask for a “recovery manicure” that includes cuticle oil, hand massage, and a strengthening base coat.
- No-UV Treatments: Avoid UV lamps and LED curing for at least 4–6 weeks. Use regular, air-dry polishes if you must wear color.
Data Table: Nail Recovery Timeline and Progress Tracking
Monitoring your nail recovery can help you stay motivated and adjust your routine as needed. Use this table to track your progress over 12 weeks:
| Week | Expected Changes | Recommended Actions | Red Flags to Watch For |
|---|---|---|---|
| 1–2 | Nails feel thin, dry, or sensitive. Possible peeling or yellowing. | Apply cuticle oil 3x/day. Use moisturizing cream. Avoid water and chemicals. | Pain, swelling, or pus (signs of infection). |
| 3–4 | Less peeling. New growth visible at cuticle. Nails feel stronger. | Start weekly oil soaks. Use a hydrating strengthener 2x/week. | No improvement in brittleness or discoloration. |
| 5–8 | Significant reduction in ridges. Nails grow 2–3 mm. Less breakage. | Introduce weekly nail masks. Begin gentle buffing. | Persistent splitting or lifting. |
| 9–12 | Nails are noticeably thicker. Color returns to normal. Growth rate improves. | Continue oil and cream routine. Consider a paraffin treatment. | New discoloration or separation from the bed. |
*Note: Individual results vary. Some people may see faster or slower progress based on age, health, and nail damage severity.
Conclusion: Patience, Care, and Consistency Are Key
Recovering from acrylic nail removal is not a quick fix—it’s a journey that requires patience, consistency, and a holistic approach. Your nails have endured significant stress, and just like healing a wound, they need time and the right environment to regenerate. The steps outlined in this guide—from immediate hydration to long-term nutrition and protection—form a comprehensive roadmap to restoring nail health.
Remember, healthy nails grow slowly, about 3 mm per month on average. But with daily moisturizing, a nutrient-rich diet, and protective habits, you’ll begin to see visible improvements in just a few weeks. Avoid the temptation to rush the process by applying new enhancements too soon. Instead, embrace this recovery period as an opportunity to reconnect with your natural nails and build a sustainable nail care routine.
In time, your nails will not only recover but thrive—stronger, smoother, and more resilient than before. Whether you choose to wear natural nails permanently or return to enhancements in the future, the foundation you build now will ensure your nails are healthier than ever. Your nails are a reflection of your overall wellness—treat them with the care they deserve.
Frequently Asked Questions
What is how to take care of nails after acrylic removal?
how to take care of nails after acrylic removal is an important topic with many practical applications and benefits.
How can how to take care of nails after acrylic removal help me?
Understanding how to take care of nails after acrylic removal can improve your knowledge and provide practical solutions.