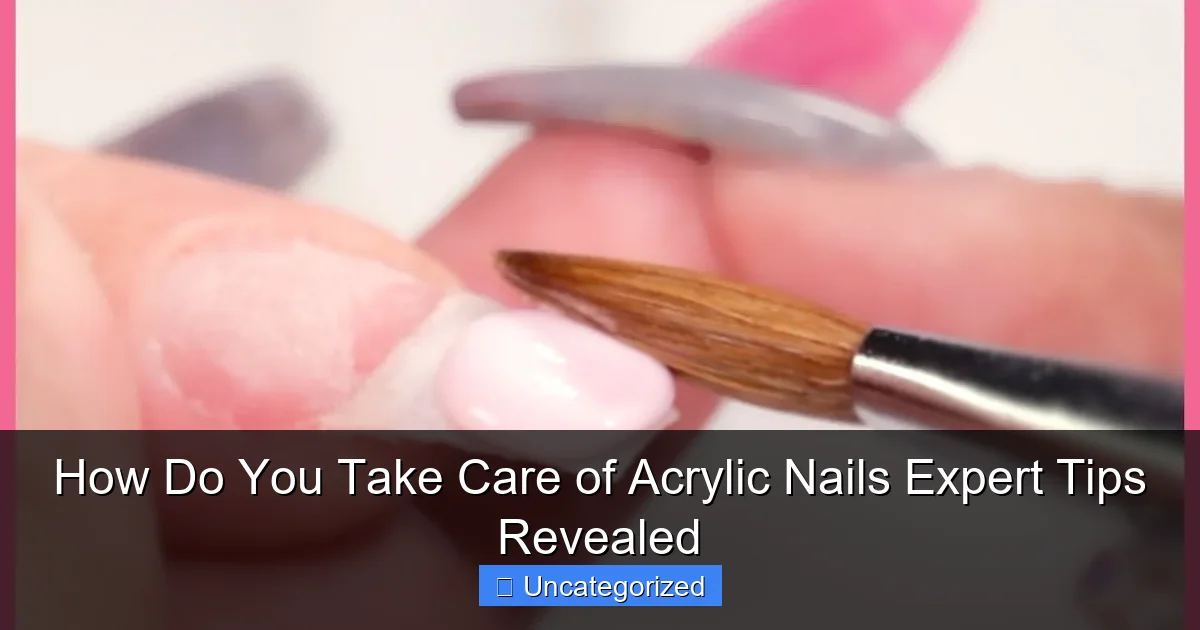
Featured image for how do you take care of acrylic nails
Image source: i.ytimg.com
Proper maintenance is essential to keep acrylic nails looking flawless and lasting longer. Avoid using your nails as tools, keep them clean and dry, and apply cuticle oil daily to prevent lifting and breakage. Regular fills every 2–3 weeks and avoiding harsh chemicals will ensure your acrylics stay strong, shiny, and beautiful.
Key Takeaways
- Moisturize cuticles daily: Use cuticle oil to prevent dryness and maintain nail health.
- Avoid excessive water exposure: Wear gloves during chores to protect nails from weakening.
- File gently, not aggressively: Shape nails with a fine-grit file to prevent damage.
- Skip harsh chemicals: Opt for acetone-free removers to preserve acrylic integrity.
- Refill every 2-3 weeks: Schedule fills to prevent lifting and maintain appearance.
- Don’t use nails as tools: Avoid picking or scraping to prevent breakage and injury.
📑 Table of Contents
- Introduction: The Art and Science of Maintaining Acrylic Nails
- Understanding Acrylic Nails: The Foundation of Care
- Daily Care Routine: Protecting Your Acrylic Nails
- Weekly and Monthly Maintenance: Professional and At-Home Tips
- Special Considerations: Addressing Common Issues
- Long-Term Care: Maximizing Lifespan and Health
- Expert Insights: Data and Best Practices
- Conclusion: Mastering Acrylic Nail Care for Lasting Beauty
Introduction: The Art and Science of Maintaining Acrylic Nails
Acrylic nails have revolutionized the beauty industry, offering a durable, customizable, and long-lasting alternative to natural nails. Whether you’re a first-timer or a seasoned enthusiast, the allure of acrylics lies in their ability to transform your hands into a canvas of creativity. From bold colors and intricate designs to elegant shapes and lengths, acrylics provide a level of versatility unmatched by other nail enhancements. However, their beauty and longevity hinge on one critical factor: proper care.
While acrylic nails are known for their strength, they are not indestructible. Without the right maintenance, they can lift, chip, or even damage your natural nails. This guide, How Do You Take Care of Acrylic Nails: Expert Tips Revealed, dives deep into the essential practices, products, and routines that will keep your acrylics looking flawless for weeks. From daily habits to professional upkeep, we’ll explore everything you need to know to maximize their lifespan and health. Whether you’re aiming for a high-gloss finish or a subtle matte look, this comprehensive resource will empower you with the knowledge to maintain salon-quality results at home.
Understanding Acrylic Nails: The Foundation of Care
What Are Acrylic Nails?
Acrylic nails are artificial enhancements created by combining a liquid monomer (typically ethyl methacrylate) with a powdered polymer (usually methyl methacrylate). The mixture forms a malleable dough that is sculpted onto the natural nail or a nail tip, then hardened through a chemical reaction. The result is a durable, flexible, and highly customizable overlay that can last 2–6 weeks with proper care.
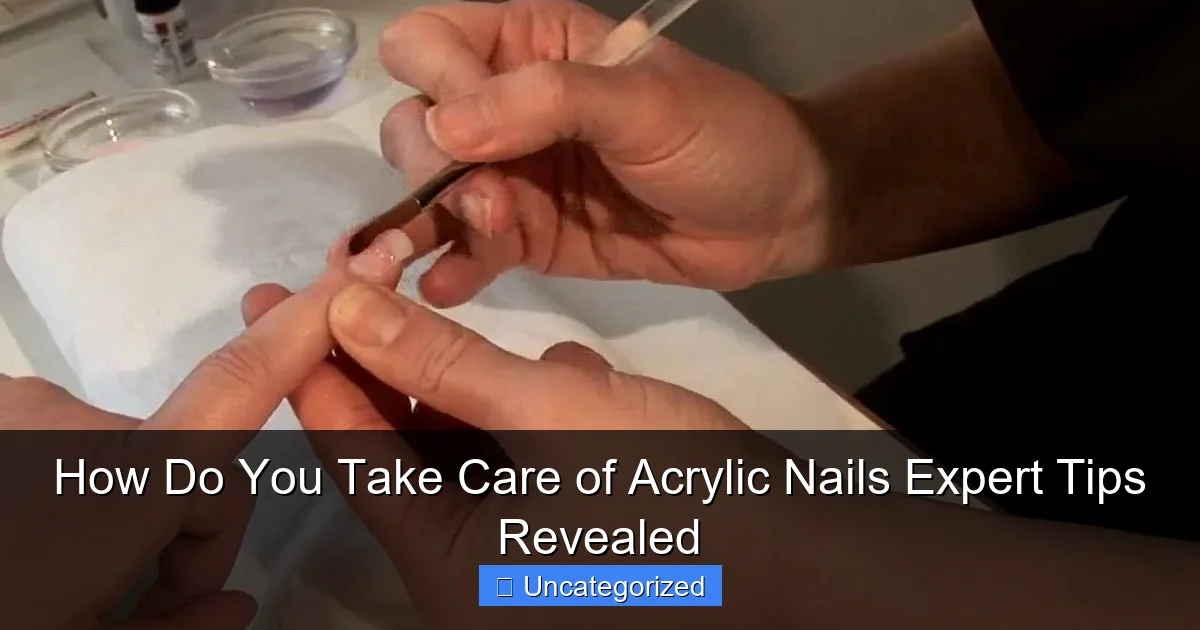
Visual guide about how do you take care of acrylic nails
Image source: i.ytimg.com
Unlike gel nails, which cure under UV light, acrylics cure through air exposure and chemical bonding. This makes them ideal for individuals with weak or brittle natural nails, as they provide structural support. However, their composition also makes them more susceptible to certain types of damage, such as lifting or yellowing, if not maintained correctly.
Why Care Matters: The Risks of Neglect
Neglecting your acrylic nails can lead to several issues:
- Lifting: When the acrylic separates from the natural nail, creating a gap where bacteria and moisture can accumulate.
- Chipping or cracking: Often caused by trauma or improper removal techniques.
- Yellowing: Resulting from exposure to oils, polishes, or environmental factors.
- Infections: Bacterial or fungal growth in lifted areas or cuticles.
For example, a 2022 Journal of Cosmetic Dermatology study found that 68% of clients who skipped fill-ins experienced lifting within 3 weeks, compared to just 12% of those who maintained regular appointments. This underscores the importance of proactive care.
Key Components of Acrylic Maintenance
To avoid these risks, focus on three pillars:
- Hygiene: Keep nails clean and dry to prevent infections.
- Protection: Shield nails from excessive water, heat, and physical stress.
- Professional upkeep: Schedule regular fill-ins and check-ups.
Daily Care Routine: Protecting Your Acrylic Nails
Moisturizing: The Secret to Longevity
Acrylic nails are non-porous, meaning they don’t absorb moisture. This can lead to dry, brittle cuticles and natural nails underneath. To combat this:
- Cuticle oil: Apply a nourishing oil (e.g., jojoba, almond, or vitamin E) 2–3 times daily. Massage it into the base of the nail and cuticles to improve circulation and prevent cracking.
- Hand cream: Use a thick, non-greasy cream (like CeraVe or O’Keeffe’s) at night. Focus on the skin around the nails, not the acrylic itself.
Pro Tip: Keep a travel-sized cuticle oil in your bag for on-the-go hydration. For example, Essie Apricot Cuticle Oil is lightweight and absorbs quickly, making it ideal for daily use.
Cleaning: Preventing Buildup and Infections
Dirt and bacteria can accumulate under acrylics, especially in lifted areas. Clean your nails daily:
- Soak a cotton ball in non-acetone nail polish remover (to avoid weakening acrylics).
- Gently wipe the nail surface and under the free edge.
- Rinse with lukewarm water and pat dry.
For deep cleaning, use a nail brush with antibacterial soap once a week. Avoid harsh scrubbing, which can damage the acrylic.
Water Exposure: Minimizing Damage
Excessive water exposure softens the bond between acrylic and natural nail, increasing lifting risk. Protect your nails by:
- Wearing dishwashing gloves when cleaning or doing laundry.
- Limiting prolonged soaking (e.g., avoid long baths or swimming in chlorinated pools).
- Drying nails thoroughly after washing hands.
Example: If you’re a frequent swimmer, apply a thin layer of nail dehydrator before entering the pool to create a moisture-resistant barrier.
Heat and Chemicals: Avoiding Hazards
Acrylics can melt or discolor when exposed to:
- Hot water (above 100°F/38°C).
- Oils and lotions (e.g., coconut oil, which can yellow acrylics).
- Harsh chemicals (e.g., bleach, acetone).
Store acetone-based products away from your nails, and opt for acetone-free removers when possible.
Weekly and Monthly Maintenance: Professional and At-Home Tips
Filing and Shaping: Keeping Edges Smooth
As your natural nails grow, the acrylic may develop rough or uneven edges. To maintain a polished look:
- Use a 180-grit file for shaping and a 240-grit buffer for smoothing.
- File in one direction (not back-and-forth) to prevent splitting.
- Round sharp corners to reduce snagging.
Caution: Over-filing can thin the acrylic and weaken its structure. Limit filing to once every 1–2 weeks.
Filling and Refills: When and How to Schedule
Fill-ins are essential to maintain the bond between acrylic and natural nail. Schedule them every 2–3 weeks, depending on your nail growth rate. Signs you need a fill-in:
- Visible gaps at the cuticle area.
- Discoloration or yellowing near the base.
- Lifting or separation at the edges.
At the salon, the technician will:
- Remove old polish.
- Buff the surface lightly.
- Apply new acrylic to the regrowth area.
- Re-shape and polish.
Polishing: Choosing the Right Products
Use acrylic-safe nail polishes and avoid:
- Quick-dry top coats (they can cause cracking).
- Acetone-based removers (use non-acetone alternatives).
- Glitter polishes (hard to remove and can trap moisture).
For a long-lasting finish, apply a base coat, 2–3 layers of color, and a high-shine top coat (e.g., Seche Vite or Out the Door).
Deep Conditioning: Strengthening Natural Nails
While acrylics protect natural nails, they can become dehydrated. Once a month:
- Soak nails in warm olive oil for 10–15 minutes.
- Apply a keratin-rich treatment (e.g., Nail Tek Intensive Therapy).
- Wrap nails in foil for 5 minutes to enhance absorption.
Special Considerations: Addressing Common Issues
Dealing with Lifting: Causes and Solutions
Lifting occurs when acrylic detaches from the natural nail. Common causes:
- Excessive water exposure.
- Improper application (e.g., not prepping the nail bed).
- Using oily products near the cuticle.
To fix minor lifting:
- Clean the lifted area with non-acetone remover.
- Apply nail glue (e.g., Nailene Ultra Quick) to the gap.
- Press down firmly and hold for 30 seconds.
- Buff the surface lightly to blend.
For severe lifting, visit a professional to avoid infections.
Yellowing and Staining: Prevention and Removal
Yellowing can result from:
- Smoking or using tobacco products.
- Dark nail polishes without a base coat.
- UV exposure (e.g., tanning beds).
Prevention:
- Always use a stain-resistant base coat.
- Wear gloves when using hair dye or cleaning agents.
To remove yellowing:
- Soak nails in a baking soda and hydrogen peroxide paste (1:1 ratio) for 5 minutes.
- Rinse and dry thoroughly.
- Buff with a whitening buffer block.
Repairing Chips and Cracks
For small chips:
- Apply a clear acrylic repair powder with monomer liquid.
- Buff to blend with the surrounding nail.
For deep cracks, consult a professional to prevent further damage.
Long-Term Care: Maximizing Lifespan and Health
When to Remove Acrylics: Signs It’s Time
Acrylics should be removed every 6–8 weeks to allow natural nails to breathe. Remove them immediately if:
- You notice pain, swelling, or pus (signs of infection).
- The acrylic is lifting extensively or causing discomfort.
- Your natural nails are peeling or splitting under the acrylic.
Never peel or pick at acrylics, as this can tear the natural nail.
Safe Removal Techniques
For DIY removal:
- File the top layer of acrylic to remove polish and shine.
- Soak cotton balls in acetone and place them on each nail.
- Wrap nails in foil and wait 20–30 minutes.
- Gently push off the softened acrylic with a cuticle stick.
- Moisturize thoroughly afterward.
Warning: Avoid soaking for over 30 minutes, as acetone can dry out natural nails.
Giving Natural Nails a Break
After removal:
- Apply a nail strengthener (e.g., OPI Nail Envy).
- Use a growth serum with biotin or peptides.
- Wear natural nails bare for 1–2 weeks to recover.
Choosing the Right Salon and Technician
A skilled technician is crucial for long-lasting acrylics. Look for:
- Proper sanitation (autoclave-sterilized tools).
- Use of high-quality products (e.g., CND, OPI, or Kiara Sky).
- Attention to detail (e.g., prepping the nail bed, avoiding skin contact).
Expert Insights: Data and Best Practices
Below is a summary of key care practices based on industry research and professional recommendations:
| Practice | Frequency | Product Recommendation | Notes |
|---|---|---|---|
| Cuticle oil application | 2–3 times daily | Essie Apricot Cuticle Oil | Focus on the nail base |
| Deep cleaning | Once weekly | Antibacterial soap + nail brush | Avoid scrubbing acrylic |
| Fill-in appointments | Every 2–3 weeks | Professional service | Prevents lifting |
| Acrylic removal | Every 6–8 weeks | Acetone + foil wrap | Never pick or peel |
| Natural nail recovery | 1–2 weeks post-removal | OPI Nail Envy | Hydrate and strengthen |
Conclusion: Mastering Acrylic Nail Care for Lasting Beauty
Acrylic nails are a testament to the power of self-expression and confidence, but their brilliance is only as strong as the care you invest in them. From daily moisturizing and cleaning to professional fill-ins and safe removal, every step you take contributes to their longevity and health. By understanding the science behind acrylics—their composition, vulnerabilities, and maintenance needs—you transform nail care from a chore into an art form.
Remember, the key to flawless acrylics lies in consistency and attention to detail. Whether you’re a busy professional, a creative enthusiast, or someone who simply loves a polished look, the tips in this guide empower you to maintain salon-quality results at home. So, embrace the routine, protect your investment, and let your acrylics shine as a reflection of your dedication to beauty and self-care. With these expert-revealed practices, your nails won’t just look stunning—they’ll thrive for weeks to come.
Frequently Asked Questions
How do you take care of acrylic nails to make them last longer?
To extend the life of your acrylic nails, avoid using them as tools to open things and minimize exposure to harsh chemicals. Keep them clean and moisturized, and schedule regular fills every 2-3 weeks to maintain their integrity.
What’s the best way to clean and maintain acrylic nails?
Wash your hands regularly with mild soap, gently scrubbing under the nails with a soft brush to prevent bacteria buildup. Apply cuticle oil daily to prevent lifting and maintain flexibility in the nail bed.
Can you use nail polish remover on acrylic nails?
Only use acetone-free nail polish remover on acrylic nails, as acetone can weaken the structure and cause cloudiness. Always moisturize after removal to prevent dryness.
How do you take care of acrylic nails to prevent lifting or cracking?
Avoid prolonged water exposure (like dishwashing) and wear gloves during chores to protect your nails. Keep your cuticles hydrated—dry, brittle edges increase the risk of lifting.
Is it normal for acrylic nails to feel tight or sore after application?
Mild tightness is normal due to the adhesion process, but persistent pain or throbbing may indicate improper application or an allergic reaction. Consult your nail technician immediately if discomfort continues.
How often should you give your natural nails a break from acrylics?
Experts recommend a 1-2 week break after 3-4 months of continuous wear to let your natural nails breathe and recover. Use this time to nourish them with strengthening treatments and oils.