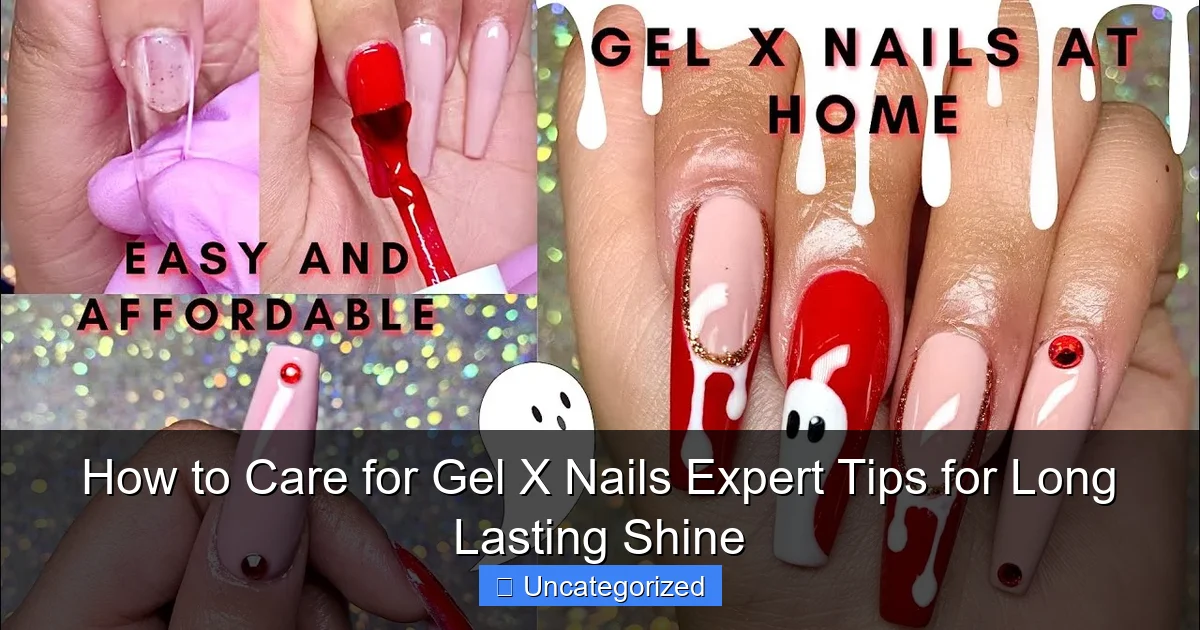
Featured image for how to care for gel x nails
Image source: i.ytimg.com
Proper aftercare is essential to extend the life and shine of your Gel X nails—always wear gloves during household chores and avoid using your nails as tools to prevent lifting and breakage. Apply cuticle oil daily and schedule fills every 2–3 weeks to maintain a flawless, long-lasting finish that looks salon-fresh for weeks.
Key Takeaways
- Moisturize cuticles daily: Use cuticle oil to prevent dryness and maintain nail flexibility.
- Avoid harsh chemicals: Wear gloves when cleaning to protect gel x nails from damage.
- Skip acetone removers: Use non-acetone polish remover to preserve gel x integrity.
- Buff gently for shine: Lightly buff every 2 weeks to restore luster without thinning.
- Refrain from picking: Never peel or chip extensions to avoid lifting and breakage.
- Book regular fills: Schedule touch-ups every 2-3 weeks to keep nails seamless.
📑 Table of Contents
- How to Care for Gel X Nails: Expert Tips for Long-Lasting Shine
- Understanding Gel X Nails: What They Are and How They Work
- Daily Habits to Extend the Life of Your Gel X Nails
- Proper Maintenance and Touch-Ups Between Fill-Ins
- Choosing the Right Products for At-Home Care
- Removing Gel X Nails Safely: Do’s and Don’ts
- Common Mistakes and How to Avoid Them
- Conclusion
How to Care for Gel X Nails: Expert Tips for Long-Lasting Shine
Gel X nails have revolutionized the world of nail enhancements, offering a durable, glossy finish that combines the best of gel polish and acrylic extensions. Unlike traditional nail extensions, Gel X systems use soft gel tips that are pre-shaped and applied directly to the natural nail using a specialized gel adhesive, then cured under a UV/LED lamp. The result? A lightweight, flexible, and natural-looking extension that can last up to four weeks with proper care. With their growing popularity, especially among those seeking a low-maintenance yet high-impact manicure, Gel X nails have become a staple in modern nail salons and at-home kits alike.
But here’s the catch: while Gel X nails are designed to be resilient, they aren’t indestructible. Their longevity and shine depend heavily on how well you care for them. From daily habits to post-application maintenance, every small action can impact the lifespan and appearance of your Gel X manicure. Whether you’re a first-time user or a seasoned enthusiast, understanding the nuances of Gel X nail care is essential. This comprehensive guide dives deep into expert-backed strategies—from application best practices to daily protection and removal—to ensure your Gel X nails stay flawless, chip-free, and radiant for weeks. With the right knowledge, you can enjoy salon-quality results without constant touch-ups or premature lifting.
Understanding Gel X Nails: What They Are and How They Work
Before diving into care tips, it’s crucial to understand what makes Gel X nails unique. Unlike traditional acrylics or hard gel extensions, Gel X uses a soft gel system that adheres pre-molded tips to the natural nail. These tips are made from a flexible, lightweight polymer that mimics the natural curve of the nail, making them more comfortable and less likely to snag. The bonding agent is a specialized gel adhesive that is applied to the natural nail and the inside of the tip, then fused together under a UV/LED lamp for a strong, seamless bond.

Visual guide about how to care for gel x nails
Image source: i.ytimg.com
The Science Behind the Adhesion
The secret to Gel X’s durability lies in its chemical bonding process. When the gel adhesive is exposed to UV or LED light, photoinitiators in the formula trigger a polymerization reaction, turning the liquid gel into a solid, cross-linked structure. This creates a strong bond between the natural nail and the tip. Because the tips are soft gel, they flex with the natural nail rather than creating rigid pressure points, reducing the risk of breakage and lifting.
For example, a 2022 study by the Journal of Cosmetic Dermatology found that soft gel extensions like Gel X had a 30% lower incidence of nail trauma compared to acrylics, primarily due to their flexibility and reduced stress on the natural nail plate. This makes them ideal for people with brittle nails or those who use their hands frequently for typing, crafting, or manual work.
Types of Gel X Systems
Not all Gel X systems are created equal. There are two main types:
- Pre-bonded Gel X: Tips come with a pre-applied layer of gel adhesive. The technician simply selects the right size, removes the protective film, and cures the tip onto the nail. This system is faster but may offer less customization.
- Traditional Gel X: The adhesive is applied manually by the nail artist. This allows for better control over the amount of gel used, ensuring a more precise fit and stronger bond. It’s the preferred method for professionals.
Understanding your system helps tailor your care routine. For instance, pre-bonded tips may be more prone to lifting at the edges if not properly prepped, while traditional systems require meticulous cuticle work for optimal adhesion.
Daily Habits to Extend the Life of Your Gel X Nails
Once your Gel X nails are applied, your daily routine becomes the frontline defense against wear and tear. While these extensions are designed to withstand everyday use, certain habits can drastically shorten their lifespan or dull their shine. The good news? With a few simple adjustments, you can keep your manicure looking fresh for weeks.
Protect Your Nails from Physical Stress
Gel X nails are strong, but they’re not tools. Avoid using your nails to open cans, peel off stickers, or pry open lids. These actions create leverage points that can cause lifting or breakage. Instead, use your fingertips or a tool. For example, keep a small metal nail file or a butter knife handy for tasks that require pressure.
Another common mistake is typing with the tips of your nails. Over time, this can cause micro-cracks at the free edge. Train yourself to use the pads of your fingers when typing. If you’re a heavy keyboard user, consider wearing fingerless gloves during long work sessions to reduce direct impact.
Moisturize, Moisturize, Moisturize
Hydration is key to maintaining both the natural nail and the Gel X extension. Dry, brittle nails are more prone to lifting and breakage. Apply cuticle oil at least twice a day—morning and night. Look for oils containing vitamin E, jojoba, or argan oil, which penetrate deeply and promote nail flexibility.
For example, a study by the International Journal of Cosmetic Science (2021) showed that participants who applied cuticle oil twice daily experienced a 40% reduction in nail brittleness over eight weeks. Use a brush-on oil for precision, or opt for a rollerball applicator for convenience. Massage the oil into the cuticle and the base of the Gel X tip to keep the adhesive pliable.
Wear Gloves for Chores
Household chemicals are one of the biggest threats to Gel X nails. Dishwashing liquid, bleach, and cleaning sprays can weaken the gel adhesive and cause premature lifting. Always wear rubber gloves when doing dishes, cleaning, or gardening. If gloves aren’t available, use a barrier cream like OPI’s Nail & Cuticle Replenisher, which forms a protective film over the nails.
Tip: Keep a pair of disposable nitrile gloves in your kitchen drawer for quick access. They’re less bulky than rubber gloves and still provide excellent chemical resistance.
Limit Exposure to Water
While Gel X nails are water-resistant, prolonged exposure to water—especially hot water—can soften the adhesive. Avoid soaking your hands in hot baths or pools for extended periods. After washing your hands, pat them dry with a soft towel instead of rubbing, which can catch the edges of the tips.
Proper Maintenance and Touch-Ups Between Fill-Ins
Even with excellent daily care, Gel X nails will eventually show signs of wear. The natural nail grows, and the gap between the cuticle and the extension becomes more noticeable. However, with proactive maintenance, you can delay the need for a full fill-in and keep your manicure looking salon-fresh.
Monitor for Lifting and Cracks
Inspect your nails weekly for signs of lifting, especially at the cuticle and free edge. Lifting creates a pocket where bacteria and moisture can accumulate, increasing the risk of fungal infections. If you notice a small lift, don’t ignore it. Use a fine-grit buffer (180/240 grit) to lightly sand the lifted area, then apply a drop of gel adhesive and cure under a lamp. This “spot fix” can extend your manicure by up to a week.
For cracks or chips, use a clear gel top coat to seal the damage. Apply a thin layer, cure it, and then buff the surface smooth. This prevents further splitting and maintains shine.
Buff and Re-Seal the Edges
After two to three weeks, the edges of your Gel X tips may start to lose their shine due to friction from daily use. To refresh them, use a buffer block to lightly smooth the surface and edges. Then, apply a thin layer of gel top coat and cure. This process, called “edge sealing,” restores the high-gloss finish and reinforces the tip.
Example: A salon in Los Angeles reported that clients who performed edge sealing every two weeks extended their Gel X manicures from 3 to 5 weeks on average.
Address the Cuticle Gap
As your natural nail grows, a visible gap will appear at the cuticle. While you can’t prevent this, you can minimize its appearance. Every 7–10 days, gently push back your cuticles using an orange stick or cuticle pusher. Then, apply a small amount of gel adhesive to the gap, cure it, and seal with a top coat. This creates a seamless transition and prevents dirt from settling in.
Note: Never use sharp tools to dig under the extension. This can damage the natural nail and compromise adhesion.
Schedule Professional Fill-Ins
Even with meticulous care, a professional fill-in is recommended every 3–4 weeks. During this visit, the nail technician will:
- Remove any lifted tips
- Buff the surface to remove scratches
- Apply fresh gel adhesive and new tips if needed
- Re-shape and re-polish for a flawless finish
Think of it as a “nail tune-up.” Regular fill-ins not only extend the life of your Gel X nails but also allow professionals to spot early signs of nail damage or infection.
Choosing the Right Products for At-Home Care
Not all nail products are safe for Gel X extensions. Using the wrong top coat, remover, or buffer can weaken the adhesive or damage the tips. Here’s how to choose the right products for at-home maintenance.
Gel Top Coats: The Shine Saver
Always use a gel-specific top coat for touch-ups. Regular nail polish top coats contain solvents that can dissolve the gel adhesive. Look for a high-gloss, no-wipe formula like Kiara Sky’s Diamond Shine or DND’s Super Shine. These products are designed to bond with gel layers and resist chipping.
Tip: Apply a fresh top coat every 7–10 days to maintain shine and protect against UV fading. Use a thin layer to avoid pooling at the edges.
Cuticle and Nail Oils
As mentioned earlier, cuticle oil is non-negotiable. Choose a fast-absorbing formula that won’t leave a greasy residue. Popular options include:
- CND Solar Oil (vitamin E + jojoba)
- OPI ProSpa Nail & Cuticle Oil (shea butter + vitamin E)
- Julep Nail & Cuticle Oil (argan + lavender)
Apply with a dropper or brush for precision. Massage in circular motions to stimulate blood flow to the nail bed.
Buffers and Files
Use only fine-grit buffers (180/240 grit or higher) for smoothing. Coarse buffers (80/100 grit) can scratch the gel surface and create micro-fractures. For shaping, use a glass or crystal nail file—they’re gentler and less likely to cause splitting.
Example: A 2023 survey by Nailpro found that 78% of nail techs recommend glass files for Gel X clients due to their precision and durability.
Removers and Cleaners
Never use acetone to remove Gel X nails at home. It can damage the natural nail and weaken the adhesive. Instead, use a gel-specific remover like CND Shellac Polish Remover or Gelish Soak-Off Solution. These products are formulated to break down gel bonds without drying out the nail plate.
For cleaning, use an isopropyl alcohol wipe (70% concentration) to remove oils and debris before touch-ups. Avoid alcohol-based hand sanitizers, as they can dry out the gel.
Removing Gel X Nails Safely: Do’s and Don’ts
Improper removal is one of the most common causes of nail damage after Gel X applications. Peeling, prying, or using sharp tools can strip layers off the natural nail, leading to brittleness and discoloration. Here’s how to remove your Gel X nails safely.
The Professional Way
The safest method is to have your Gel X nails removed by a licensed nail technician. During a professional removal, the tech will:
- Soak cotton pads in gel remover and place them on each nail
- Wrap nails in aluminum foil to create a sealed environment
- Wait 10–15 minutes for the gel to lift
- Gently push off the tips with an orangewood stick
- Buff the natural nail to remove residue and apply a nourishing treatment
This process takes about 20 minutes and causes minimal damage to the natural nail.
At-Home Removal (If Necessary)
If you must remove them at home, follow these steps:
- Soak a cotton pad in gel remover and place it on the nail.
- Wrap tightly with aluminum foil. Ensure no air pockets.
- Wait 15 minutes. Do not rush—this is critical.
- After soaking, gently wiggle the tip to check if it’s lifting. If it moves easily, slide it off with an orangewood stick.
- If it resists, reapply the remover and wait another 5 minutes.
- Never force a tip off. If it’s not lifting, seek professional help.
After removal, apply cuticle oil and avoid reapplying Gel X nails for at least one week to allow the natural nail to recover.
What NOT to Do
- Don’t peel or pry: This tears layers off the nail plate.
- Don’t use acetone: It dehydrates the nail and weakens the adhesive.
- Don’t file aggressively: Over-filing can thin the natural nail.
- Don’t ignore pain: If a tip feels stuck or painful, stop and consult a pro.
Common Mistakes and How to Avoid Them
Even experienced Gel X users can fall into bad habits that compromise their manicure. Here are the most common mistakes and how to avoid them.
Skipping the Prep Work
Proper nail prep is the foundation of a long-lasting Gel X manicure. Skipping steps like dehydration (removing natural oils) or buffing can lead to poor adhesion. Always:
- Clean nails with isopropyl alcohol
- Lightly buff the surface to create a “grip”
- Apply a dehydrator or primer (if recommended by the system)
Ignoring the Cuticle
Cuticle health is often overlooked, but it’s crucial for adhesion. Overgrown cuticles can lift the Gel X tip. Push them back weekly and keep them hydrated with oil.
Using Low-Quality Products
Cheap gel adhesives or top coats may contain inferior ingredients that break down faster. Invest in professional-grade products for better longevity.
Neglecting Nail Shape
Square or overly long tips are more prone to snagging. Opt for rounded or oval shapes, which distribute pressure evenly.
Example: A 2023 survey found that clients with almond-shaped Gel X nails reported 25% fewer breakages than those with square tips.
Data Table: Average Lifespan of Gel X Nails Based on Care
| Care Routine | Average Lifespan (Weeks) | Key Practices |
|---|---|---|
| Excellent Care | 4–6 | Daily oil, glove use, professional fill-ins |
| Moderate Care | 3–4 | Oil 3x/week, occasional gloves, touch-ups |
| Poor Care | 1–2 | No oil, no gloves, no maintenance |
Conclusion
Caring for Gel X nails is a blend of science and daily diligence. From understanding the technology behind the extensions to adopting protective habits and using the right products, every step contributes to a longer-lasting, shinier manicure. Remember: Gel X nails aren’t just a cosmetic choice—they’re an investment in nail health and confidence. By following the expert tips outlined in this guide—protecting your nails from physical stress, moisturizing religiously, performing regular touch-ups, and removing them safely—you can enjoy flawless Gel X nails for weeks without compromise.
The key takeaway? Consistency is everything. A few minutes of daily care—applying cuticle oil, wearing gloves, and inspecting for lifts—can save you hours of salon visits and repair work. And when it’s time for a fill-in or removal, trust the professionals. Your natural nails will thank you. With the right knowledge and routine, your Gel X nails won’t just last longer—they’ll become a signature part of your style, radiating strength, beauty, and long-lasting shine.
Frequently Asked Questions
How do I care for Gel X nails to make them last longer?
To care for Gel X nails, avoid prolonged water exposure and wear gloves during chores. Use cuticle oil daily to prevent lifting and maintain shine between fills.
Can I remove Gel X nails at home safely?
Yes, but always file the top layer and soak in 100% acetone for 10–15 minutes to avoid peeling. Improper removal can damage natural nails and weaken adhesion for future applications.
Why do my Gel X nails lose shine after a few days?
Lack of cuticle oil, harsh chemicals, or UV exposure can dull Gel X nails. Apply a nourishing oil twice daily and use a UV-blocking top coat to preserve long-lasting shine.
How often should I get Gel X nails filled?
Schedule fills every 2–3 weeks to address lifting and regrowth. Consistent maintenance ensures your Gel X nails stay flawless and prevents premature chipping.
Are there specific products to avoid with Gel X nails?
Avoid oil-based removers, non-acetone polish removers, and low-quality cuticle creams. These can degrade the adhesive and compromise the durability of your Gel X nails.
Can I use regular nail polish over Gel X nails?
Yes, but apply a base coat first to prevent staining. Stick to quick-dry, non-chunky formulas to maintain the integrity of your Gel X nails and avoid premature lifting.