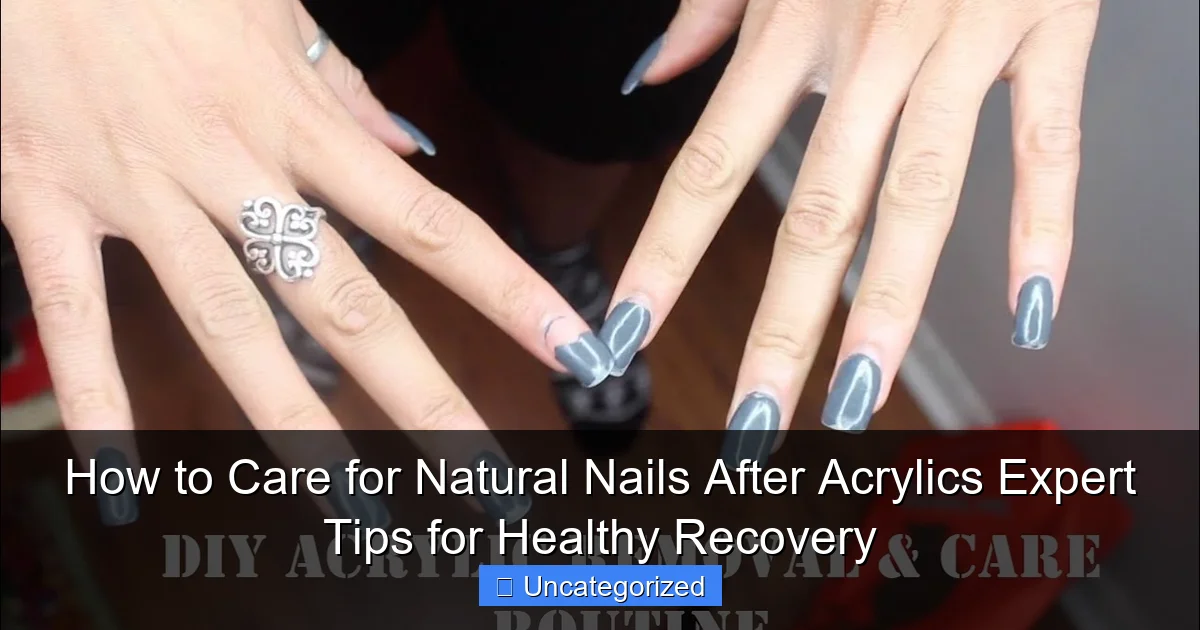
Featured image for how to care for natural nails after acrylics
Image source: i.ytimg.com
Immediately after removing acrylics, prioritize hydration and protection to prevent splitting and peeling. Keep nails short, apply a nourishing oil or cream daily, and wear gloves during chores to shield recovering nails. Give your nails a break from polish and enhancements for at least 4–6 weeks to allow full recovery and strengthen naturally.
Key Takeaways
- Moisturize daily: Apply cuticle oil and hand cream to restore hydration.
- Keep nails short: Trim regularly to prevent breakage and splitting.
- Use a nail strengthener: Rebuild weak nails with a protein-rich treatment.
- Avoid harsh chemicals: Wear gloves when cleaning or using acetone.
- Give nails a break: Let them breathe between artificial enhancements.
- Hydrate from within: Drink water and eat biotin-rich foods for nail health.
📑 Table of Contents
- How to Care for Natural Nails After Acrylics: Expert Tips for Healthy Recovery
- Understanding the Impact of Acrylics on Natural Nails
- Immediate Post-Removal Care: The First 72 Hours
- Building a Daily and Weekly Recovery Routine
- Nutrition and Supplements for Nail Recovery
- Professional Treatments and When to Seek Help
- Preventing Future Damage: Long-Term Nail Health
- Data Table: Recommended Products and Timeline
- Conclusion
How to Care for Natural Nails After Acrylics: Expert Tips for Healthy Recovery
Removing acrylic nails can feel like liberation—no more heavy tips, no more salon appointments, and a chance to reconnect with your natural nails. However, this transition often comes with a hidden challenge: nail trauma. After weeks or months of wearing acrylics, your natural nails are frequently left thin, brittle, dehydrated, or even damaged. The removal process—whether done by soaking, filing, or peeling—can strip the nail plate of essential proteins and moisture, leaving behind ridges, peeling layers, or painful sensitivity. But don’t despair! With the right recovery strategy, your nails can heal, strengthen, and return to their natural beauty. This guide is your roadmap to nurturing your nails back to health, combining dermatological insights, nail technician expertise, and real-world tips to ensure a smooth and effective recovery.
Whether you’ve just removed your first set of acrylics or are a long-time wearer seeking to give your nails a break, this comprehensive post will walk you through every phase of post-acrylic care. From understanding what happens to your nails during acrylic wear to building a daily and weekly recovery routine, we’ll cover everything you need to know. Think of this as your nail rehab plan—designed not just to repair damage, but to prevent future issues and promote long-term nail health. By the end, you’ll have the tools, products, and knowledge to transform fragile, post-acrylic nails into strong, resilient, and beautiful natural ones.
Understanding the Impact of Acrylics on Natural Nails
Before diving into recovery techniques, it’s crucial to understand how acrylics affect your natural nails. Acrylics aren’t just a cosmetic enhancement—they’re a physical and chemical interaction that can leave lasting effects. When applied, acrylics bond to the natural nail plate, creating a rigid, protective shell. While this shell protects your nails from daily wear and tear, it also restricts natural movement and moisture exchange, leading to long-term consequences.

Visual guide about how to care for natural nails after acrylics
Image source: i.ytimg.com
The Anatomy of Nail Damage
Your natural nail is composed of layers of keratin, a tough protein that gives it structure. Acrylics can compromise this structure in several ways:
- Dehydration: The acrylic layer traps moisture, but it also prevents natural hydration from the air and skin. Over time, the nail becomes dry and brittle.
- Trauma during removal: Filing or soaking acrylics can thin the nail plate. Aggressive scraping with metal tools can cause micro-tears and delamination (peeling layers).
- Adhesive stress: The strong bond between acrylic and natural nail can lead to lifting, which creates space for bacteria and fungi to grow. Repeated lifting and reapplication weakens the nail bed.
- Chemical exposure: Acrylic monomers and primers contain harsh chemicals that can irritate the nail matrix (the area under the cuticle where new nail grows), slowing growth or causing discoloration.
For example, a study published in the Journal of Cosmetic Dermatology found that 68% of long-term acrylic wearers experienced nail thinning and 42% reported increased brittleness after removal. Understanding these mechanisms is key to choosing the right recovery methods.
Signs Your Nails Need Recovery
Not all post-acrylic nails show the same symptoms, but common signs of damage include:
- Peeling or splitting: The nail separates into horizontal layers, especially at the free edge.
- Ridges: Vertical lines along the nail, often indicating dehydration or trauma to the nail matrix.
- Yellow or white spots: Can be fungal, bacterial, or simply due to chemical exposure.
- Sensitivity or pain: Especially when pressing on the nail or during temperature changes.
- Reduced growth rate: Nails grow more slowly than usual, a sign of matrix stress.
Recognizing these signs early allows you to intervene with targeted treatments, preventing further damage and accelerating healing.
Immediate Post-Removal Care: The First 72 Hours
The first three days after acrylic removal are the most critical for recovery. During this window, your nails are at their most vulnerable—exposed, dehydrated, and possibly traumatized. Immediate care sets the foundation for long-term healing.
Gentle Nail Cleansing
Start by gently cleansing your nails to remove any residual acrylic dust, oils, or chemicals. Avoid harsh soaps or alcohol-based sanitizers, which can further dry out the nail.
- Use a mild, sulfate-free soap (e.g., Dove or Cetaphil) and lukewarm water.
- Soak nails for 2–3 minutes, then use a soft nail brush to gently clean under the free edge and around the cuticles.
- Rinse thoroughly and pat dry with a soft towel—never rub.
For example, a client at a nail salon in Austin reported that skipping this step led to persistent itching and flaking, which resolved after adopting a gentle cleansing routine.
Hydration and Nail Soaks
Reintroduce moisture with a targeted soak. This helps rehydrate the nail plate and soften cuticles.
- Olive oil soak: Mix 1 tbsp olive oil with 1 tsp honey and warm water. Soak for 10–15 minutes. Olive oil is rich in fatty acids, while honey is a natural humectant.
- Epsom salt bath: Dissolve 1 tbsp Epsom salt in warm water. Soak for 10 minutes to reduce inflammation and draw out toxins.
- Jojoba oil soak: Jojoba closely mimics the skin’s natural sebum. Apply a few drops directly to nails and massage for 2 minutes.
Repeat this soak 2–3 times in the first 72 hours. A study in Skin Pharmacology and Physiology found that regular oil soaks increased nail hydration by 30% within 48 hours.
Avoiding Further Trauma
During the first few days, treat your nails like fragile glass:
- No filing or shaping: Wait at least 3–5 days before filing. Use a glass or crystal file (not emery boards) when you do.
- Wear gloves: Protect nails during household chores. Even light exposure to water can weaken them further.
- Skip polish: Avoid nail polish, base coats, or top coats for the first week. Let your nails “breathe.”
Building a Daily and Weekly Recovery Routine
Recovery isn’t a one-time fix—it’s a consistent, long-term commitment. A structured routine ensures your nails receive the nutrients, moisture, and protection they need to heal and grow strong.
Daily Nail Care Protocol
Your daily routine should focus on hydration, protection, and gentle stimulation.
- Morning and night: Apply a nail and cuticle oil (e.g., CND SolarOil, OPI Nail & Cuticle Oil). Use a drop on each nail, massage for 30 seconds to improve blood flow to the nail matrix.
- Hand cream: Use a rich, emollient hand cream (e.g., Neutrogena Norwegian Formula) after washing hands. Focus on the nail folds and cuticles.
- Hydration: Drink at least 2 liters of water daily. Hydration starts from within—dehydrated bodies produce dehydrated nails.
- Gentle cleaning: Wash hands with mild soap and lukewarm water. Dry thoroughly.
For example, a 32-year-old graphic designer in Seattle followed this routine for 6 weeks and reported a 50% reduction in peeling and a noticeable improvement in nail thickness.
Weekly Deep Treatments
Once a week, give your nails a “spa day” with targeted treatments.
- Nail masks: Use a keratin or protein-rich mask (e.g., Essie Nail Rescue). Apply, leave for 15 minutes, then rinse. These masks fill in micro-cracks and strengthen the nail plate.
- Overnight oil soak: Before bed, apply a thick layer of jojoba or almond oil. Wear cotton gloves overnight to lock in moisture.
- Exfoliation (optional): Once every 2 weeks, gently exfoliate the nail bed with a soft buffer to remove dead skin. Avoid over-buffing.
Protecting Nails During Activities
Daily life poses constant threats to fragile nails. Here’s how to stay safe:
- Household chores: Always wear cotton-lined rubber gloves. Even mild detergents can strip moisture.
- Computer work: Keep nails short to prevent snagging. Use a wrist rest to reduce pressure.
- Exercise: Wear gloves during weightlifting or yoga to prevent nail trauma.
- Swimming: Apply a water-resistant nail oil before swimming. Chlorine and salt water are major dehydrators.
Nutrition and Supplements for Nail Recovery
Nails are made of protein, but their growth and strength depend on a broad spectrum of nutrients. A poor diet can sabotage even the best topical treatments. Think of nutrition as the foundation of nail health.
Essential Nutrients for Nails
These nutrients are scientifically proven to support nail growth and strength:
- Biotin (Vitamin B7): Aids keratin production. Deficiency causes brittle nails. Found in eggs, nuts, and whole grains. Supplement with 2.5–5 mg/day.
- Protein: Nails are 80% protein. Eat lean meats, fish, legumes, and dairy. Aim for 0.8–1.2g of protein per kg of body weight.
- Iron: Low iron leads to spoon-shaped or brittle nails. Found in spinach, red meat, and fortified cereals. Pair with vitamin C (e.g., citrus) for absorption.
- Omega-3 fatty acids: Reduce inflammation and improve nail hydration. Found in salmon, flaxseeds, and walnuts.
- Zinc: Supports cell growth and repair. Found in oysters, pumpkin seeds, and beef.
- Vitamin C: Aids collagen production, which strengthens nail structure. Found in bell peppers, strawberries, and oranges.
Top Supplements for Post-Acrylic Recovery
While diet is key, supplements can fill gaps:
- Biotin: 5 mg/day (e.g., Nature Made Biotin).
- Collagen peptides: 10g/day (e.g., Vital Proteins Collagen Peptides).
- Omega-3 capsules: 1,000 mg EPA/DHA daily (e.g., Nordic Naturals).
- Multivitamin: Choose one with iron, zinc, and B-complex (e.g., Ritual Essential for Women).
Note: Always consult a doctor before starting supplements, especially if you have underlying conditions.
Sample Recovery Meal Plan
Here’s a day of eating to support nail health:
- Breakfast: Scrambled eggs with spinach, avocado toast, and orange juice.
- Lunch: Grilled salmon salad with quinoa, bell peppers, and olive oil dressing.
- Snack: Greek yogurt with walnuts and berries.
- Dinner: Chicken stir-fry with broccoli, carrots, and brown rice.
- Hydration: Herbal tea (e.g., chamomile) and 2L water.
Professional Treatments and When to Seek Help
While home care is effective, some situations require professional intervention. Knowing when to seek help prevents long-term damage and speeds recovery.
When to See a Dermatologist
Consult a dermatologist if you experience:
- Persistent discoloration (yellow, green, black): Could indicate fungal or bacterial infection.
- Severe pain or swelling: May signal an infection or trauma to the nail matrix.
- Nails detaching from the bed (onycholysis): Can be caused by trauma, psoriasis, or fungal infection.
- No improvement after 6–8 weeks: May indicate a nutritional deficiency or underlying condition (e.g., thyroid disease).
A dermatologist may prescribe antifungal creams, topical steroids, or blood tests to identify deficiencies.
Salon Treatments for Recovery
Some salons offer specialized services for post-acrylic recovery:
- Nail hydration therapy: Intensive oil and mask treatments (e.g., CND Shellac Rehab).
- Paraffin wax treatments: Deeply hydrate and improve circulation.
- Keratin nail wraps: Temporary support for peeling nails (avoid if nails are infected).
- Cuticle restoration: Professional cuticle care to stimulate growth.
Always choose a licensed, reputable salon. Avoid salons that use metal tools for cuticle trimming, which can cause micro-injuries.
At-Home Devices (Use with Caution)
Some devices claim to boost nail recovery:
- Nail growth lamps: LED lights that stimulate keratin production. Limited evidence, but generally safe.
- Ultrasonic nail massagers: Improve blood flow. Use for 5 minutes daily.
Always follow manufacturer instructions and discontinue if irritation occurs.
Preventing Future Damage: Long-Term Nail Health
Recovery isn’t just about healing—it’s about building resilience for the future. Whether you plan to re-wear acrylics or go natural, these strategies protect your nails long-term.
Safe Acrylic Reapplication (If You Must)
If you decide to re-wear acrylics, minimize damage:
- Choose a skilled technician: Look for someone who uses proper application and removal techniques (no peeling!).
- Use a nail primer sparingly: Overuse of acid-based primers damages the nail matrix.
- Take regular breaks: Wear acrylics for 6–8 weeks, then take 4–6 weeks off.
- Apply a nourishing base coat: Use a keratin or protein base (e.g., OPI Nail Envy) before acrylics.
Natural Nail Maintenance
For those embracing natural nails:
- Regular oiling: 2–3 times daily.
- Gentle filing: Use a glass file and file in one direction.
- Short length: Keep nails short to prevent snagging.
- Protect with polish: Use a strengthening base coat (e.g., Sally Hansen Hard as Nails) and avoid dark polishes, which can stain weakened nails.
Monitoring Progress
Track your recovery with a nail journal:
- Take weekly photos of your nails.
- Note changes in texture, color, and growth rate.
- Adjust your routine based on results.
Most nails show visible improvement within 6–12 weeks. Full recovery can take 6–12 months, as nails grow slowly (about 3–4 mm per month).
Data Table: Recommended Products and Timeline
| Product Type | Recommended Product | Usage Frequency | Timeline |
|---|---|---|---|
| Nail Oil | CND SolarOil | 2–3 times daily | Daily for 3+ months |
| Hand Cream | Neutrogena Norwegian Formula | After washing hands | Ongoing |
| Supplement | Nature Made Biotin (5mg) | Once daily | 6–12 months |
| Nail Mask | Essie Nail Rescue | Once weekly | First 8 weeks |
| Base Coat (if polishing) | OPI Nail Envy | Before polish | When ready to polish |
Conclusion
Recovering from acrylic nails is a journey of patience, care, and consistency. By understanding the damage caused by acrylics, implementing immediate post-removal care, building a daily and weekly recovery routine, nourishing your body with the right nutrients, seeking professional help when needed, and adopting long-term protective habits, you can transform fragile, post-acrylic nails into strong, healthy, and beautiful natural ones. Remember, nail health is a reflection of overall wellness—what you put on and in your body matters. Whether you’re taking a break from enhancements or embracing your natural nails for good, this recovery process is an investment in your long-term beauty and confidence. Start today, and in a few months, you’ll look at your hands and see not just healed nails, but a story of resilience and care. Your nails deserve it.
Frequently Asked Questions
How can I restore strength to my natural nails after acrylics?
After removing acrylics, focus on hydration and protein-rich treatments. Apply a nail strengthener with keratin or biotin and use cuticle oil daily to rebuild natural resilience.
What’s the best way to moisturize nails and cuticles post-acrylics?
Massage cuticle oil or a thick hand cream into your nails and surrounding skin 2-3 times daily. Look for ingredients like jojoba oil, shea butter, or vitamin E for deep hydration.
How long does it take for natural nails to recover after acrylic removal?
Recovery time varies, but most nails regain strength in 4-8 weeks with proper care. Avoid harsh chemicals and excessive water exposure to speed up the recovery process.
Can I use nail polish while recovering from acrylics?
Yes, but opt for breathable, formaldehyde-free formulas to avoid further drying. Limit wear to 5-7 days and use a nourishing base coat to protect natural nails after acrylics.
Why are my nails peeling after acrylics, and how can I fix it?
Peeling occurs due to dehydration and trauma from acrylics. Apply a nail repair serum with ceramides and wear gloves during chores to minimize damage.
Are there foods or supplements to support nail health after acrylics?
Eat protein-rich foods (eggs, fish) and take biotin or collagen supplements to promote nail growth. Pair with a balanced diet for optimal recovery of natural nails after acrylics.