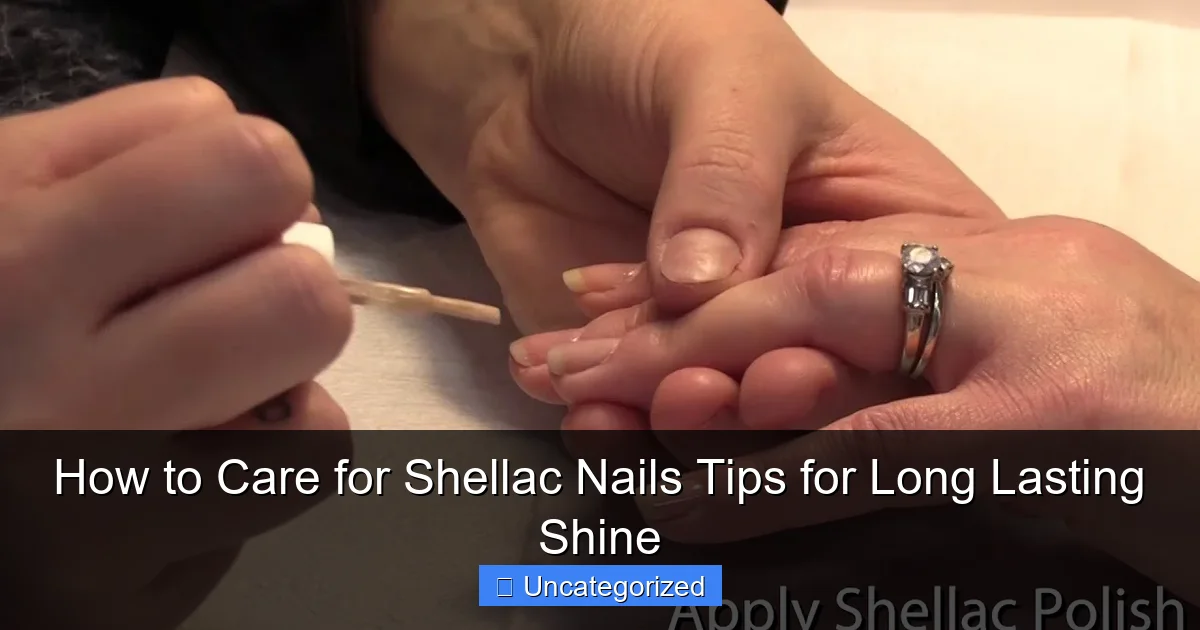
Featured image for how to care for shellac nails
Image source: i.ytimg.com
Protect your shellac nails from chipping by avoiding prolonged water exposure and always wearing gloves during chores. Gently push back cuticles weekly and apply cuticle oil daily to maintain flexibility and shine—this prevents lifting and extends wear. Schedule professional removal after 14 days to preserve nail health and keep that high-gloss finish looking flawless.
Key Takeaways
- Moisturize cuticles daily: Apply cuticle oil to prevent dryness and maintain nail flexibility.
- Wear gloves for chores: Protect shellac from chemicals and water exposure during cleaning tasks.
- Avoid harsh removers: Use acetone-free polish removers to preserve shine and prevent peeling.
- Buff gently for shine: Lightly buff nails with a soft buffer to restore luster between fills.
- Limit prolonged water exposure: Reduce soaking to prevent lifting and maintain adhesion.
- Book timely fills: Schedule touch-ups every 2–3 weeks to prevent chipping and maintain coverage.
📑 Table of Contents
- Understanding Shellac Nails: The Foundation of Long-Lasting Shine
- Pre-Application Prep: Setting the Stage for Success
- Daily Maintenance: Protecting Your Shellac Shine
- Weekly Care Routine: Extending Shellac Longevity
- Common Mistakes to Avoid: Preserving Your Shellac Investment
- Safe Removal: Preventing Nail Damage
- Data Table: Shellac Care Timeline
- Conclusion: Mastering the Art of Shellac Care
Understanding Shellac Nails: The Foundation of Long-Lasting Shine
Shellac nails have revolutionized the beauty industry, offering a hybrid solution that combines the durability of gel with the ease of application of traditional nail polish. Developed by CND (Creative Nail Design), shellac is a unique formulation that bonds to the nail, creating a resilient, chip-resistant finish that can last up to 14 days or more with proper care. Unlike regular nail polish, shellac is cured under a UV or LED lamp, ensuring a quick-dry, high-gloss finish that resists smudging, chipping, and dulling. Its popularity stems from its versatility—available in a spectrum of colors and finishes, from classic reds to trendy metallics—and its ability to maintain a salon-perfect look without the hassle of frequent touch-ups.
However, the longevity and shine of shellac nails aren’t automatic. While the product itself is designed to withstand daily wear and tear, improper aftercare can lead to premature lifting, peeling, or dullness. Whether you’re a first-time shellac user or a seasoned pro, understanding how to care for shellac nails is crucial to maximizing their lifespan and maintaining that coveted high-shine finish. This guide dives into expert-backed tips, practical routines, and insider knowledge to help you keep your shellac nails looking flawless for weeks. From daily maintenance to removal techniques, we’ll cover everything you need to know to protect your investment and enjoy salon-quality results at home.
Pre-Application Prep: Setting the Stage for Success
Proper nail preparation is the cornerstone of long-lasting shellac. Skipping this step can lead to lifting, peeling, or uneven wear, even if the rest of your routine is perfect. Think of it as laying the foundation for a house—without a solid base, the structure won’t hold. Here’s how to ensure your nails are primed for shellac application.
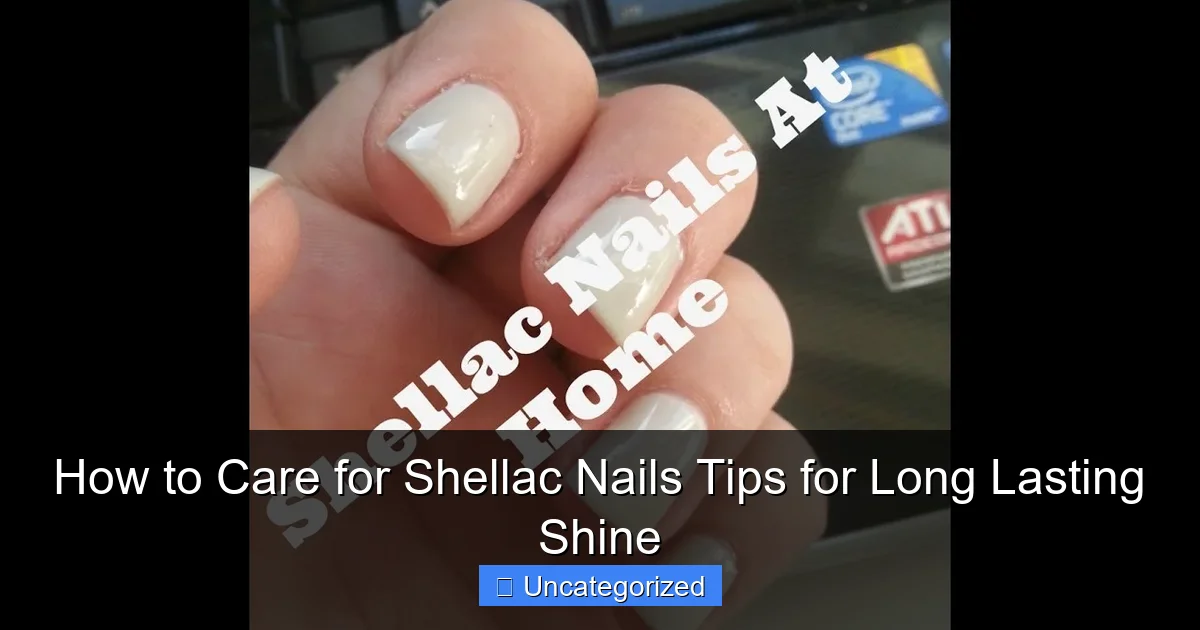
Visual guide about how to care for shellac nails
Image source: i.ytimg.com
Nail Shaping and Buffing
Start by shaping your nails to your preferred style (square, oval, almond, etc.). Use a glass or crystal nail file to gently shape the edges, as metal files can cause micro-tears that weaken the nail. Next, buff the surface of each nail lightly with a fine-grit buffer (180-240 grit). This step removes natural oils and creates a slightly porous surface, allowing the shellac to adhere better. Avoid over-buffing, as this can thin the nail plate and increase sensitivity. For example, if you have naturally brittle nails, limit buffing to once every 2-3 weeks to prevent damage.
Cleaning and Dehydrating
After shaping, cleanse each nail with a lint-free wipe soaked in isopropyl alcohol or a nail dehydrator. This removes residual oils, dust, and bacteria, ensuring a sterile surface. Pro tip: Use a cuticle pusher to gently push back cuticles (never cut them, as this can cause infections). For extra adhesion, apply a primer or bond aid—this acts like double-sided tape, creating a stronger bond between the nail and shellac. Brands like CND’s BondEx or OPI’s Nail Envy Primer are excellent choices. Avoid oil-based products during this phase, as they can interfere with adhesion.
Choosing the Right Products
Not all shellac systems are created equal. Stick to reputable brands (e.g., CND, OPI, Gelish) and ensure your UV/LED lamp is compatible with the product. For instance, LED lamps cure faster (30-60 seconds per coat) but may require specific wavelengths. Always check the manufacturer’s guidelines. Example: If using CND Shellac, pair it with a CND LED lamp for optimal results.
Daily Maintenance: Protecting Your Shellac Shine
Even the best-applied shellac can lose its luster without daily care. The key is to minimize exposure to elements that degrade the finish, such as water, heat, and chemicals. Here’s how to keep your nails looking fresh between salon visits.
Moisturizing Without Compromising Adhesion
Contrary to popular belief, you *can* use hand lotion with shellac—but timing is everything. Apply moisturizer **only after** your nails have fully cured (24 hours post-application) and **avoid the cuticle area** during the first 48 hours. For cuticles, use a non-greasy cuticle oil (e.g., CND SolarOil or Sally Hansen Vitamin E Oil) 1-2 times daily. Apply a drop to the base of each nail and massage gently. This prevents dryness without weakening the shellac bond. Example: Keep a travel-sized oil bottle in your bag for midday touch-ups.
Water and Heat Exposure
Prolonged water exposure (e.g., dishwashing, swimming) can cause shellac to lift at the edges. Wear rubber gloves during chores or use a waterproof nail sealant (e.g., CND’s Shellac Top Coat with added polymers) for extra protection. Avoid hot baths, saunas, or ovens—high heat can soften the shellac, leading to warping. Pro tip: After washing hands, dry nails thoroughly with a soft towel, focusing on the edges.
Chemical Protection
Household cleaners, hand sanitizers, and acetone-based products are shellac’s enemies. Always wear gloves when cleaning, and opt for alcohol-free hand sanitizers (e.g., Purell Naturals). If you must use harsh chemicals, apply a barrier balm (e.g., OPI’s Nail & Cuticle Balm) to shield the edges. For example, a nurse working long shifts might apply balm every 4 hours to protect against frequent sanitizer use.
Weekly Care Routine: Extending Shellac Longevity
Beyond daily habits, a weekly maintenance routine addresses minor issues before they escalate. This 15-minute ritual can add days to your shellac’s lifespan.
Edge Reinforcement
Inspect your nails weekly for lifting or peeling. If you notice a tiny gap at the cuticle, don’t panic—this is fixable! Use a clear shellac or gel top coat to seal the edge. Apply a thin layer to the lifted area, cure under a lamp, and buff lightly for a seamless finish. Example: A chipped edge on your index nail (from typing) can be repaired in under 2 minutes.
Surface Refreshing
Over time, shellac can develop minor scratches or dull spots. Restore shine by buffing with a soft buffer block (use the white side for polishing) and reapplying a high-gloss top coat. For deep scratches, lightly file the surface and reapply top coat. Pro tip: Use a cuticle oil-infused buffer (e.g., Deborah Lippmann’s Buffer & Shine Block) to multitask.
Hydration and Nutrition
Healthy nails grow stronger and resist lifting. Take a biotin supplement (e.g., Nature Made Biotin 10,000 mcg) or apply a nail hardener (e.g., Essie Strong Start Base Coat) once a week. Pair this with a hydrating hand mask (e.g., OPI Avoplex Exfoliating Hand Scrub) to nourish the skin around the nails.
Common Mistakes to Avoid: Preserving Your Shellac Investment
Even minor errors can shorten your shellac’s lifespan. Avoid these pitfalls to keep your nails flawless.
Using Improper Tools
Never use metal files, rough buffers, or acetone to remove shellac at home. These tools damage the nail plate and weaken future adhesion. Instead, use glass files, soft buffers, and foil wraps with acetone (see removal section). Example: A metal file can leave scratches that trap dirt, leading to discoloration.
Ignoring Early Signs of Damage
Lifting, peeling, or discoloration should be addressed immediately. Delaying repairs can lead to bacterial growth under the shellac or nail splitting. If a large portion lifts, visit a salon for professional repair.
Skipping the Base Coat
Always apply a quality base coat (e.g., CND ScrubFresh or OPI Natural Nail Base Coat). This protects your natural nail from staining and provides a smooth foundation. Skipping this step is a common reason for premature peeling.
Over-Curing or Under-Curing
Follow the manufacturer’s curing times exactly. Over-curing (e.g., 120 seconds under a lamp) can make the shellac brittle, while under-curing (e.g., 15 seconds) leads to soft, sticky layers. Use a timer to ensure consistency.
Safe Removal: Preventing Nail Damage
Improper removal is the #1 cause of nail damage after shellac. Follow this step-by-step method to avoid peeling, cracking, or thinning.
At-Home Removal (For Minor Lifting)
- Buff the surface lightly with a fine-grit file to remove the top coat’s shine.
- Soak cotton pads in 100% acetone (e.g., CND Offly Fast 5).
- Wrap each nail in foil, pressing the cotton firmly against the shellac.
- Wait 10-15 minutes. The shellac will lift off easily with an orangewood stick.
- Rinse and moisturize with cuticle oil and hand cream.
Example: A DIY removal takes 20 minutes but saves $20+ compared to a salon.
Professional Removal (For Full Sets)
For full sets, visit a salon. Technicians use professional-grade removers (e.g., CND Shellac Remover) and electric nail drills to gently buff off shellac without damaging the natural nail. Tip: Schedule removal before the 14-day mark to prevent overgrowth.
Post-Removal Recovery
After removal, your nails need TLC. Apply a strengthening treatment (e.g., Nail Tek Foundation II) for 1-2 weeks and avoid harsh chemicals. Let your nails “breathe” for a few days before reapplying shellac.
Data Table: Shellac Care Timeline
| Time Frame | Action | Product/Tool | Frequency |
|---|---|---|---|
| Day 0 (Application) | Prep nails, apply base/top coat | Dehydrator, primer, UV lamp | Once |
| Daily | Moisturize cuticles, avoid water/heat | Cuticle oil, rubber gloves | 1-2x/day |
| Weekly | Inspect edges, refresh shine | Clear top coat, buffer block | 1x/week |
| Bi-Weekly | Remove/reapply shellac | Acetone, foil wraps | Every 14 days |
| Post-Removal | Nourish natural nails | Strengthening treatment | 1-2 weeks |
Conclusion: Mastering the Art of Shellac Care
Shellac nails offer a perfect blend of durability, shine, and convenience—but their longevity depends on your care routine. By investing time in pre-application prep, daily protection, weekly maintenance, and safe removal, you can enjoy flawless nails for up to 14 days (or longer!). Remember, consistency is key. A few minutes of daily care and a weekly inspection can prevent costly mistakes and keep your shellac looking salon-fresh. Whether you’re a busy professional, a parent, or a nail art enthusiast, these tips empower you to make the most of your investment. So go ahead—flaunt that high-gloss finish with confidence, knowing you’ve mastered the art of shellac nail care. Your nails will thank you!
Frequently Asked Questions
How do I care for shellac nails to make them last longer?
To care for shellac nails, avoid prolonged exposure to water and harsh chemicals by wearing gloves during chores. Moisturize your cuticles daily with oil to maintain flexibility and prevent lifting, ensuring your manicure stays flawless for up to 14 days.
Can I remove shellac nails at home without damaging my natural nails?
Yes, but always use the proper technique: soak cotton pads in acetone, wrap them in foil, and wait 10–15 minutes before gently scraping off the polish. Avoid peeling to prevent damage and maintain nail health.
Why do my shellac nails lose shine after a few days?
Lack of shine often results from improper aftercare, like using hand sanitizer frequently or skipping cuticle oil. To preserve your shellac nails’ shine, apply a UV top coat every few days and limit exposure to alcohol-based products.
How often should I get shellac nails redone?
Schedule a touch-up or redo every 2–3 weeks to address growth and potential lifting. Overextending wear can weaken natural nails, so regular maintenance ensures both longevity and nail health.
Are there specific products to avoid when caring for shellac nails?
Skip oil-based removers, non-acetone polishes, and heavy hand creams with petroleum, as they degrade the shellac. Opt for acetone-based removers and water-based moisturizers to keep your manicure intact.
What should I do if my shellac nails start lifting?
Clip the lifted edge with a clean nail clipper and apply a small amount of shellac glue or clear polish to the area. For severe lifting, visit your technician to avoid water infiltration and potential infections.