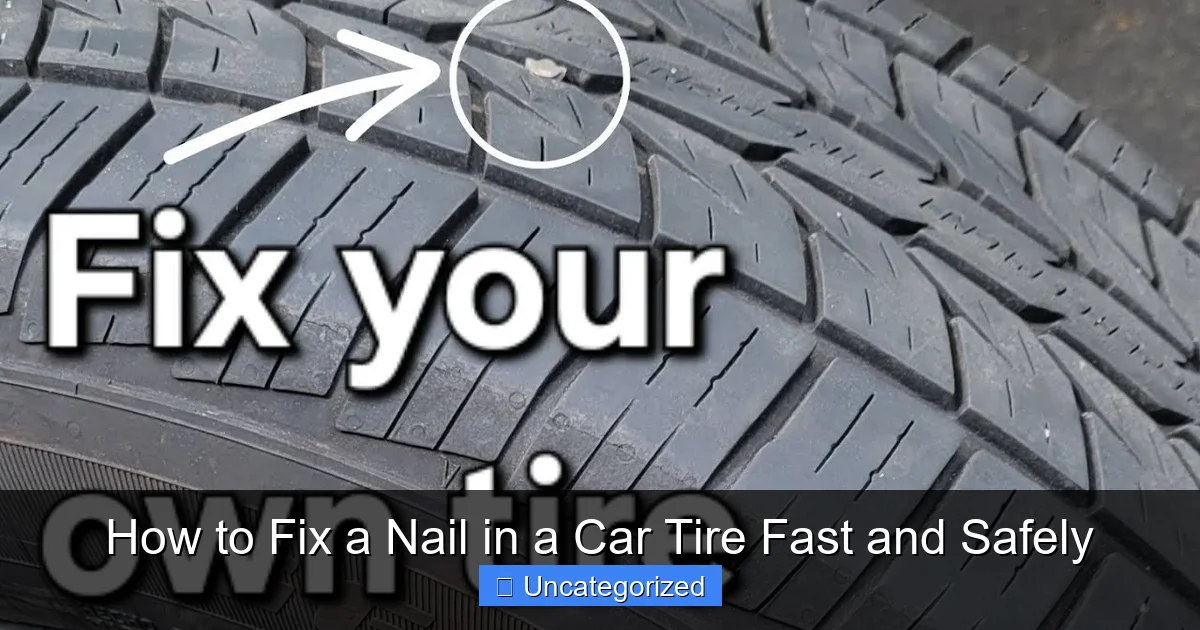
Featured image for how to fix a nail in a car tire
Image source: i.ytimg.com
Act quickly and safely to fix a nail in your car tire by first locating the puncture and deflating the tire completely before removal. Use a plug-patch kit or visit a professional for a long-lasting, DOT-approved repair that restores tire integrity and prevents air leaks. Never ignore a nail—delaying risks blowouts, reduced fuel efficiency, and costly replacements.
Key Takeaways
- Locate the nail: Inspect tire surface carefully to find the puncture.
- Remove debris: Clear area around the nail to avoid contamination.
- Pull the nail: Use pliers to extract it straight and steadily.
- Repair immediately: Plug or patch the hole to prevent air loss.
- Check pressure: Re-inflate tire to recommended PSI after repair.
- Monitor closely: Recheck repair and pressure within 24 hours.
- Seek professional help: Visit a tire shop for sidewall punctures.
📑 Table of Contents
How to Fix a Nail in a Car Tire Fast and Safely
Discovering a nail in your car tire can be a frustrating experience, especially when you’re on the go. Whether it’s a slow leak or a sudden flat, knowing how to fix a nail in a car tire can save you time, money, and the stress of calling for roadside assistance. Tire punctures caused by nails, screws, or other sharp objects are among the most common automotive issues—yet they’re also one of the most preventable and repairable.
According to the Rubber Manufacturers Association, over 80% of tire punctures involving nails or similar objects can be safely repaired without replacing the entire tire. With the right tools, knowledge, and a calm approach, you can handle this situation efficiently and get back on the road in under an hour. This guide walks you through the step-by-step process of how to fix a nail in a car tire, ensuring safety, effectiveness, and long-term reliability. From identifying the severity of the damage to choosing the best repair method, we cover everything you need to know to tackle this common problem with confidence.
Understanding Tire Punctures: When Can a Nail Be Fixed?
Not every nail in a tire requires a full replacement. The key is determining whether the puncture is repairable based on its location, size, and depth. Modern tire repair standards, such as those set by the U.S. Tire Manufacturers Association (USTMA), define specific criteria for safe tire repairs.
Visual guide about how to fix a nail in a car tire
Image source: i.ytimg.com
Repairable vs. Non-Repairable Punctures
To determine if your tire can be fixed, consider the following:
- Location: Punctures in the tread area (the central portion of the tire’s contact surface) are typically repairable. Damage to the sidewall or shoulder (the curved area between tread and rim) is not safe to repair and requires tire replacement.
- Size: Punctures up to 1/4 inch (6 mm) in diameter can be repaired. Larger holes compromise the tire’s structural integrity.
- Depth: The nail must not have penetrated deep enough to damage internal steel belts or cords. If the tire is bulging, cracked, or shows signs of internal damage, it’s unsafe to repair.
- Number of punctures: Multiple punctures in close proximity (less than 16 mm apart) may require professional assessment.
Real-world example: A commuter in Denver found a 3-inch nail embedded in their rear tire during a routine inspection. After removing it, they measured the hole at 5 mm—well within the repairable range. A professional plug-patch repair restored the tire to full functionality, saving over $120 compared to a new tire.
Why Immediate Action Matters
Ignoring a nail in your tire can lead to:
- Gradual air loss: Even a slow leak can cause underinflation, increasing the risk of blowouts and reducing fuel efficiency by up to 10%.
- Increased wear: Driving on a low-pressure tire accelerates tread wear and can damage the rim.
- Safety hazards: A fully deflated tire at highway speeds can lead to loss of control or accidents.
Tip: Never drive more than 2-3 miles on a punctured tire. If you must move the vehicle, drive slowly and avoid sudden turns or braking.
Tools and Materials You’ll Need
Having the right tools ensures a clean, durable repair. While some items are available in tire repair kits, others may need to be purchased separately. Here’s a complete list for a DIY or professional-grade fix.
Essential Repair Tools
- Tire plug kit: Includes rubber plugs, insertion tool, reamer, and adhesive. Kits like the Slime 1030-A Tire Repair Kit are affordable and widely available.
- Reamer tool: Cleans and roughens the puncture channel for better plug adhesion.
- Plug insertion tool: Designed to push the rubber plug into the hole without damaging the tire.
- Valve core remover: Allows quick air release for deflation.
- Air compressor or portable inflator: For reinflating the tire after repair. A 12V car compressor works well for emergencies.
- Soapy water or leak detector spray: To check for air leaks after repair.
- Rubber cement or vulcanizing fluid: Enhances plug bonding (included in most kits).
- Wrench or tire iron: For removing the tire if a patch is needed.
- Tire pressure gauge: Ensures correct inflation post-repair.
Optional (But Recommended) Tools
- Jack and jack stands: For lifting the vehicle if you plan to remove the tire.
- Torque wrench: Ensures lug nuts are tightened to manufacturer specs.
- Work gloves and safety glasses: Protect hands and eyes from debris and chemicals.
- Marker or chalk: To mark the puncture location for easy identification.
Where to Buy and What to Avoid
Stick to reputable brands like Slime, TEKTON, or Park Tool. Avoid cheap kits with brittle plugs or flimsy tools—they often fail under pressure. A quality kit costs $15–$30 but can be used for multiple repairs.
Pro tip: Keep a tire repair kit in your trunk along with a portable air compressor. This setup can handle 90% of nail-related emergencies.
Step-by-Step Guide: How to Fix a Nail in a Car Tire
Now that you have the tools, let’s walk through the repair process. This method uses a combination plug-patch repair, which is the industry standard for durability. A plug alone is acceptable for temporary fixes, but a patch adds internal reinforcement.
Step 1: Locate and Mark the Nail
Park on a flat, stable surface and engage the parking brake. Use a flashlight to inspect the tire. Once you find the nail, mark its location with chalk or a marker. This helps you find it again after deflation.
Step 2: Remove the Nail
Using pliers or a claw hammer, gently pull the nail straight out. Do not twist or rock it—this can enlarge the hole. If the nail is deeply embedded, use needle-nose pliers for better grip.
After removal, listen for hissing air. If you hear none, the hole may have sealed temporarily, but proceed with the repair to prevent future leaks.
Step 3: Deflate the Tire
Use the valve core remover to unscrew the valve cap and press down to release air. Deflating the tire makes it easier to insert the plug and reduces pressure on the repair.
Step 4: Ream the Puncture Hole
Insert the reamer tool into the hole and twist back and forth 10–15 times. This:
- Cleans out debris and rust.
- Roughens the hole’s surface for better plug adhesion.
- Stretches the hole slightly to accommodate the plug.
Remove the reamer and wipe away any rubber particles.
Step 5: Apply Vulcanizing Fluid
Coat the reamed hole and the rubber plug with the adhesive (vulcanizing fluid). This chemical bonding agent ensures a permanent seal. Let it sit for 15–30 seconds to become tacky.
Step 6: Insert the Plug
Thread the rubber plug through the insertion tool’s eyelet. Push the tool straight into the hole until the plug’s center is flush with the tread. Do not angle the tool—this can tear the plug.
Hold the tool steady and pull the handle to release the plug. The plug should stay in place, with about 1/4 inch protruding on the outside.
Step 7: Trim Excess Plug
Use a utility knife or scissors to cut off the excess rubber flush with the tread. Avoid cutting too close to prevent air leaks.
Step 8: Re-inflate and Test for Leaks
Reinstall the valve core and inflate the tire to the recommended PSI (found on the driver’s door jamb or owner’s manual). Spray soapy water over the repair area. If bubbles form, the seal is failing—repeat the process or seek professional help.
Step 9: Optional: Apply an Internal Patch (For Long-Term Durability)
For maximum safety, remove the tire from the rim and apply a combination patch-plug from the inside. This involves:
- Deflating and breaking the bead.
- Inspecting the inner liner for damage.
- Applying a patch with adhesive over the internal puncture.
- Re-mounting and balancing the tire.
This method is best done by a tire shop, as it requires a tire machine and expertise.
When to Seek Professional Help
While DIY repairs are effective for minor punctures, certain situations demand professional intervention. Here’s when to skip the kit and head to a tire shop.
Signs You Need a Professional
- Sidewall or shoulder damage: No DIY fix is safe here. The sidewall flexes too much for a plug to hold.
- Multiple punctures: More than 2–3 holes in the tread area may require a full replacement.
- Old or worn tires: Tires with less than 2/32 inch of tread depth or over 6 years old are more prone to failure after repair.
- Structural damage: Bulges, cracks, or exposed cords mean the tire is compromised.
- Uncertainty: If you’re unsure about the repair, get a second opinion. A $20 inspection is cheaper than a blowout.
What Professionals Do Differently
Certified technicians use combination patch-plug repairs (also called “plug-patch” or “section repair”). This involves:
- Removing the tire from the rim.
- Inspecting the inner liner with a light.
- Applying a rubber patch with vulcanizing glue to the inside.
- Inserting a plug through the patch and tread.
- Rebalancing the tire.
This method creates a permanent, airtight seal and is approved by tire manufacturers. Most shops charge $20–$40 per repair, which is a small price for peace of mind.
Cost Comparison: DIY vs. Professional
Here’s a breakdown of costs for common scenarios:
| Repair Type | DIY Cost | Professional Cost | Lifespan | Best For |
|---|---|---|---|---|
| Plug Only | $10–$20 (kit) | $15–$25 | 1–2 years | Temporary fix, small punctures |
| Plug + Patch (DIY) | $20–$35 | $25–$40 | 3–5 years | Most tread-area punctures |
| Combination Patch-Plug (Pro) | N/A | $30–$50 | 5+ years | High-speed driving, heavy loads |
| Tire Replacement | $100–$300 per tire | Same + labor | 5–7 years | Sidewall damage, multiple punctures |
Preventing Future Nail Punctures and Maintaining Tire Health
While you can’t avoid every hazard, proactive maintenance reduces the risk of punctures and extends tire life.
Best Practices for Tire Care
- Check pressure monthly: Underinflated tires are 3x more likely to suffer punctures. Use a digital gauge for accuracy.
- Inspect tread regularly: Look for embedded debris, cracks, or uneven wear. Rotate tires every 5,000–7,000 miles.
- Choose quality tires: Premium all-season or run-flat tires have thicker sidewalls and puncture-resistant layers.
- Drive defensively: Avoid debris, potholes, and construction zones when possible. Slow down over speed bumps.
- Use tire sealants (cautiously): Products like Slime Tire Sealant can seal small holes instantly. However, they can damage TPMS sensors and aren’t a long-term fix.
Seasonal and Road Condition Tips
- Winter: Salt and gravel increase puncture risk. Wash tires weekly to remove corrosive debris.
- Summer: Hot pavement softens rubber. Avoid driving over sharp objects like broken glass or metal shards.
- Construction zones: These areas are littered with nails and screws. If you must drive through, inspect tires afterward.
Technology to the Rescue
Modern cars often include TPMS (Tire Pressure Monitoring System), which alerts you to slow leaks before they become flats. Some systems even show individual tire pressure. Pair this with a portable tire inflator with digital gauge for real-time monitoring.
Conclusion
Learning how to fix a nail in a car tire is a vital skill for every driver. With the right tools and technique, a simple puncture doesn’t have to mean a costly tire replacement or a tow truck. By following the steps outlined—assessing the damage, using a plug-patch repair, and testing for leaks—you can restore your tire’s integrity safely and affordably.
Remember: not all punctures are repairable. Always prioritize safety over convenience. If the nail is in the sidewall, the hole is too large, or you’re unsure about the repair, consult a professional. A $30 repair today can prevent a dangerous blowout tomorrow.
Equip your vehicle with a tire repair kit, keep your tires properly inflated, and stay vigilant for road hazards. With these habits, you’ll not only know how to fix a nail in a car tire fast and safely—you’ll also reduce the chances of it happening again. Drive smart, drive safe, and keep rolling with confidence.
Frequently Asked Questions
How do you fix a nail in a car tire safely?
To fix a nail in a car tire safely, first locate the leak and mark the nail’s position. Then, either use a tire plug kit for a temporary fix or visit a professional for a permanent patch/plug combo from the inside.
Can you drive with a nail in your tire?
Driving with a nail in your tire is risky—it can lead to a slow leak or sudden blowout. If the nail is in the tread and not leaking, drive cautiously to a repair shop; avoid high speeds or long distances.
How to fix a nail in a car tire at home?
For a quick DIY fix, use a tire plug kit: ream the hole, insert the plug with adhesive, and trim excess. This method is temporary; always follow up with a professional repair for safety.
What tools do you need to fix a nail in a tire?
Basic tools include a tire plug kit (with plugs, insertion tool, and reamer), pliers to remove the nail, and soapy water to check for leaks. A portable air compressor helps reinflate the tire afterward.
Is a tire plug or patch better for fixing a nail hole?
A plug is faster for temporary fixes, but a patch applied from the inside (or a combination patch-plug) is more reliable for long-term safety. Professionals recommend patching for a permanent solution.
How much does it cost to fix a nail in a car tire?
Most tire shops charge $10–$25 for a professional patch/plug repair. DIY plug kits cost $5–$20 but are only a temporary fix—always prioritize certified repairs for safety.