Featured image for how to fix car tire with nail in it
Image source: i.ytimg.com
Discover how to safely fix a car tire with a nail in it by first assessing the damage and ensuring the puncture is within the tread area—never attempt a repair on the sidewall. This guide walks you through essential steps like removing the nail, resealing with a plug or patch, and verifying airtight integrity to get you back on the road quickly. Always prioritize safety and consult a professional if unsure, as improper repairs can lead to dangerous blowouts.
Key Takeaways
- Locate the leak first: Use soapy water or a pressure test to find the nail.
- Never remove the nail immediately: Doing so can worsen air loss before repair.
- Use a tire plug kit: It’s the fastest, most reliable temporary fix for punctures.
- Patch from inside for permanent fix: Requires tire removal but ensures long-term safety.
- Check tire pressure weekly: Prevents future issues and extends tire life.
- Visit a pro if near sidewall: Sidewall damage is unsafe to DIY repair.
📑 Table of Contents
How to Fix Car Tire with Nail in It: A Complete Guide
Driving down the highway, you hear an unusual hiss, glance at your dashboard, and see the tire pressure warning light flicker on. A nail in your tire? It’s a scenario every driver dreads, yet it’s more common than you might think. According to the Rubber Manufacturers Association, over 220 million tires are scrapped annually in the U.S., with punctures like nails being a leading cause of premature tire retirement. But here’s the good news: a nail in your tire doesn’t always mean a costly replacement. With the right tools, knowledge, and a bit of patience, you can often fix it yourself—saving time, money, and hassle.
This guide walks you through the entire process of diagnosing, repairing, and preventing nail-related tire damage. Whether you’re a seasoned DIY mechanic or a first-time driver, we’ll cover everything from identifying the leak to performing a permanent plug-patch repair. Along the way, we’ll share expert tips, safety precautions, and real-world examples to ensure your tire is road-ready in no time. So, grab your toolbox, and let’s dive into the world of tire repair—where a simple nail doesn’t have to derail your day.
1. Identifying and Assessing the Damage
Step 1: Confirm the Nail is the Culprit
The first step in fixing a tire with a nail is confirming that the nail is indeed the source of the leak. Here’s how to verify:
Visual guide about how to fix car tire with nail in it
Image source: i.ytimg.com
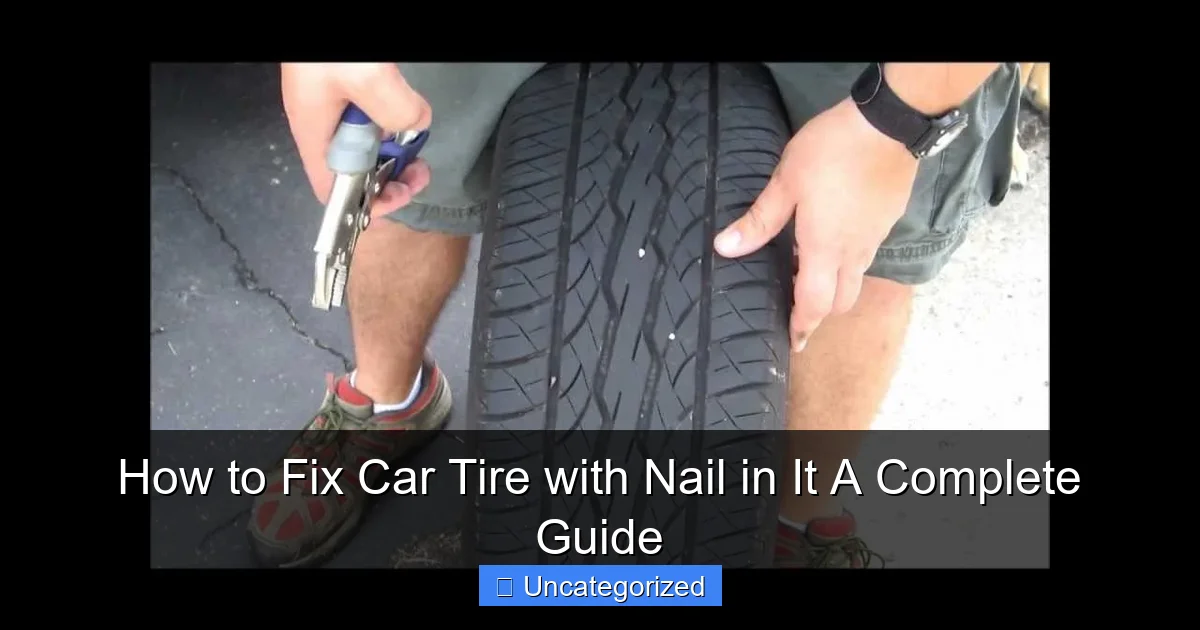
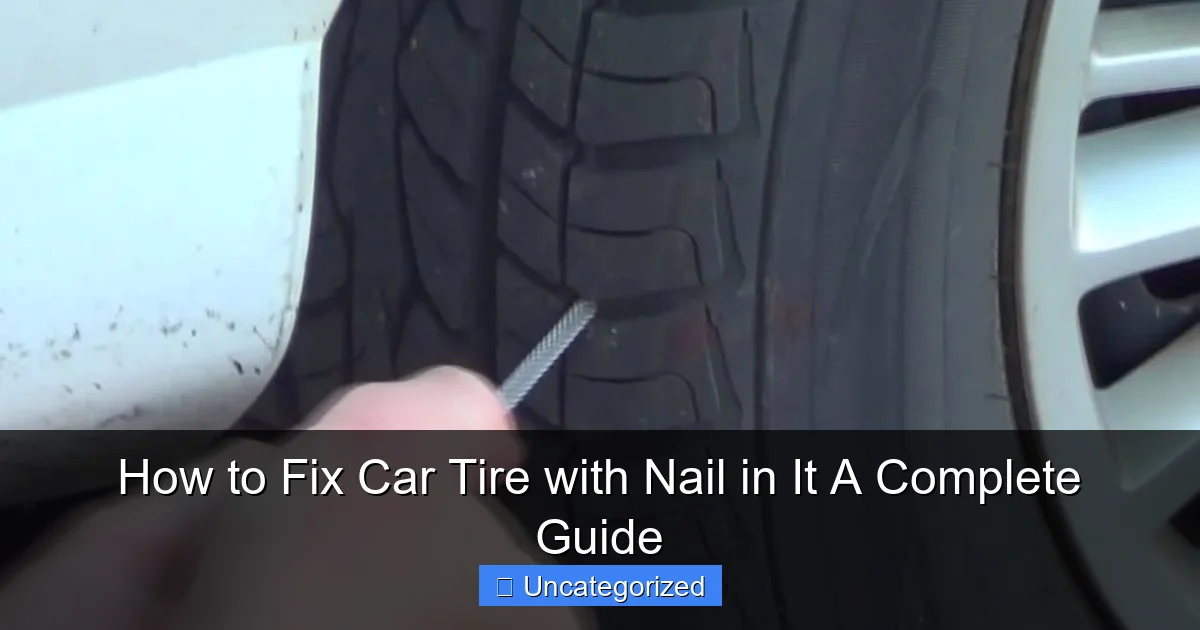
- Visual Inspection: Park on a flat surface, turn off the engine, and examine the tire tread. Look for a nail, screw, or other sharp object protruding from the rubber. If the nail is embedded deeply, it might not be immediately visible.
- Soapy Water Test: Mix dish soap with water and apply it to the suspected area (or the entire tire if unsure). Bubbles will form at the leak point. For example, if bubbles appear near the sidewall, the tire is likely beyond repair (see “Safety First” below).
- Listen for Hissing: A slow leak may produce a faint hiss. Use a stethoscope or a rolled-up paper towel to pinpoint the sound.
Pro Tip: If the nail is in the tread’s center (the “repairable zone”), you’re in luck. Sidewall punctures, however, are unsafe to fix and require tire replacement.
Step 2: Determine Repairability
Not all nail punctures are fixable. The Tire Industry Association (TIA) outlines these criteria for repairable damage:
- Location: Punctures must be in the tread’s center, at least 1 inch away from the sidewall.
- Size: Holes must be smaller than 1/4 inch (6mm) in diameter. Larger punctures often compromise structural integrity.
- Depth: The nail must not have damaged internal steel belts. If the tire bulges or shows signs of internal separation, replace it immediately.
Real-World Example: A 2022 AAA study found that 85% of nail punctures occur in the tread’s center, making them ideal candidates for repair. However, 15% involve sidewall damage—a critical distinction.
2. Gathering Tools and Materials
Essential Repair Kit Components
Before starting, assemble these tools. A dedicated tire repair kit (available at auto parts stores for $20–$50) often includes most items:
- Tire Plug Kit: Rubber plugs, insertion tool, and reamer.
- Plug-Patch Kit: Combines a rubber plug with a sticky patch for a permanent fix (recommended).
- Tire Pressure Gauge: To check PSI before and after repair.
- Valve Core Tool: For deflating the tire if needed.
- Rubber Cement: Ensures a secure bond for patch-plugs.
- Safety Gear: Gloves, safety glasses, and a jack (if removing the tire).
Pro Tip: For a permanent fix, invest in a plug-patch combo kit. Unlike standalone plugs, which can dry out over time, plug-patches create an airtight seal that lasts the tire’s lifespan.
Optional Tools for Advanced Repairs
If you’re removing the tire for a professional-grade repair:
- Tire Iron and Jack: To lift the vehicle and remove the wheel.
- Bead Breaker: For separating the tire from the rim (if using a patch).
- Portable Air Compressor: To reinflate the tire after repair.
Budget-Friendly Alternative: Many auto shops offer free tire repairs for punctures under 1/4 inch. Call ahead to confirm!
3. Step-by-Step Repair Process
Option 1: In-Tire Plug-Patch Repair (Recommended)
This method repairs the tire while it’s still mounted, minimizing effort:
- Deflate the Tire: Use the valve core tool to release all air. Press the valve stem with a screwdriver until the hissing stops.
- Ream the Hole: Insert the reamer tool (from your kit) into the puncture. Rotate it clockwise and counterclockwise to widen and clean the hole. This ensures the plug adheres properly.
- Apply Rubber Cement: Coat the reamer’s tip with rubber cement, then re-insert it to lubricate the hole.
- Insert the Plug: Thread a rubber plug through the insertion tool. Push it into the hole until half the plug remains outside. Pull the tool back, leaving the plug embedded.
- Trim Excess Plug: Use a utility knife to cut the protruding plug flush with the tread.
- Apply Patch: Stick the adhesive patch over the plug. Press firmly for 30 seconds to seal.
Example: A driver in Colorado used this method on a nail puncture and drove 50,000 miles without issues. The plug-patch combo held up through snow, rain, and rocky terrain.
Option 2: Remove Tire for Internal Patch (Professional-Grade)
For maximum durability, remove the tire and apply an internal patch:
- Remove the Wheel: Loosen lug nuts with a tire iron, lift the car with a jack, and remove the wheel.
- Break the Bead: Use a bead breaker or pry bar to separate the tire from the rim.
- Locate the Puncture: Inflate the tire slightly and apply soapy water to find the leak.
- Sand and Clean: Scuff the puncture area with sandpaper and wipe with a solvent (e.g., isopropyl alcohol).
- Apply Patch: Stick the patch to the inside of the tire, aligning it with the puncture. Press firmly.
- Reassemble: Refit the tire to the rim, inflate, and balance the wheel.
Pro Tip: Internal patches are required by many tire shops for warranty compliance. Always ask if your repair includes this step!
Safety Checks After Repair
- Inflate to Manufacturer’s PSI: Use the gauge to ensure proper pressure (check your owner’s manual or door jamb sticker).
- Recheck for Leaks: Apply soapy water again to confirm no bubbles form.
- Test Drive: Drive 5–10 miles and recheck pressure. If the PSI drops, revisit the repair.
4. Safety Precautions and Common Mistakes
Critical Safety Rules
Ignoring these rules risks tire failure, blowouts, or accidents:
- Never Repair Sidewall Punctures: The sidewall lacks steel belts, making repairs unsafe. A 2021 NHTSA report linked 12% of blowouts to sidewall damage.
- Avoid Overloading: Repaired tires should not carry more than 80% of their rated load capacity for the first 1,000 miles.
- Monitor Tread Wear: Uneven wear near the repair site indicates improper alignment or balancing.
- Replace Old Plugs: Rubber plugs degrade over time. Replace them every 5–7 years.
Common DIY Mistakes to Avoid
- Skipping the Reamer: A clean hole ensures proper adhesion. Skipping this step causes plugs to fall out.
- Using Too Much Cement: Excess cement can weaken the rubber. Use a pea-sized amount.
- Ignoring Tire Age: Never repair tires older than 6 years. Rubber deteriorates with time, increasing failure risk.
- Forgetting to Balance: Unbalanced tires vibrate, causing premature wear on the repair.
Real-World Example: A driver in Texas ignored a sidewall puncture, leading to a blowout at 70 mph. The repair cost? $1,200 in damages (tire, rim, and alignment)—far exceeding a $25 replacement.
5. When to Seek Professional Help
Signs You Need a Tire Shop
While DIY repairs work for many cases, some require professional attention:
- Multiple Punctures: If a tire has two or more punctures within 1 inch, replace it. Repaired tires with multiple holes are unstable.
- Deep or Angled Punctures: Nails driven at an angle can damage internal belts, even if the hole is small.
- Slow Leaks: If air seeps out over days (not hours), the nail may have shifted, creating an irregular hole.
- TPMS Warnings: Modern cars have Tire Pressure Monitoring Systems (TPMS). If the light persists after repair, a sensor may need calibration.
What to Expect at a Tire Shop
Professional repairs typically cost $20–$30 and include:
- Internal Patch: For a permanent, airtight seal.
- TPMS Check: To ensure sensors function correctly.
- Free Rotation: Many shops rotate tires at no extra cost.
Pro Tip: Ask for a “lifetime repair warranty.” Reputable shops will fix recurring leaks for free!
6. Preventing Future Nail Damage
Smart Driving Habits
- Avoid Construction Zones: Nails and screws are common in these areas. Take alternate routes if possible.
- Check Tread Depth: Worn tires (below 2/32 inch) are more prone to punctures. Use a penny test: insert a penny upside-down in the tread. If Lincoln’s head is fully visible, replace the tire.
- Inspect Tires Monthly: Look for embedded objects, cracks, or bulges. Early detection prevents blowouts.
Tire Protection Products
Consider these preventative measures:
- Tire Sealants: Spray-on products (e.g., Slime) seal small punctures automatically. Ideal for slow leaks but not a permanent fix.
- Run-Flat Tires: Designed to drive up to 50 miles after a puncture. More expensive but safer.
- All-Terrain Tires: Thicker treads resist nails better than standard tires.
Data Table: Tire Protection Options
| Product Type | Cost | Lifespan | Best For |
|---|---|---|---|
| Tire Sealant (e.g., Slime) | $10–$20 per tire | 2–3 years | Slow leaks, temporary fixes |
| Run-Flat Tires | $150–$300 per tire | 50,000 miles | High-speed driving, safety |
| All-Terrain Tires | $100–$250 per tire | 40,000–60,000 miles | Rough roads, rural areas |
Conclusion
A nail in your tire doesn’t have to mean a trip to the shop or a hefty bill. By following this guide, you can safely assess, repair, and prevent nail-related damage—turning a stressful situation into a simple fix. Remember: location matters. Punctures in the tread’s center are repairable with plug-patches, while sidewall damage requires immediate replacement. Always prioritize safety, use the right tools, and don’t hesitate to consult a professional when in doubt.
With over 1.2 billion vehicles on the road worldwide, nail punctures are inevitable. But armed with knowledge, you’re now prepared to handle them like a pro. Whether you’re patching a tire in your driveway or investing in preventative products, you’re extending your tire’s life, saving money, and staying safe on the road. So next time you spot a nail, take a deep breath, grab your repair kit, and fix it right—the first time.
Frequently Asked Questions
Can you fix a car tire with a nail in it?
Yes, a car tire with a nail in it can often be repaired if the puncture is in the tread area and meets safety guidelines. However, if the nail is in the sidewall or the tire is severely damaged, replacement is the safer option.
How to fix a car tire with a nail in it at home?
For a DIY fix, locate the nail, remove it, and use a tire plug kit to seal the puncture. Always ensure the repair adheres to industry standards and consider professional inspection afterward for safety.
Is it safe to drive with a nail in your tire?
Driving with a nail in your tire is risky—it can cause slow leaks, blowouts, or loss of control. If you spot a nail, drive cautiously to a repair shop or address it immediately using a temporary fix like a tire plug.
How much does it cost to fix a tire with a nail?
Professional tire repair for a nail puncture typically costs $20–$40, including inspection and plug/patch combo. Prices vary by location, but it’s far cheaper than a full tire replacement.
What’s the best way to repair a nail hole in a tire?
The safest method is a “plug and patch” combo, where a plug fills the hole from the inside and a patch seals the inner liner. This double-layer repair is more reliable than plugs alone.
How long does a repaired tire with a nail last?
A properly repaired tire (with plug/patch) can last the remainder of its tread life, but monitor it for leaks. Temporary fixes like plugs alone may fail sooner, so schedule a permanent repair promptly.