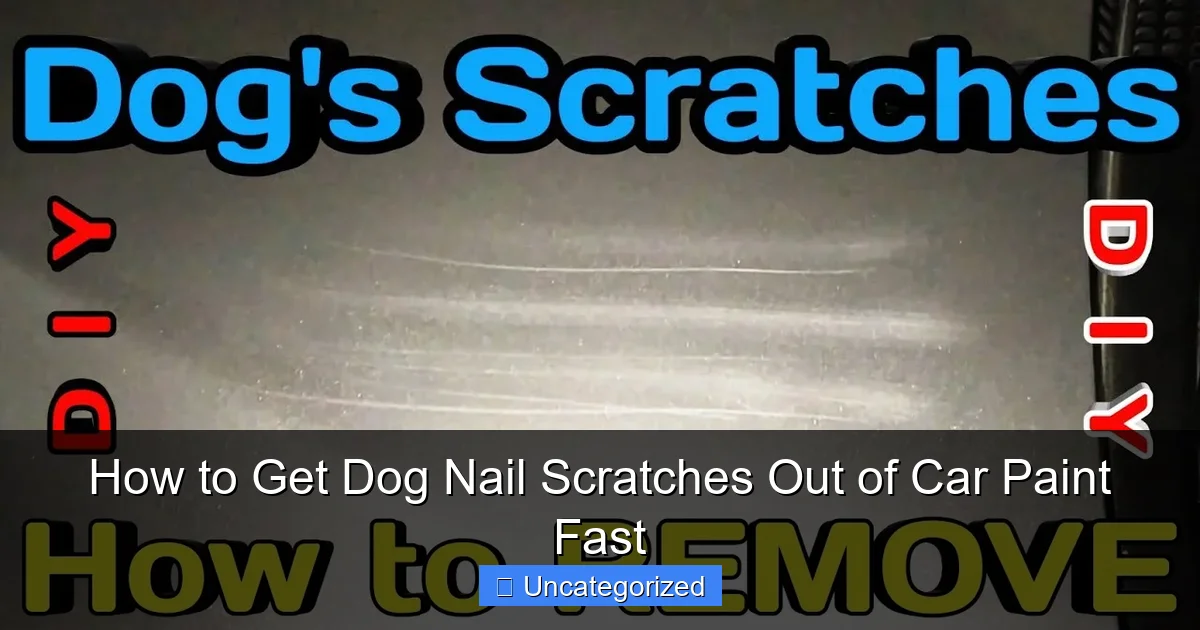
Featured image for how to get dog nail scratches out of car paint
Image source: i.ytimg.com
Act quickly and gently to remove dog nail scratches from car paint using a microfiber cloth and automotive polish—this prevents permanent damage and restores shine. For light surface scratches, a dedicated scratch remover or toothpaste (non-gel) works wonders, while deeper marks may require professional-grade compound and buffing. Always finish with a wax sealant to protect the paint and deter future scratches.
Key Takeaways
- Act quickly: Address scratches immediately to prevent oxidation and worsening damage.
- Clean first: Wash the area thoroughly to avoid grinding dirt into the paint during repair.
- Use a scratch remover: Apply a quality compound or polish for light dog nail scratches.
- Try toothpaste or baking soda: Mild abrasives can work for very shallow marks.
- Wax after repair: Protect the area with wax to seal and blend the finish.
- Assess depth: Deep scratches exposing primer or metal require professional attention.
📑 Table of Contents
Understanding Dog Nail Scratches on Car Paint
As a proud pet owner, you love your dog unconditionally—but you might not love the scratches they leave on your car’s paint. Whether it’s from an excited jump into the back seat or a playful pawing at the door, dog nail scratches on car paint are a common yet frustrating issue. These scratches aren’t just unsightly; they can also lead to rust and paint degradation if left untreated. The good news? Most dog nail scratches are superficial and can be fixed without professional intervention. With the right tools, techniques, and a little elbow grease, you can restore your car’s finish and protect it from future damage.
Understanding the nature of these scratches is the first step to solving the problem. Unlike deep scratches from keys or road debris, dog nail scratches are typically clear coat scratches—meaning they only affect the topmost layer of paint. This makes them easier to repair at home. However, the depth and severity vary depending on your dog’s nail sharpness, the force of the scratch, and the quality of your car’s paint job. In this guide, we’ll walk you through how to assess, treat, and prevent dog nail scratches so your car stays looking showroom-shiny—even with a four-legged passenger.
Assessing the Depth of the Scratch
How to Determine Scratch Severity
Before reaching for any repair products, you need to assess how deep the scratch is. This determines whether you can fix it yourself or need to consult a professional. Start by cleaning the scratched area with a microfiber cloth and isopropyl alcohol. Dirt or wax can mask the true depth of the scratch, so a clean surface is essential.
Visual guide about how to get dog nail scratches out of car paint
Image source: i.ytimg.com
Next, use the fingernail test: gently run your fingernail over the scratch at a 90-degree angle. If your nail catches, the scratch is deep and likely extends beyond the clear coat into the paint layer or primer. If it doesn’t catch and feels smooth, it’s likely a surface-level clear coat scratch—ideal for DIY repair.
- Light Scratch: No catch with fingernail, visible under certain light. Can be fixed with polishing or waxing.
- Moderate Scratch: Slight catch, visible in most lighting. Requires compounding or scratch remover.
- Deep Scratch: Pronounced catch, may expose primer or metal. Likely needs touch-up paint or professional help.
Tools to Help You Diagnose
For a more precise assessment, consider using a paint thickness gauge (available for $20–$50 online). These tools measure the depth of your paint layers, helping you determine if the scratch has breached the clear coat. For example, most factory clear coats are 30–50 microns thick. If the gauge shows a significant dip at the scratch site, it’s deeper than average.
Another tip: inspect the scratch under different lighting angles. A flashlight or LED work light held at a low angle (30–45 degrees) will cast shadows that make even fine scratches more visible. This technique is often used by professional detailers to catch imperfections before polishing.
Step-by-Step DIY Repair Methods
Method 1: Polishing for Light Scratches
For light dog nail scratches (clear coat only), polishing is often enough to restore the finish. Here’s how:
- Wash and dry the area thoroughly. Use car shampoo and a two-bucket method to avoid swirl marks.
- Apply a polishing compound (e.g., Meguiar’s Ultimate Compound) to a clean microfiber pad or dual-action polisher.
- Work in small sections (2’x2’) using overlapping motions. Keep the polisher flat and move at 3–4 inches per second.
- Wipe off residue with a clean microfiber cloth. Inspect under angled light—repeat if needed.
- Seal with wax or ceramic coating to protect the repaired area.
Pro Tip: Avoid circular motions, which can create swirls. Instead, use straight-line passes (front-to-back or side-to-side) for a uniform finish.
Method 2: Scratch Remover for Moderate Scratches
If polishing doesn’t fully remove the scratch, try a scratch remover kit (e.g., Turtle Wax Scratch & Swirl Remover). These products contain mild abrasives that level the clear coat.
- Clean the area and apply a dime-sized amount of remover to a foam applicator.
- Rub in a circular motion for 30–60 seconds, applying moderate pressure.
- Wipe off with a microfiber cloth. If the scratch persists, repeat up to 3 times.
- Follow with a wax or sealant to fill microscopic pores.
Example: A 2021 Toyota Camry with moderate scratches on the driver’s door was restored in 15 minutes using 3M Scratch Remover, with no visible marks afterward.
Method 3: Touch-Up Paint for Deep Scratches
For scratches exposing primer or metal, touch-up paint is necessary. Most car manufacturers offer factory-matched paint in pens or bottles. Here’s the process:
- Find your car’s paint code (usually on the driver’s side door jamb or glove box).
- Clean the scratch with isopropyl alcohol. Use fine-grit sandpaper (2000 grit) to smooth edges.
- Apply touch-up paint in thin layers with a precision brush or pen. Let each layer dry for 10–15 minutes.
- Once filled, lightly sand the area with 3000-grit sandpaper and polish to blend.
Warning: Avoid overfilling—excess paint can create a raised bump. It’s better to apply multiple thin layers than one thick one.
Tools and Products You’ll Need
Essential Repair Kit Components
Having the right tools makes all the difference. Here’s what to include in your dog scratch repair kit:
- Microfiber cloths (10+): Use separate cloths for washing, polishing, and waxing to avoid cross-contamination.
- Dual-action polisher: A $50–$150 investment that speeds up polishing and reduces swirl risks.
- Polishing compound & scratch remover: Choose non-abrasive options for light scratches and medium-cut compounds for deeper ones.
- Touch-up paint kit: Includes paint, clear coat, and brushes (e.g., ColorRite or TouchUpDirect).
- Sandpaper (2000–3000 grit): For smoothing deep scratches before touch-up paint.
- Isopropyl alcohol: Cleans the surface without leaving residue.
- Foam applicator pads: For even product distribution.
Recommended Products for Dog Scratches
| Product Type | Brand/Model | Best For | Price Range |
|---|---|---|---|
| Polishing Compound | Meguiar’s Ultimate Compound | Light to moderate scratches | $15–$20 |
| Scratch Remover | 3M Scratch Remover | Moderate scratches | $10–$15 |
| Touch-Up Paint | TouchUpDirect | Deep scratches | $20–$40 |
| Dual-Action Polisher | Torq22D | All scratch types | $100–$150 |
| Paint Thickness Gauge | PosiTector 6000 | Scratch assessment | $200–$300 |
Pro Tip: Store your kit in a cool, dry place. Humidity can degrade polishing compounds and touch-up paint over time.
Preventing Future Dog Scratches
Protecting Your Car’s Paint
An ounce of prevention is worth a pound of cure. Here’s how to stop dog nail scratches before they happen:
- Use seat covers or cargo liners: Waterproof, scratch-resistant covers (e.g., WeatherTech) shield your car’s interior and exterior.
- Apply paint protection film (PPF): A clear urethane film (e.g., XPEL) absorbs impacts and resists scratches. Install on high-risk areas like doors and rear bumpers.
- Install a pet barrier: A mesh or metal gate keeps your dog in the back seat, preventing door contact.
- Trim your dog’s nails regularly: Use a grinder or clipper to keep nails blunt. A 2–3 week schedule is ideal for most breeds.
Example: A Labrador Retriever owner reduced scratches by 90% after switching to a ramp instead of a jump for car entry, minimizing contact with the paint.
Behavioral Training Tips
Train your dog to enter the car calmly. Use treats and commands like “wait” and “in” to encourage patience. For anxious dogs, a thunder shirt or calming pheromone spray can reduce excitement during car rides.
Another trick: park strategically. Leave space between cars to prevent your dog from brushing against adjacent vehicles. If parking in a garage, place a foam pad on the wall near the door to protect paint from accidental bumps.
When to Seek Professional Help
Signs You Need a Detailer or Body Shop
While DIY methods work for most dog nail scratches, some cases require professional intervention. Seek help if:
- The scratch exposes metal or primer: Moisture can cause rust, which spreads under the paint.
- Multiple deep scratches cover a large area: A full panel repaint may be more cost-effective than spot repairs.
- The paint is chipped or gouged: Touch-up paint can’t fill large gaps.
- Your car has a custom or matte finish: These require specialized repair techniques.
What to Expect from a Professional
A professional detailer will:
- Assess the scratch depth using advanced tools like paint thickness gauges.
- Use a rotary polisher with professional-grade compounds for faster results.
- Apply color-matched paint with an airbrush for seamless blending.
- Seal with ceramic coating for long-term protection.
Cost Estimate: $100–$300 for a single panel, depending on scratch severity and location. Always get a written quote before work begins.
By combining DIY repairs with preventive measures, you can keep your car looking pristine—even with a furry co-pilot. Remember, consistency is key. Regular nail trims, protective gear, and quick touch-ups will save you time and money in the long run. Now that you know how to get dog nail scratches out of car paint fast, you can enjoy road trips with your pup without worrying about cosmetic damage.
Invest in the right tools, act promptly, and don’t forget to celebrate small victories—like a scratch-free door after a long hike with your dog. With a little care, your car and your best friend can coexist in harmony.
Frequently Asked Questions
How to get dog nail scratches out of car paint without damaging the finish?
Use a soft microfiber cloth with a non-abrasive car polish or scratch remover designed for clear coats. Gently buff the scratched area in circular motions, avoiding excessive pressure to prevent further damage.
Can toothpaste remove dog nail scratches from car paint?
Mild, non-gel toothpaste can work on shallow scratches by acting as a gentle abrasive. Apply a small amount to a cloth, rub lightly over the scratch, then rinse and dry thoroughly.
What’s the fastest way to fix dog nail scratches in car paint?
The fastest method is using a dedicated scratch removal kit or rubbing compound, followed by waxing to restore shine. For deeper scratches, touch-up paint may be needed after sanding lightly with 2000-grit paper.
Do dog nail scratches always require professional repair?
No—shallow dog nail scratches in car paint can often be fixed at home with polishing or DIY kits. Seek professional help only if the scratch exposes bare metal or penetrates multiple paint layers.
How do I prevent future dog nail scratches on my car?
Keep your dog’s nails trimmed and train them not to jump on the car. Use seat covers or a pet barrier, and park away from high-traffic areas to reduce risk.
Is car wax effective for hiding dog nail scratches?
Car wax can temporarily mask very light dog nail scratches out of car paint by filling them with wax. Reapply regularly, but note it won’t repair deep scratches—use polish or filler for those.