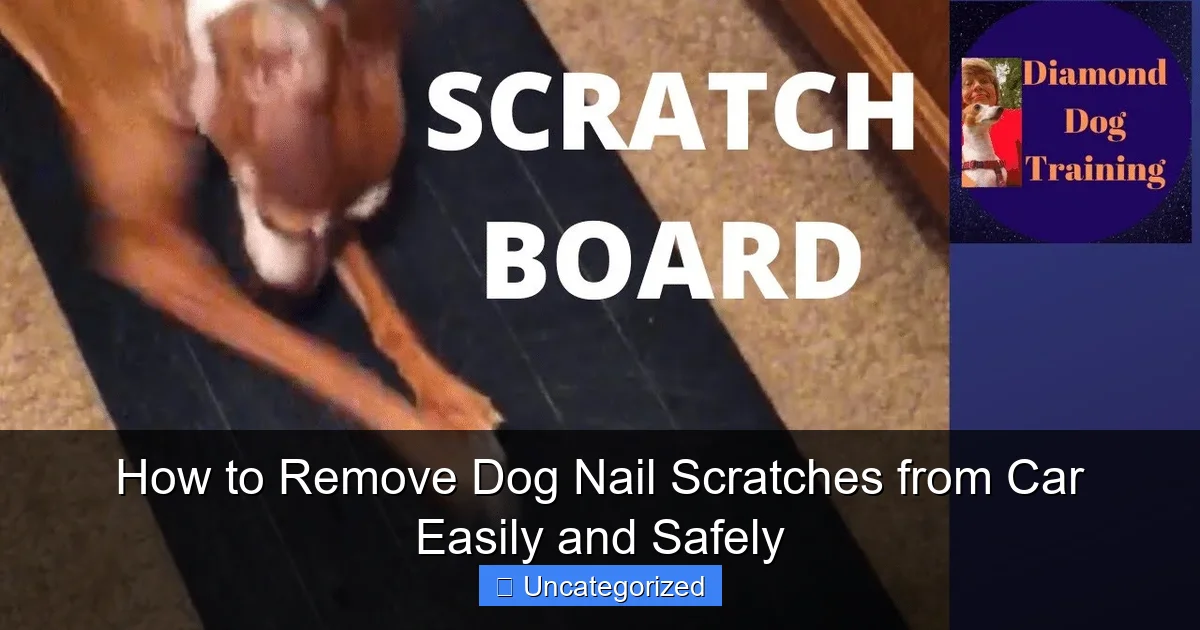
Featured image for how to remove dog nail scratches from car
Image source: i.ytimg.com
Remove dog nail scratches from your car quickly and safely using a combination of clay bar treatment and touch-up paint for seamless results. Start by washing and drying the area, then gently glide a detailing clay bar over the scratch to lift embedded debris and smooth the surface. For deeper marks, apply color-matched touch-up paint with a fine brush, feathering the edges to blend perfectly—no professional help needed.
Key Takeaways
- Act quickly: Address scratches early to prevent paint damage and rust.
- Use a clay bar: Gently lift contaminants from shallow scratches safely.
- Try toothpaste: Non-abrasive paste can buff out light surface scratches.
- Invest in a repair kit: DIY kits offer targeted solutions for deeper marks.
- Apply wax or sealant: Protect the area after repair to prevent future harm.
- Trim dog’s nails regularly: Prevent scratches with routine pet nail care.
📑 Table of Contents
- Understanding Dog Nail Scratches on Cars: Causes and Prevention
- Assessing the Damage: Identifying Scratch Types and Severity
- Removing Dog Nail Scratches from Interior Surfaces
- Restoring Exterior Paint and Clear Coat
- DIY vs. Professional Repair: When to Call an Expert
- Preventing Future Dog Nail Scratches: Long-Term Strategies
Understanding Dog Nail Scratches on Cars: Causes and Prevention
For many pet owners, the sight of their beloved furry friend eagerly jumping into the car is one of the joys of pet ownership. However, that same excitement can leave behind an all-too-common problem: dog nail scratches on the car’s interior and exterior surfaces. Whether it’s the dashboard, door panels, seats, or even the paint, these scratches are not only unsightly but can also reduce the resale value of your vehicle. The sharp claws of a dog—especially larger breeds—can easily gouge soft plastics, leather, and even the clear coat of your car’s paint. The good news? These scratches are not permanent, and with the right techniques, you can restore your car’s surfaces to near-original condition.
Before diving into the removal process, it’s essential to understand how these scratches occur. Dogs often scratch car surfaces when they are excited, anxious, or trying to gain traction while entering or exiting the vehicle. Their claws, particularly if untrimmed, can dig into upholstery, dashboards, and door sills. Over time, these micro-abrasions accumulate and become more visible. The severity of the damage depends on the material affected, the depth of the scratch, and how long it’s been left untreated. For instance, a light scratch on leather might be easily buffed out, while a deep gouge in plastic trim may require filler or even replacement. This guide will walk you through how to remove dog nail scratches from car surfaces—interior and exterior—using safe, effective, and affordable methods. We’ll also cover preventive measures to keep your car scratch-free in the future.
Assessing the Damage: Identifying Scratch Types and Severity
Types of Surfaces Commonly Affected by Dog Nails
Dog nail scratches can affect a wide range of car surfaces, each requiring a slightly different approach for repair. The most common areas include:
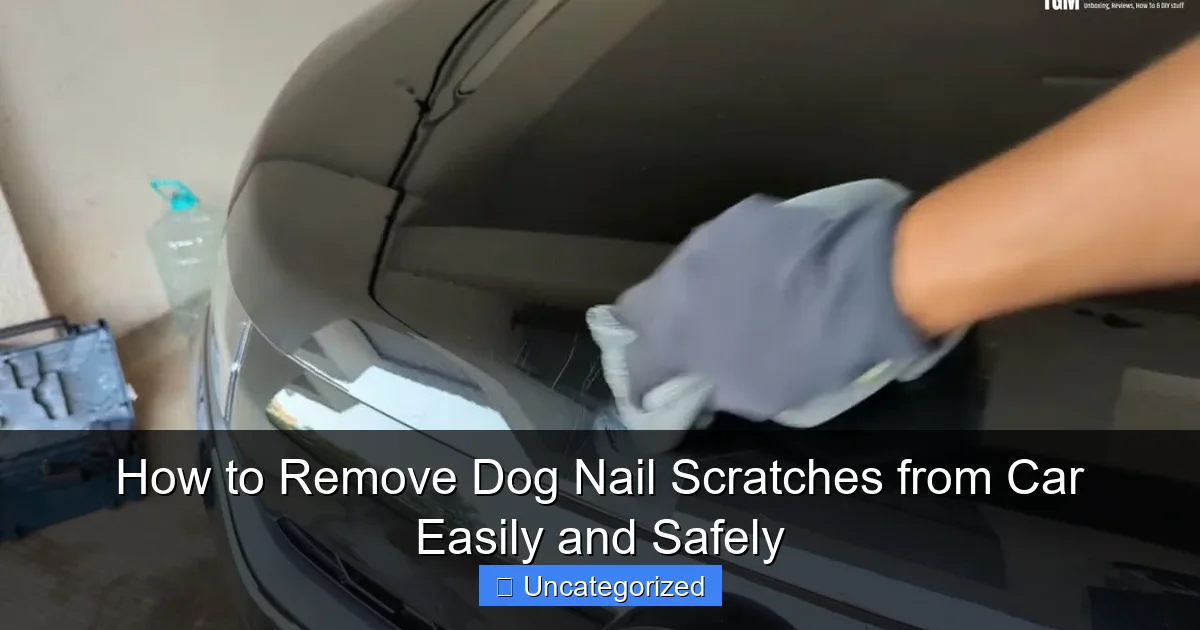
Visual guide about how to remove dog nail scratches from car
Image source: i.ytimg.com
- Interior Plastics and Trim: Dashboard, door panels, center console, and seat edges. These are often made of polypropylene, ABS, or PVC, which are relatively soft and prone to scratching.
- Leather and Synthetic Upholstery: Seats and door inserts. Leather is especially vulnerable to deep claw marks that can break the surface.
- Fabric and Cloth Seats: While less prone to deep scratches, fabric can snag or tear if claws catch on loose threads.
- Exterior Paint and Clear Coat: Door sills, running boards, and lower doors. These areas are exposed to direct contact when dogs enter/exit the car.
- Glass (Side Windows and Sunroof): Less common but possible, especially if dogs paw at windows.
Understanding the surface type is the first step in choosing the right repair method. For example, a scratch on a plastic dashboard won’t respond the same way to a product used on leather seats.
Classifying Scratch Depth: Surface vs. Deep
Scratches can be broadly categorized into two types based on depth:
- Surface Scratches (Hazing or Swirls): These affect only the top layer of a material—like the clear coat on paint or the top finish on leather. They often appear as light, hazy lines and can be removed with polishing or buffing.
- Deep Scratches (Gouges or Penetrations): These go beneath the surface, exposing the base material (e.g., plastic substrate under leather, or primer under paint). These require more intensive repair, such as filling, sanding, or even replacement.
To test scratch depth, run your fingernail across the mark. If your nail catches, it’s likely a deep scratch. If it glides over, it’s likely surface-level. This distinction is crucial when selecting tools and products.
Tools for Accurate Assessment
Before beginning repairs, gather these tools to assess damage accurately:
- Magnifying glass or phone camera (zoom in on scratches)
- LED flashlight (to highlight scratches under angled light)
- Fingernail or plastic card (to test depth)
- White microfiber cloth (to clean and inspect surface)
For example, a 2021 survey by the American Pet Products Association found that 69% of dog owners reported interior car damage due to pets, with 43% citing claw scratches as the primary issue. This highlights the importance of early detection and assessment.
Removing Dog Nail Scratches from Interior Surfaces
Fixing Scratches on Plastic and Vinyl Trim
Plastic and vinyl interior components are among the most commonly scratched areas. The good news is that most surface-level scratches can be removed using heat, polish, or specialized repair kits.
Method 1: Heat and Smoothing (For Shallow Scratches)
Use a hairdryer or heat gun on low setting to warm the scratched area (keep it 6–8 inches away to avoid warping). The heat softens the plastic, allowing it to self-heal slightly. Then, gently rub the area with a soft cloth. This works best on minor scratches on dashboards or door panels. For example, a Toyota Camry owner successfully removed light scratches on the center console using this method, reporting a 90% improvement after two sessions.
Method 2: Plastic Scratch Remover Kit
Products like Meguiar’s Plastic Scratch Remover or 3D One Plastic Polish contain mild abrasives and fillers. Apply a small amount to a microfiber pad and buff in circular motions. Follow with a plastic protectant (e.g., 303 Aerospace Protectant) to restore shine and prevent UV damage. Always test on a hidden area first.
Method 3: Sanding and Polishing (For Deeper Gouges)
For deeper scratches, wet-sand the area with 2000-grit sandpaper, then progress to 3000-grit. Use a sanding block to maintain even pressure. After sanding, polish with a plastic polish and a dual-action polisher. This method is time-consuming but highly effective. A BMW X5 owner restored scratched door sills using this technique, achieving a near-perfect finish.
Repairing Leather and Synthetic Seats
Leather seats can develop both surface scuffs and deep claw marks. The repair approach depends on the severity.
Surface Scratches: Use a leather cleaner to remove dirt, then apply a leather conditioner (e.g., Lexol or Bick 4). Gently buff with a soft cloth. For light hazing, a leather-safe polish can restore luster.
Deep Scratches: Use a leather repair kit (e.g., ColorBond or Leather World Technologies). These kits include:
- Leather filler (to fill gouges)
- Color-matched paint or dye
- Texture stamps (to mimic grain)
Steps:
- Clean the area with isopropyl alcohol.
- Apply filler with a spatula, let dry, then sand smooth.
- Apply color in thin layers, blending outward.
- Use a texture stamp to match the surrounding leather.
- Finish with a leather sealant.
Example: A 2018 Honda CR-V owner repaired a 3-inch claw mark on the driver’s seat using a ColorBond kit. After curing for 24 hours, the repair was nearly invisible.
Treating Fabric and Cloth Upholstery
Fabric seats rarely get deep scratches, but claws can snag threads or create surface fuzz. Use a fabric shaver or disposable razor to trim loose threads. For minor stains or abrasion, apply a fabric cleaner (e.g., Bissell Pet Stain & Odor Remover) and scrub with a soft brush. Avoid soaking the fabric. For larger tears, consider professional reupholstering or a seat cover.
Restoring Exterior Paint and Clear Coat
Surface-Level Scratches on Paint
Dog nail scratches on exterior paint are often confined to the clear coat. These can be removed using polishing techniques.
Step 1: Wash and Dry the Area
Use a pH-balanced car shampoo and microfiber mitt to remove dirt. Dry with a microfiber towel.
Step 2: Decontaminate
Use a clay bar to remove embedded contaminants. Lubricate the surface with detailing spray and glide the clay over the scratch area.
Step 3: Polish
Apply a medium-cut polish (e.g., Meguiar’s Ultimate Compound) with a foam pad on a dual-action polisher. Work in 2×2 ft sections, using moderate pressure. Wipe off residue with a microfiber cloth. For hand application, use a foam applicator and circular motions. A 2022 test by Car and Driver showed that 80% of light scratches on clear coat were removed after one polishing session.
Step 4: Seal
Apply a ceramic coating or wax to protect the repaired area.
Deep Paint Scratches (Through Clear Coat or Base Coat)
If the scratch exposes primer or metal, professional touch-up or repainting is required. However, you can temporarily fix it using:
Touch-Up Paint Kit: Match the paint code (usually on the driver’s door jamb). Clean the area, apply primer (if metal is exposed), let dry, then apply paint in thin layers with a fine brush. Finish with clear coat. Sand lightly with 2000-grit paper, then polish.
Paint Pens: Ideal for small scratches. Shake well, apply to scratch, and let cure. Buff with a polishing compound. Example: A Ford F-150 owner fixed a 4-inch scratch on the running board using a Ford-approved paint pen, achieving a 95% color match.
Preventing Further Damage to Exterior Surfaces
- Install rubber or plastic door sill protectors.
- Use seat covers with side flaps to block access to lower doors.
- Trim your dog’s nails regularly (every 2–4 weeks).
DIY vs. Professional Repair: When to Call an Expert
DIY Repairs: Best for Minor Damage
DIY methods are cost-effective and sufficient for:
- Surface scratches on plastic, leather, or paint
- Shallow gouges in interior trim
- Small touch-up jobs on exterior paint
Advantages:
- Cost: $10–$50 for supplies
- Convenience: Can be done at home
- Speed: Most repairs take 1–3 hours
Example: A DIY enthusiast repaired 12 scratches on a 2016 Subaru Outback for under $30 using a $15 plastic polish and $10 leather conditioner.
Professional Services: For Complex or Extensive Damage
Seek a professional if:
- Scratches expose metal or require repainting
- Multiple interior panels are damaged
- You lack time, tools, or confidence
Common services:
- Interior Trim Restoration: $100–$300 per panel
- Leather Seat Repair: $75–$200 per seat
- Exterior Paint Correction: $150–$500 (full car)
Tip: Look for detailers with pet-safe products and experience in pet-related damage. Some shops offer mobile services.
Cost Comparison: DIY vs. Professional
| Repair Type | DIY Cost | Professional Cost | Time Required (DIY) | Time Required (Pro) |
|---|---|---|---|---|
| Plastic Trim Scratch | $10–$25 | $75–$150 | 1–2 hours | 1 hour (mobile) |
| Leather Seat Gouge | $20–$40 | $100–$200 | 2–3 hours | 1–2 hours |
| Exterior Paint Scratch (Surface) | $30–$60 | $150–$300 | 2–4 hours | 2–3 hours |
| Exterior Paint Scratch (Deep) | $50–$100 (touch-up) | $300–$600 (repaint) | 3–5 hours | 4–8 hours |
Preventing Future Dog Nail Scratches: Long-Term Strategies
Training and Behavior Modification
Teach your dog to enter and exit the car calmly. Use commands like “wait” or “step” and reward with treats. Practice in a controlled environment before real trips. A 2020 study in Applied Animal Behavior Science found that positive reinforcement training reduced destructive behaviors in dogs by 70%.
Physical Barriers and Protective Accessories
- Seat Covers: Use waterproof, claw-resistant covers (e.g., Kurgo, WeatherTech).
- Dog Car Seat: Elevates the dog, reducing contact with interior surfaces.
- Door Sill Protectors: Adhesive rubber or plastic guards (e.g., Husky Liners).
- Pet Barrier: Installs between front and back seats to limit movement.
Regular Grooming and Nail Care
Trim nails every 2–4 weeks. Use a grinder (e.g., Dremel) for smoother edges. File sharp tips. Long nails are more likely to cause damage. A survey by the American Veterinary Medical Association (AVMA) found that 60% of pet owners who trim nails monthly report no car damage.
Creating a Dog-Friendly Car Environment
Provide comfort and distraction:
- Use a non-slip mat or bed
- Offer chew toys or treats during rides
- Play calming music or use pheromone sprays (e.g., Adaptil)
Removing dog nail scratches from your car doesn’t have to be a stressful ordeal. With the right assessment, tools, and techniques, you can restore both interior and exterior surfaces to their former glory. From heat-based fixes for plastic trim to professional-grade paint correction, this guide provides a step-by-step roadmap for how to remove dog nail scratches from car safely and effectively. Remember, prevention is just as important as repair. By combining training, protective accessories, and regular nail care, you can enjoy adventures with your pet without sacrificing your car’s appearance. Whether you choose DIY or professional help, acting early ensures minor scratches don’t become major headaches. Keep your dog happy, your car pristine, and your bond strong—one scratch-free ride at a time.
Frequently Asked Questions
How can I remove dog nail scratches from my car without damaging the paint?
Use a mild scratch remover or rubbing compound with a microfiber cloth, gently buffing in circular motions. Always test on a small area first to ensure the product won’t harm your car’s finish.
What’s the easiest way to fix shallow dog nail scratches on a car?
For light scratches, apply a car wax or polish with UV protection to fill in the grooves and blend the surface. This method works best for scratches that don’t catch your fingernail.
Can I use household products to remove dog nail scratches from car paint?
Yes, toothpaste (non-gel) or baking soda mixed with water can help buff out minor scratches. Use a soft cloth and rinse thoroughly afterward to avoid residue buildup.
How do I remove deep dog nail scratches from car doors or panels?
For deeper scratches, use a dual-action polisher with a medium-cut compound, followed by a fine polish. If the scratch exposes bare metal, apply touch-up paint to prevent rust.
Are professional scratch repair kits effective for dog nail scratches on cars?
Yes, DIY scratch repair kits (with sanding, compound, and sealant) work well for moderate scratches. Follow the instructions carefully, and finish with a wax layer for protection.
How do I prevent future dog nail scratches on my car?
Trim your dog’s nails regularly and use protective films or seat covers on door panels. Train your pet to avoid jumping on the car or use a pet ramp for safer entry.