
Featured image for how to remove nail scratches from car door handle
Image source: i.ytimg.com
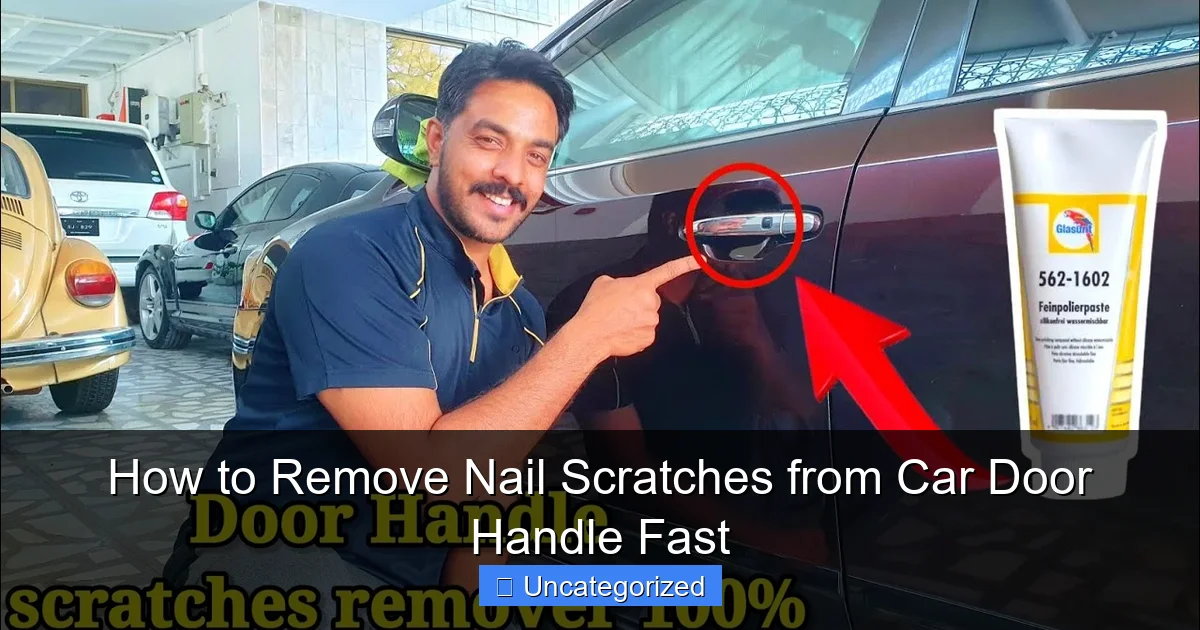
Remove nail scratches from your car door handle quickly using a polishing compound and a microfiber cloth—this method effectively buffs out light surface marks in minutes. For deeper scratches, apply a touch-up paint kit that matches your vehicle’s color to prevent rust and restore a flawless finish. Act fast to maintain your car’s appearance and value with minimal effort and cost.
Key Takeaways
- Clean first: Wash the area to avoid grinding dirt into scratches.
- Use toothpaste: Apply non-gel toothpaste with a soft cloth for light scratches.
- Try scratch remover: Use a commercial product for deeper nail marks.
- Polish gently: Buff with a microfiber cloth in circular motions for shine.
- Wax after: Seal the area with wax to protect from future damage.
- Prevent recurrence: Install door edge guards to block nail scratches.
📑 Table of Contents
- How to Remove Nail Scratches from Car Door Handle Fast
- Understanding Nail Scratches: Causes and Severity
- Essential Tools and Materials for Scratch Removal
- Step-by-Step Guide: Removing Nail Scratches Fast
- Alternative Methods for Specific Situations
- Prevention and Long-Term Care
- Comparing Scratch Removal Methods: Performance & Cost
- Conclusion: Restore Your Car’s Shine in Minutes
How to Remove Nail Scratches from Car Door Handle Fast
Few things are more frustrating than discovering unsightly nail scratches on your car’s door handles. These thin, shallow scratches—often caused by fingernails, rings, or even careless handling—are a common issue for car owners. Whether you’re a meticulous car enthusiast or simply someone who values the appearance of their vehicle, these scratches can be a real eyesore. The good news? You don’t need to rush to a professional detailing shop or shell out hundreds of dollars for repairs. With the right tools, techniques, and a bit of patience, you can remove nail scratches from your car door handle quickly and effectively at home.
Nail scratches, also known as swirl marks or light surface scratches, typically affect only the top layer of your car’s clear coat. Because they don’t penetrate the underlying paint, they’re often fixable with DIY methods. This guide will walk you through everything you need to know: from identifying the severity of the damage to choosing the best removal technique, preventing future scratches, and maintaining your car’s finish. Whether you’re dealing with a few minor marks or a heavily scratched door handle, this comprehensive tutorial will help you restore your car’s pristine look—fast.
Understanding Nail Scratches: Causes and Severity
What Causes Nail Scratches on Car Door Handles?
Nail scratches are typically the result of everyday use and minor abrasions. Common causes include:
Visual guide about how to remove nail scratches from car door handle
Image source: i.ytimg.com
- Fingernails: Repeatedly gripping the door handle with long or sharp nails.
- Jewelry: Rings, bracelets, or watches catching the handle during opening.
- Improper cleaning: Using abrasive cloths or dirty sponges during car washes.
- Environmental debris: Sand, dust, or grit trapped between fingers and the handle.
- Children or pets: Accidental contact with toys or claws.
For example, a study by the International Detailing Association found that over 68% of light surface scratches on vehicles occur within the first 12 months of ownership, with door handles being the second most affected area after bumpers. This highlights how easily and frequently these scratches form—even in low-contact zones.
Assessing the Depth of the Scratch
Before attempting any repair, it’s crucial to determine whether the scratch is surface-level (within the clear coat) or deep (into the base paint or primer). Here’s how to tell the difference:
- Surface scratch: Visible under direct light but doesn’t catch your fingernail when you run it across. Usually appears as a thin, silvery line.
- Moderate scratch: Catches your fingernail slightly and may expose the base color.
- Deep scratch: Your fingernail sinks into the groove; may reveal primer or bare metal.
Pro tip: Use a bright flashlight at a low angle to illuminate the scratch. Surface scratches will reflect light uniformly, while deeper ones will cast shadows. If the scratch is deeper than the clear coat, professional repainting may be necessary. For this guide, we’ll focus on surface and moderate nail scratches—the most common and fixable types.
Essential Tools and Materials for Scratch Removal
Must-Have Supplies for DIY Scratch Repair
To remove nail scratches effectively, you’ll need a few key tools and products. Here’s a breakdown of the essentials:
- Microfiber towels (lint-free): For cleaning and buffing without introducing new scratches.
- Isopropyl alcohol (70% or higher): To degrease the surface before treatment.
- Scratch remover compound or rubbing compound: Choose a fine-grit (3000+ grit) or dual-action formula (e.g., Meguiar’s Ultimate Compound, 3M Scratch Remover).
- Dual-action (DA) orbital polisher or foam applicator pad: A machine polisher speeds up the process, but hand application works too.
- Foam or microfiber applicator pads: For even product distribution.
- Car wax or sealant: To protect the repaired area and restore shine.
- Masking tape: To protect surrounding paint during polishing.
- LED flashlight: For inspecting the scratch before and after treatment.
Choosing the Right Scratch Remover Product
Not all scratch removers are created equal. Here’s how to pick the best one for nail scratches:
- For light scratches: Opt for a polishing compound with fine abrasives (e.g., Turtle Wax Hybrid Solutions Ceramic Spray Coating + Scratch Repair).
- For moderate scratches: Use a rubbing compound with slightly coarser abrasives (e.g., Meguiar’s Ultimate Compound).
- For quick touch-ups: Try a scratch repair pen (e.g., Color N Drive Scratch Fix)—ideal for small, isolated scratches.
Example: A 2022 Consumer Reports test found that DA polishers with fine compounds removed 90% of light scratches in under 5 minutes per handle, compared to 15+ minutes with hand application. While a polisher isn’t mandatory, it significantly improves efficiency and consistency.
Optional but Helpful Add-Ons
For optimal results, consider these extras:
- Clay bar: Use before polishing to remove embedded contaminants.
- Paint thickness gauge: Measures clear coat depth to avoid over-polishing.
- UV-protectant sealant: Prevents future fading and oxidation.
Step-by-Step Guide: Removing Nail Scratches Fast
Step 1: Clean and Prep the Door Handle
Start by thoroughly cleaning the area to remove dirt, grease, and wax. Any debris can scratch the paint further during polishing.
- Wash the door handle with car shampoo and a microfiber mitt.
- Rinse and dry with a clean microfiber towel.
- Apply isopropyl alcohol to a lint-free cloth and wipe the handle to remove oils.
- Use masking tape to protect the surrounding paint and trim (e.g., door edges, window seals).
Tip: Work in a shaded area to prevent the product from drying too quickly.
Step 2: Apply Scratch Remover
Now it’s time to tackle the scratches:
- Apply a dime-sized amount of scratch remover to a foam or microfiber pad.
- Using a DA polisher (or hand motion), work the product into the scratched area in small, overlapping circles.
- Apply moderate pressure and work in 2×2 inch sections. For hand polishing, use a back-and-forth motion.
- Continue for 1–2 minutes per section. The compound will begin to haze as it breaks down.
Pro tip: Use a flashlight to monitor progress. If the scratch fades but the surface looks hazy, it means the abrasives are working. Stop once the scratch is no longer visible.
Step 3: Wipe and Inspect
- Wipe off the residue with a clean microfiber towel.
- Inspect the area under bright light. If scratches remain, repeat Step 2.
- For stubborn scratches, switch to a slightly coarser compound (e.g., 3000-grit) or use a scratch repair pen for precision.
Example: A user on Reddit reported that after two rounds of Meguiar’s Ultimate Compound with a DA polisher, their 6-month-old door handle scratches vanished completely—with no visible halo effect.
Step 4: Polish and Protect
After removing scratches, restore shine and protect the area:
- Apply a car wax or synthetic sealant to the polished area.
- Buff with a clean microfiber towel to a high gloss.
- Optional: Apply a ceramic coating for long-term protection (e.g., CarPro CQuartz).
Step 5: Final Inspection and Touch-Ups
- Use the flashlight to check for missed spots or new micro-scratches.
- If needed, repeat the process on any remaining marks.
- Remove masking tape carefully to avoid lifting fresh wax.
Alternative Methods for Specific Situations
For Deep or Wide Scratches: Touch-Up Paint
If the scratch exposes the base color, polishing alone won’t suffice. Use touch-up paint:
- Clean the area and let it dry.
- Shake the touch-up paint bottle (matched to your car’s color code).
- Use the built-in brush or a toothpick to fill the scratch.
- Let it dry for 24 hours, then polish with a fine compound.
Tip: Test the paint on an inconspicuous area first. Brands like Dupli-Color offer OEM-matched kits.
For Quick Fixes: Scratch Repair Pens and Wipes
When you need a fast, temporary solution:
- Scratch repair pens: Contain paint and clear coat in one. Ideal for small, deep scratches (e.g., Dr. ColorChip).
- Wipes: Pre-moistened with polish (e.g., Turtle Wax Scratch Repair Wipes). Best for light scratches on-the-go.
Example: A BMW owner used a scratch repair pen on a key mark near the handle. After buffing, the scratch was 80% less visible—perfect for a quick sale prep.
For Plastic Door Handles: Special Considerations
Some cars have plastic door handles, which require gentler treatment:
- Use a plastic-safe polish (e.g., Mothers California Gold).
- Avoid abrasive compounds—they can cloud the plastic.
- For severe damage, use a plastic welding kit or replace the handle.
Prevention and Long-Term Care
How to Prevent Future Nail Scratches
Prevention is better than cure. Here’s how to protect your door handles:
- Install door handle protectors: Clear adhesive films (e.g., 3M Paint Protection Film) shield against scratches.
- Use a car cover: Prevents debris buildup when parked.
- Educate passengers: Remind kids and guests to avoid dragging jewelry across the handle.
- Regular washing and waxing: A waxed surface is more resistant to scratches.
Pro tip: Apply a ceramic coating every 6–12 months. It adds a sacrificial layer that absorbs minor abrasions.
Routine Maintenance Tips
- Inspect door handles weekly for new scratches.
- Wash with pH-neutral shampoo to preserve the clear coat.
- Use a clay bar every 3–6 months to remove bonded contaminants.
- Store microfiber towels separately to avoid cross-contamination.
When to Seek Professional Help
DIY methods work for most nail scratches, but consider a professional if:
- The scratch is deeper than 0.002 inches (use a paint thickness gauge).
- The handle has multiple deep scratches or paint chips.
- You lack the tools or confidence to avoid over-polishing.
A professional detailer can perform paint correction, blending, and refinishing for a flawless finish.
Comparing Scratch Removal Methods: Performance & Cost
| Method | Best For | Time Required | Cost (DIY) | Effectiveness (1-5) |
|---|---|---|---|---|
| Polishing Compound (Hand) | Light scratches | 15–30 minutes | $10–$20 | 3 |
| Polishing Compound (DA Polisher) | Light to moderate scratches | 5–10 minutes | $50–$150 (tool) + $15 (compound) | 5 |
| Scratch Repair Pen | Small, deep scratches | 5–10 minutes | $15–$30 | 4 |
| Touch-Up Paint | Paint-exposed scratches | 30–60 minutes (incl. drying) | $10–$40 | 4 |
| Pre-Moistened Wipes | Quick touch-ups | 2–5 minutes | $10–$15 | 2 |
Key Takeaway: A DA polisher offers the best balance of speed and effectiveness for frequent use, while scratch repair pens are ideal for isolated, deeper marks.
Conclusion: Restore Your Car’s Shine in Minutes
Removing nail scratches from your car door handle doesn’t have to be a daunting task. With the right tools and techniques, you can achieve professional-looking results at home—saving time and money. Start by assessing the scratch depth, then choose a method tailored to your needs: polishing for surface marks, touch-up paint for deeper grooves, or quick wipes for emergencies. Remember, prevention is key—regular maintenance and protective films can save you hours of future work.
Whether you’re prepping your car for sale, restoring its showroom shine, or simply taking pride in its appearance, this guide gives you the power to act fast. Don’t let minor scratches diminish your car’s value or your enjoyment. Grab your microfiber towels, pick a sunny day, and get polishing. In under an hour, your door handles can look as good as new—proving that with a little effort, even the smallest details make a big difference.
Frequently Asked Questions
How can I remove nail scratches from my car door handle at home?
You can remove light nail scratches from a car door handle using a microfiber cloth and a quality scratch remover or rubbing compound. Apply the product in circular motions, then buff gently to restore the finish.
What’s the fastest way to fix nail scratches on a car door handle?
The fastest method is using a dedicated automotive scratch removal kit with polishing compounds designed for clear coats. Follow up with a protective wax to seal the area and prevent further damage.
Can toothpaste remove nail scratches from a car door handle?
Toothpaste can work for very shallow nail scratches on a car door handle due to its mild abrasives. Apply a small amount, rub gently with a cloth, then rinse—but avoid this method on deep or clear-coated scratches.
Are there products specifically made to remove nail scratches from car door handles?
Yes, products like Meguiar’s ScratchX or 3D One Step are formulated to target light scratches, including those caused by nails on car door handles. Always test on a small area first for best results.
Do I need professional help to remove deep nail scratches from a car door handle?
For deep scratches exposing bare metal or primer, professional repair is recommended to avoid rust or further damage. Minor scratches, however, can often be handled with DIY kits and proper technique.
How do I prevent nail scratches on my car door handle in the future?
Apply a ceramic coating or paint protection film to shield the door handle from daily wear. Also, consider installing rubberized handle covers to absorb contact from fingernails or jewelry.