Featured image for how to sterilize nail care tools
Image source: i.ytimg.com
Properly sterilizing nail care tools is essential to prevent infections and ensure client safety. Use autoclaving, chemical disinfectants, or UV-C light to kill bacteria, viruses, and fungi, following manufacturer guidelines and OSHA standards for maximum effectiveness. Never skip cleaning before disinfection—debris can shield pathogens and compromise results.
Key Takeaways
- Clean tools first: Wash with soap and water to remove debris before sterilizing.
- Use isopropyl alcohol: Soak tools in 70%+ alcohol for 10 minutes for effective disinfection.
- Autoclave for safety: Heat-sterilize in an autoclave if tools are heat-resistant and reusable.
- Boil metal tools: Submerge in boiling water for 15 minutes as a quick sterilization method.
- Store properly: Keep sterilized tools in sealed pouches to maintain cleanliness until use.
- Replace when needed: Discard damaged or rusty tools to avoid infection risks.
📑 Table of Contents
- Why Sterilizing Nail Care Tools Is Essential for Healthy Nails
- Understanding the Difference Between Cleaning, Disinfecting, and Sterilizing
- Step-by-Step Guide to Sterilizing Different Types of Nail Tools
- Choosing the Right Sterilization Method for Your Environment
- Best Practices and Common Mistakes to Avoid
- Maintaining Sterility: Storage and Handling Tips
Why Sterilizing Nail Care Tools Is Essential for Healthy Nails
Whether you’re a professional nail technician or someone who enjoys a DIY manicure at home, one thing should always be non-negotiable: the cleanliness of your nail care tools. Every time you trim, file, or shape your nails, you’re creating micro-abrasions—tiny openings in the skin and nail bed that can become gateways for bacteria, fungi, and viruses. Improperly sterilized tools are a leading cause of nail infections, including onychomycosis (fungal infections), paronychia (inflammation around the nail), and even staph infections like MRSA. In fact, the CDC estimates that over 2 million people in the U.S. contract healthcare-associated infections annually, and while nail salons aren’t hospitals, the same principles of infection control apply.
Beyond personal health, cleanliness reflects professionalism and trust. For salon owners, using unsterilized tools can result in customer complaints, legal liability, and damage to your reputation. For at-home users, the risk is just as real—sharing tools with family members or reusing them without proper cleaning can spread infections. The good news? With the right methods and consistent habits, you can sterilize your nail care tools safely and effectively, ensuring every manicure or pedicure is both beautiful and hygienic. This guide will walk you through everything you need to know, from the science behind sterilization to step-by-step techniques for different types of tools and environments.
Understanding the Difference Between Cleaning, Disinfecting, and Sterilizing
Defining the Three Levels of Decontamination
Before diving into sterilization methods, it’s crucial to understand the hierarchy of decontamination: cleaning, disinfecting, and sterilizing. These are not interchangeable, and each serves a distinct purpose in infection control.
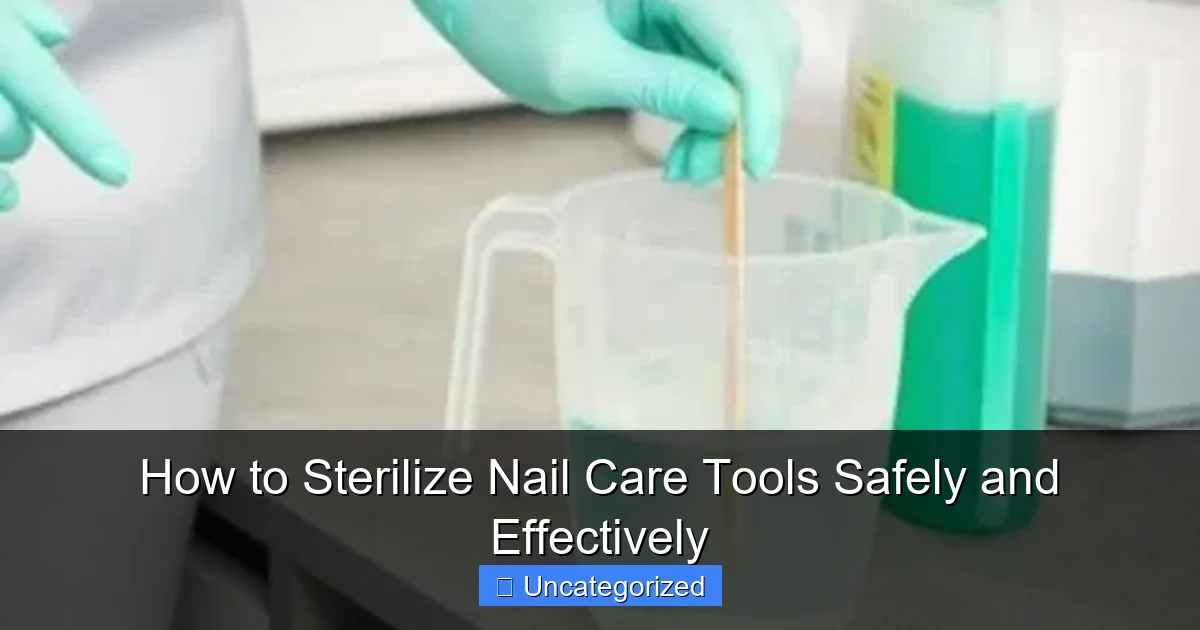
Visual guide about how to sterilize nail care tools
Image source: i.ytimg.com
- Cleaning: This is the first and most basic step. It involves physically removing visible debris, oils, and organic matter (like dead skin or nail filings) from tools using soap, water, and scrubbing. Cleaning doesn’t kill pathogens—it just removes the environment in which they thrive.
- Disinfecting: This step uses chemical agents (like isopropyl alcohol, bleach, or EPA-registered disinfectants) to kill or inactivate most microorganisms, including bacteria and viruses. However, disinfectants may not eliminate spores or all types of fungi. It’s effective but not 100% foolproof.
- Sterilizing: This is the gold standard. Sterilization destroys or eliminates all forms of microbial life, including bacteria, viruses, fungi, and bacterial spores. It’s essential for tools that come into contact with broken skin or mucous membranes—like cuticle nippers or nail clippers.
For example, if you clean your cuticle pusher with soap and water but don’t disinfect or sterilize it, residual bacteria can survive and infect the next person who uses it—or even reinfect you during a later session.
When Each Method Is Appropriate
The level of decontamination you need depends on the tool and how it’s used:
- Cleaning only: Suitable for non-invasive tools like nail files, buffers, and electric nail drills (as long as they don’t break the skin). These tools typically only contact intact skin and nails.
- Disinfecting: Recommended for tools that may lightly contact skin but don’t penetrate it—such as nail clippers (if used carefully) or tweezers. In a salon setting, disinfecting is often required between clients when sterilization isn’t possible.
- Sterilizing: Mandatory for tools that cut, pierce, or scrape the skin—like cuticle nippers, lancets, and metal cuticle pushers. In professional settings, these must be sterilized after each use.
Pro Tip: Always follow the “clean first, then sterilize” rule. Sterilizing a dirty tool is ineffective—microbes can hide in grime and survive even high-heat processes.
Step-by-Step Guide to Sterilizing Different Types of Nail Tools
Metal Tools: Clippers, Nippers, Cuticle Pushers, and Scissors
Metal tools are the most common and easiest to sterilize. Here’s a safe, effective method:
- Clean: Soak tools in warm, soapy water for 5–10 minutes. Use a soft brush (like a toothbrush) to scrub away debris. Rinse thoroughly.
- Disinfect (optional pre-sterilization step): Wipe or soak in 70% isopropyl alcohol for 10 minutes to reduce microbial load.
- Sterilize: Use one of these methods:
- Autoclaving (Best): Place tools in an autoclave (steam sterilizer) at 121°C (250°F) and 15 psi for 15–20 minutes. Ideal for salons with access to medical-grade equipment.
- Boiling (Home-friendly): Submerge tools in boiling water for 10–15 minutes. Ensure they are fully submerged and not touching the pot’s sides. Not as reliable as autoclaving but effective for home use.
- UV Sterilizer: Use a UV-C light sterilizer cabinet. Place tools inside and run the cycle (usually 10–30 minutes). Ensure all surfaces are exposed to light.
- Dry and Store: Air-dry on a clean paper towel or in a sterile container. Store in a sealed, dust-free container or pouch.
Example: A professional nail salon in Seattle uses an autoclave for all metal tools after each client. They also keep a log of sterilization dates to ensure compliance with state regulations.
Plastic and Rubber Tools: Nail Files, Buffers, and Orangewood Sticks
These materials can’t withstand high heat or harsh chemicals, so alternative methods are needed:
- Disinfecting (Not Sterilizing): Soak in 70% isopropyl alcohol for 10–15 minutes. Wipe with a disinfectant wipe (e.g., Clorox or Lysol). Allow to air-dry.
- UV Light: Use a UV sterilizer designed for non-metal items. Ensure full exposure.
- Replace Frequently: Because plastic and rubber degrade and can harbor bacteria, replace these tools every 1–3 months (or sooner if worn).
Pro Tip: Never boil plastic files—they will melt or warp. Instead, consider using disposable emery boards for clients in a professional setting to eliminate cross-contamination.
Electric Nail Drills and Attachments
These require special care due to their electronic components:
- Remove Attachments: Take off drill bits, sanding bands, and mandrels.
- Clean Attachments: Soak metal bits in alcohol or boil. Replace sanding bands and disposable bits after each use.
- Wipe Drill Handle: Use an alcohol wipe on the exterior. Do not submerge in water or liquid.
- Store Safely: Keep in a dry, sealed container to prevent dust and moisture buildup.
Warning: Never autoclave or boil the drill motor—it will destroy the electronics.
Choosing the Right Sterilization Method for Your Environment
Home Users: Practical and Affordable Options
Most at-home users don’t have access to autoclaves, but that doesn’t mean you can’t sterilize effectively. Here are the best methods for home environments:
- Boiling: As mentioned, submerge metal tools in boiling water for 10–15 minutes. Use a dedicated pot (not your cooking pot) and tongs to remove tools.
- UV Sterilizer: Invest in a UV-C light box (available online for $20–$50). These are compact, easy to use, and safe for metal, glass, and some plastics.
- Chemical Sterilization (for metal only): Soak tools in a solution of 10% bleach (1 part bleach to 9 parts water) for 30 minutes. Rinse thoroughly with water and dry. Note: Bleach can corrode metal over time, so use sparingly and rinse well.
- 70% Isopropyl Alcohol (70–90% concentration): Soak tools for 10–15 minutes. Effective for disinfection but not full sterilization unless used in combination with heat.
Example: Sarah, a DIY manicure enthusiast, uses a UV sterilizer for her metal tools and replaces her emery boards weekly. She also stores her tools in a sealed acrylic case to keep them clean between uses.
Professional Salons: Meeting Health Department Standards
Salons are held to higher standards by state health departments. Most require:
- Autoclaving: The preferred method for metal tools. Autoclaves must be validated with spore tests (e.g., biological indicators) monthly.
- Chemical Sterilants (if no autoclave): Use EPA-registered hospital-grade disinfectants like:
- Barbicide: A blue liquid that disinfects in 10 minutes. Not a true sterilizer but widely accepted for salon use.
- Clorox Healthcare Bleach Germicidal Cleaner: Effective against spores but requires 5-minute contact time.
- Tool Trays and Storage: Use closed, labeled containers for clean tools. Dirty tools must be stored separately in a “used” bin.
- Documentation: Keep logs of sterilization dates, spore test results, and staff training.
Pro Tip: In California, the Board of Barbering and Cosmetology requires salons to use either an autoclave or an EPA-registered sterilant for all reusable metal tools. Failure to comply can result in fines or license suspension.
Travel and Mobile Nail Services: Portable Sterilization
For nail techs on the go, portability is key:
- Travel UV Sterilizer: Compact, battery-powered UV boxes (e.g., “UV Sterilizer Wand” or “Nail Tool UV Case”) are perfect for mobile services.
- Pre-Sterilized Disposable Tools: Carry single-use cuticle nippers, pushers, and files. These are sealed and sterile until opened.
- Alcohol Wipes and Sprays: Use 70% alcohol wipes to disinfect tools between clients. Combine with disposable tool covers (e.g., plastic sleeves for files).
Example: A mobile nail technician in Austin uses a UV sterilizer in her van and keeps a supply of disposable tools for clients who prefer them. She also offers a “sterile kit” upgrade for an extra $5.
Best Practices and Common Mistakes to Avoid
Creating a Sterilization Routine
Consistency is the key to effective sterilization. Follow these best practices:
- Clean After Every Use: Never skip the cleaning step, even if the tool looks clean.
- Sterilize Before First Use: New tools may have factory residue or packaging germs.
- Label and Date: Use labels to track when tools were last sterilized. Replace or re-sterilize after 7 days if stored.
- Use Separate Containers: Keep clean and dirty tools in different, labeled bins.
- Inspect Regularly: Discard tools with rust, cracks, or warping—they can’t be properly sterilized.
Common Mistakes and How to Fix Them
- Mistake: Using 100% alcohol for soaking. Fix: 70–90% alcohol is more effective because water slows evaporation and allows deeper penetration.
- Mistake: Storing tools in a damp drawer. Fix: Use airtight, dry containers with silica gel packets to absorb moisture.
- Mistake: Reusing disposable tools. Fix: Never reuse emery boards, sanding bands, or wooden cuticle sticks—they degrade and trap bacteria.
- Mistake: Skipping spore tests in salons. Fix: Perform monthly spore tests on autoclaves to verify sterility.
- Mistake: Using vinegar or essential oils as “natural” disinfectants. Fix: These have no proven sterilization efficacy. Stick to EPA-registered products or heat.
Data Table: Sterilization Methods Compared
| Method | Tools Applicable | Time Required | Effectiveness | Cost | Best For |
|---|---|---|---|---|---|
| Autoclaving | Metal, glass, heat-resistant plastics | 15–20 min | 100% (with validation) | $200–$1,000 (device) | Salons, clinics |
| Boiling | Metal only | 10–15 min | High (but not sporicidal) | Free (with pot) | Home users |
| UV Sterilizer | Metal, plastic, rubber | 10–30 min | High (if fully exposed) | $20–$80 | Home, travel |
| 70% Alcohol Soak | Metal, plastic | 10–15 min | Disinfection (not sterilization) | $5–$10 | Quick disinfection |
| Chemical Sterilant (e.g., Barbicide) | Metal | 10 min | Disinfection (not sterilization) | $15–$30/gallon | Salons (no autoclave) |
Maintaining Sterility: Storage and Handling Tips
Even the most thorough sterilization is wasted if tools aren’t stored and handled properly. Here’s how to maintain sterility:
- Use Sealed Containers: Store sterilized tools in zip-lock bags, autoclave pouches, or acrylic cases. Label with the date.
- Wash Hands First: Always wash and dry your hands before handling sterilized tools.
- Use Tongs or Gloves: Never touch sterilized tools with bare hands. Use clean tongs or wear disposable gloves.
- Keep Away from Moisture: Humidity promotes microbial growth. Store in a dry, cool place.
- Re-Sterilize After 7 Days: If a tool has been stored longer than a week, re-sterilize before use.
Example: A high-end salon in New York uses autoclave pouches for each set of tools. Each pouch is labeled with the client’s name and sterilization date, ensuring no mix-ups.
For professionals, consider investing in a sterile tool trolley with UV lights to keep tools disinfected between services. For home users, a simple acrylic manicure caddy with a lid works well.
Final Thoughts: Sterilizing nail care tools isn’t just about aesthetics—it’s a critical step in protecting your health and the health of your clients. Whether you’re using a $500 autoclave or a $20 UV box, the goal is the same: to eliminate harmful microbes and prevent infections. By following the methods in this guide, you can enjoy beautiful nails without the risk. Remember: Clean first, sterilize properly, store safely, and never cut corners when it comes to hygiene. Your nails—and your health—will thank you.
Frequently Asked Questions
How do I sterilize nail care tools at home?
To sterilize nail care tools at home, soak them in 70% isopropyl alcohol for 10-15 minutes or use a UV sterilizer. Always clean tools with soap and water first to remove debris, as organic material can reduce sterilization effectiveness.
What is the best way to sterilize nail tools between clients?
The best way to sterilize nail tools between clients is using an autoclave or hospital-grade disinfectant. For quick turnover, soak tools in EPA-registered disinfectant solutions designed for salon use, ensuring they remain submerged for the recommended time.
Can I use boiling water to sterilize my nail tools?
Boiling water can sanitize but not fully sterilize nail care tools. Submerge metal tools in boiling water for 10-15 minutes, then dry thoroughly to prevent rust. For complete sterilization, combine this with chemical disinfectants or an autoclave.
How often should I sterilize nail care tools?
Sterilize nail care tools after every use, especially if they contact broken skin or bodily fluids. Regular cleaning and weekly deep sterilization with autoclaves or disinfectants help maintain hygiene and extend tool lifespan.
Are UV sterilizers effective for nail tools?
UV sterilizers can effectively kill bacteria and viruses on nail tools if used correctly. Ensure tools are clean and placed inside the UV chamber for the full recommended cycle time (usually 5-10 minutes) for optimal results.
How to sterilize nail clippers without damaging them?
To sterilize nail clippers without damage, wipe blades with 70% isopropyl alcohol or soak in disinfectant, avoiding prolonged exposure to moisture. Dry immediately and lubricate hinges to prevent rust and ensure smooth operation.