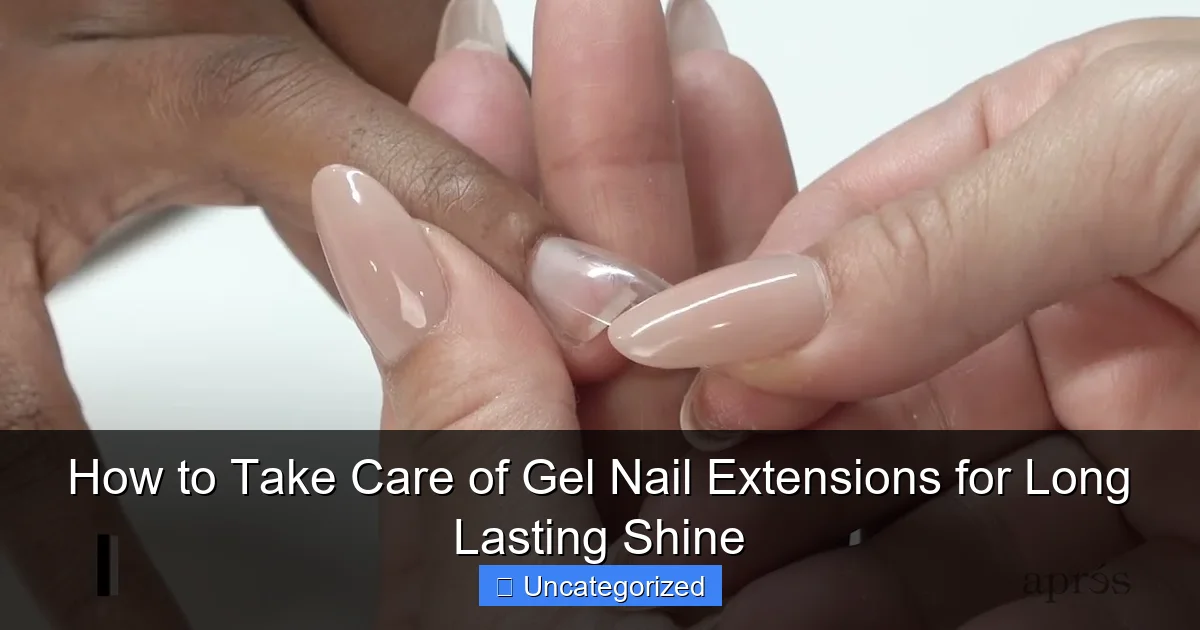
Featured image for how to take care of gel nail extensions
Image source: i.ytimg.com
Proper aftercare is essential to maximize the lifespan and shine of your gel nail extensions. Avoid prolonged water exposure and always wear gloves during household chores to prevent lifting and preserve the glossy finish. Regularly moisturize cuticles and avoid using nails as tools to maintain strength and prevent damage between fills.
Key Takeaways
- Moisturize cuticles daily to prevent dryness and maintain flexibility around extensions.
- Wear gloves during chores to protect gel from chemicals and water exposure.
- Avoid using nails as tools to prevent lifting, cracks, or breakage.
- Apply cuticle oil twice daily to nourish and extend shine and adhesion.
- Schedule fills every 2–3 weeks to maintain seamless, professional-looking results.
- Skip acetone-based removers—use gentle soak-off methods to preserve nail health.
📑 Table of Contents
- Why Proper Care Matters for Gel Nail Extensions
- Understanding Gel Nail Extensions: Types and Structure
- Daily Maintenance Routines for Long-Lasting Shine
- Professional Care: Fills, Refills, and Removal
- Protecting Gel Extensions from Common Damages
- Advanced Tips for Maximizing Longevity and Shine
- Conclusion: Shine On with Smart Gel Extension Care
Why Proper Care Matters for Gel Nail Extensions
Gel nail extensions have revolutionized the beauty industry, offering a durable, glossy, and customizable alternative to traditional manicures. Unlike regular nail polish, which can chip within days, gel extensions are designed to last for weeks with minimal maintenance. However, their longevity and shine are not automatic—they require consistent care and attention. Whether you’re a first-time gel extension wearer or a seasoned enthusiast, understanding how to take care of gel nail extensions is key to maximizing their lifespan, protecting your natural nails, and maintaining that salon-fresh glow.
Many people assume that gel nails are indestructible, but this couldn’t be further from the truth. While they are more resilient than regular polish, gel extensions are still susceptible to lifting, chipping, discoloration, and breakage—especially when exposed to harsh environments, improper removal, or neglect. The good news? With a few simple habits and the right products, you can extend the life of your gel extensions by up to 4 weeks, prevent nail damage, and keep your manicure looking flawless. This guide dives deep into the best practices for how to take care of gel nail extensions, from daily maintenance to professional upkeep, so you can enjoy long-lasting shine without the frustration of premature wear.
Understanding Gel Nail Extensions: Types and Structure
Before diving into care techniques, it’s essential to understand what gel nail extensions are and how they work. This knowledge helps you make informed decisions about products, habits, and maintenance routines that support their longevity.
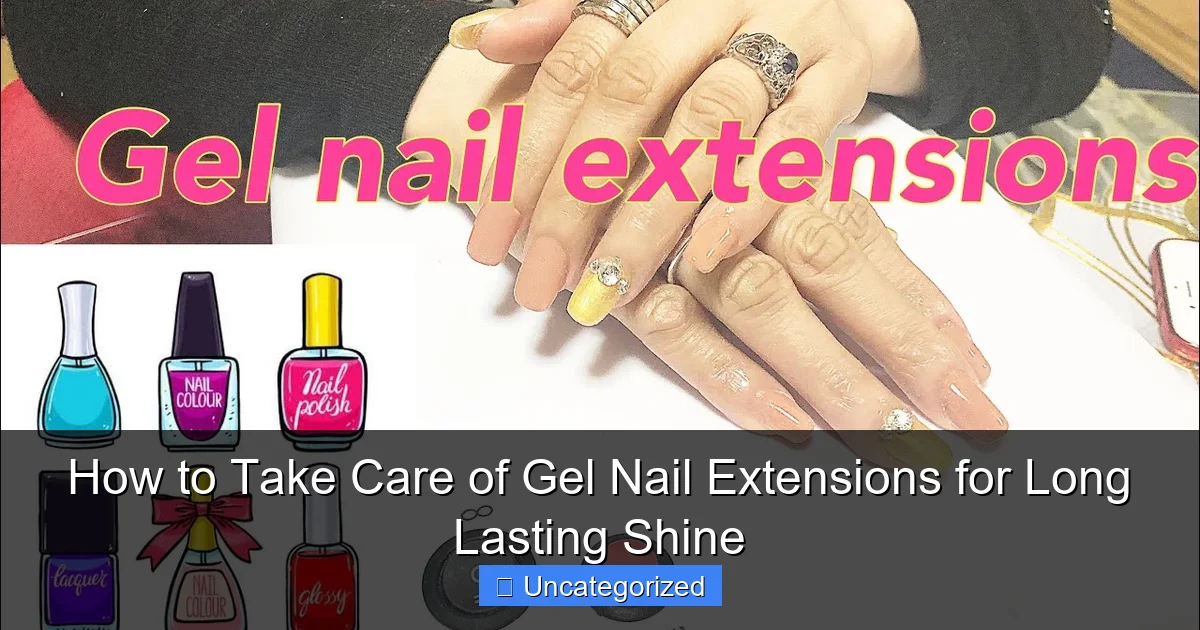
Visual guide about how to take care of gel nail extensions
Image source: i.ytimg.com
Types of Gel Extensions
Gel nail extensions come in two primary forms: hard gel and builder gel, each with distinct properties and care requirements.
- Hard Gel Extensions: These are sculpted onto the natural nail using a UV or LED lamp to cure. Hard gels are thicker and more durable, ideal for adding length and strength. They are less flexible, making them prone to cracking under stress if not properly maintained.
- Builder Gel: Softer and more flexible than hard gel, builder gel is often used for overlays or short extensions. It adheres well to the natural nail and is less likely to lift, but requires more frequent touch-ups due to flexibility.
- Gel Tips with Gel Overlay: Pre-shaped tips are glued to the nail tip and then coated with gel for a seamless finish. This method is popular for quick, uniform extensions but requires careful tip alignment to prevent lifting at the edges.
How Gel Extensions Bond to the Natural Nail
The adhesion of gel extensions relies on a multi-step process: nail prep (buffing, dehydrating, priming), gel application (base coat, color, top coat), and curing under a UV/LED lamp. The base coat creates a strong bond between the natural nail and the gel layers. Over time, natural nail growth and exposure to water, oils, and chemicals can weaken this bond, leading to lifting or peeling. Understanding this helps you see why nail prep and aftercare are equally important for long-lasting results.
Common Misconceptions
- Myth: “Gel nails don’t need any care.”
Truth: They require daily maintenance just like natural nails. - Myth: “You can peel them off when they grow out.”
Truth: Peeling causes damage to the natural nail plate and increases risk of infection. - Myth: “All gels are the same.”
Truth: Quality varies widely—cheaper gels may lift faster or discolor.
Daily Maintenance Routines for Long-Lasting Shine
Consistency is key when it comes to preserving the integrity and appearance of your gel nail extensions. A few minutes of daily care can make a significant difference in how long your manicure lasts and how healthy your natural nails remain underneath.
Moisturize Your Cuticles and Hands
One of the most overlooked aspects of gel nail care is hydration. Gel extensions create a barrier that prevents natural oils from reaching the nail bed, leading to dry, brittle nails and cuticles. To counteract this:
- Apply a cuticle oil 2–3 times daily (morning, after showers, and before bed). Look for oils with jojoba, vitamin E, or argan oil—these penetrate deeply and promote flexibility.
- Use a rich hand cream at night, especially in dry or cold climates. Creams with shea butter, ceramides, or hyaluronic acid lock in moisture and prevent skin cracking around the nails.
- Pro Tip: Keep a travel-sized cuticle oil in your purse or desk drawer. A quick swipe after washing hands prevents drying from frequent sanitizer use.
Example: Sarah, a nurse, noticed her gel extensions lifted faster than her coworkers. After adding cuticle oil to her routine, her manicures lasted 2 weeks longer, and her natural nails grew stronger.
Wear Gloves for Wet Work
Water is a major enemy of gel adhesion. Prolonged exposure to water—especially hot water—softens the natural nail and weakens the bond between the gel and nail plate. This is why:
- Always wear rubber gloves when washing dishes, cleaning, gardening, or bathing pets.
- Avoid soaking your hands in water for more than 10–15 minutes (e.g., long baths, hot tubs).
- After swimming, rinse your hands with clean water and dry thoroughly to remove chlorine or salt, which can degrade the gel.
Tip: Use cotton-lined rubber gloves to reduce sweating and improve comfort during extended wear.
Limit Exposure to Harsh Chemicals
Household cleaners, nail polish remover (unless acetone-free), and even some hand sanitizers contain solvents that can degrade gel polish and cause yellowing or brittleness. To protect your extensions:
- Switch to acetone-free nail polish remover for touch-ups or removing polish from skin.
- Use natural or pH-balanced cleaning products when possible.
- Wear gloves when using bleach, ammonia-based cleaners, or acetone.
Gentle Nail Handling
Even though gel extensions are strong, they aren’t tools. Avoid using your nails to:
- Open packages or cans
- Scratch off labels
- Dig out keys or credit cards
Instead, use a dedicated tool or your fingertips. This prevents stress fractures and chipping at the tips.
Professional Care: Fills, Refills, and Removal
While daily care extends the life of your gel extensions, professional maintenance is essential to prevent damage and ensure long-term nail health. Skipping salon visits or attempting DIY removal can lead to thinning, peeling, or fungal infections.
When to Schedule a Refill
Most gel extensions need a refill or rebalance every 2–3 weeks, depending on your nail growth rate and lifestyle. Signs it’s time for a refill include:
- Visible growth at the cuticle (more than 2–3mm)
- Lifting at the edges or sides
- Dullness or minor chips
- Discoloration (yellowing or staining)
During a refill, your technician will:
- Buff away lifted gel at the cuticle area
- Apply new gel to fill in the gap
- Re-cure and reshape as needed
- Reapply base, color, and top coat
Pro Tip: Book your refill appointment before the extensions lift. Waiting too long makes the process more time-consuming and increases the risk of natural nail damage.
Safe Removal: Never Peel or Pick
Removing gel extensions at home is risky, but if you must do it yourself, follow these steps:
- Soak cotton pads in 100% acetone.
- Place pads on each nail and wrap with aluminum foil.
- Wait 15–20 minutes (do not force removal).
- Gently push off softened gel with a wooden stick. Stop if it’s not coming off easily.
- Buff away residue and apply cuticle oil.
Warning: Peeling or prying off gel damages the natural nail plate, causing ridges, peeling, and thinning. Always seek professional removal if possible.
Choosing a Skilled Technician
Not all nail techs are trained equally. Look for salons that:
- Use LED/UV lamps with timers (ensures proper curing)
- Sanitize tools and follow hygiene protocols
- Use high-quality gel brands (e.g., CND Shellac, OPI GelColor, Kiara Sky)
- Offer consultations to assess nail health before application
Red Flag: A tech who skips nail prep (dehydration, priming) is setting you up for early lifting.
Protecting Gel Extensions from Common Damages
Even with perfect care, gel extensions can face challenges from daily wear and environmental factors. Knowing how to prevent and address common issues helps you maintain a flawless manicure.
Preventing Lifting and Peeling
Lifting is the most common issue, often caused by poor adhesion or moisture exposure. Prevention tips:
- Ensure your nails are thoroughly dehydrated and primed before application.
- Apply base coat to the free edge and seal with top coat.
- Avoid applying lotions or oils 30 minutes before your appointment.
- If minor lifting occurs, apply a drop of nail glue (e.g., IBD Nail Adhesive) and press down. Cure under a lamp if possible.
Stopping Chipping and Breakage
Chips usually occur at the tips. To minimize them:
- Keep nails at a moderate length (too long = more stress; too short = less coverage).
- Use a high-shine, flexible top coat that resists scratches.
- Reapply top coat every 5–7 days to refresh the seal.
Example: A teacher noticed her extensions chipped during marker board erasing. She switched to a stiletto shape with rounded tips, reducing snagging.
Fighting Yellowing and Staining
Yellowing can result from UV exposure, smoking, or pigmented products. Solutions:
- Apply a base coat with stain-blocking technology (e.g., ORLY Bonder).
- Wear sunscreen on hands to prevent UV damage.
- Clean nails with a soft brush and mild soap after using self-tanner or dark nail polish.
Managing Heat and Cold Sensitivity
Some people experience sensitivity under the gel due to trapped air or poor curing. To reduce discomfort:
- Ensure the gel is fully cured (no sticky residue after wiping with cleanser).
- Avoid hot water or saunas for 24 hours after application.
- Apply a cooling gel (e.g., OPI Nail Envy Cooling) if sensitivity persists.
Advanced Tips for Maximizing Longevity and Shine
For those who want their gel extensions to last 4+ weeks with minimal touch-ups, these advanced strategies take your care routine to the next level.
Use a Top Coat Booster
Reapplying top coat weekly isn’t enough. Use a gel top coat booster (e.g., CND Super Shiney Top Coat) every 10–14 days to:
- Restore gloss
- Seal the edges
- Prevent micro-scratches
Application Tip: Cure under a lamp for 30 seconds (or as directed) to ensure adhesion.
Optimize Your Diet and Hydration
Strong nails start from within. Support nail health by:
- Drinking 8–10 glasses of water daily
- Eating protein-rich foods (eggs, fish, nuts)
- Taking biotin or collagen supplements (consult a doctor first)
Studies show that biotin can increase nail thickness by up to 25% in 6 months (source: Journal of Clinical and Aesthetic Dermatology, 2017).
Rotate Manicures and Give Nails a Break
Continuous wear of gel extensions can weaken natural nails. Schedule a 2–4 week break every 3–4 months to:
- Let nails breathe
- Apply strengthening treatments (e.g., Nail Tek Intensive Therapy)
- Assess nail health
Invest in Quality Tools and Products
Not all nail care products are created equal. Use:
- LED curing lamps (faster, more even curing than UV)
- Non-acetone removers for touch-ups
- Glass nail files (gentler than emery boards)
| Product Type | Recommended Brands | Key Benefit | Frequency of Use |
|---|---|---|---|
| Cuticle Oil | Cuccio, Essie Apricot Cuticle Oil | Hydrates and prevents lifting | 2–3 times daily |
| Top Coat | OPI GelColor Top Coat, Kiara Sky Diamond Shine | Seals and adds shine | Weekly reapplication |
| Hand Cream | Gold Bond Ultimate, CeraVe Moisturizing Cream | Repairs dry skin | Daily, especially at night |
| Acetone-Free Remover | Zoya Remove+, Ella + Mila Soy Nail Polish Remover | Gentle on skin and nails | As needed |
| Strengthening Treatment | Nail Tek, OPI Nail Envy | Repairs weak nails | During breaks or as needed |
Conclusion: Shine On with Smart Gel Extension Care
Taking care of gel nail extensions isn’t just about aesthetics—it’s about protecting your natural nails, saving money on frequent salon visits, and enjoying a manicure that stays flawless for weeks. By understanding the science behind gel adhesion, committing to a daily maintenance routine, and knowing when to seek professional help, you can extend the life of your extensions, prevent damage, and maintain that long-lasting shine you love.
Remember, the key to success lies in consistency: moisturizing cuticles, wearing gloves, avoiding harsh chemicals, and scheduling timely refills. Whether you’re a busy professional, a parent, or a beauty enthusiast, these habits integrate easily into your daily life. And when you invest in quality products and skilled technicians, the results speak for themselves—strong, healthy nails and a manicure that turns heads.
So the next time you admire your gel extensions, remember: their beauty is a reflection of your care. Follow these tips on how to take care of gel nail extensions, and you’ll enjoy salon-quality results that last, shine, and inspire confidence—one polished fingertip at a time.
Frequently Asked Questions
How do I make my gel nail extensions last longer?
To extend the life of your gel nail extensions, avoid prolonged water exposure and always wear gloves during chores. Apply cuticle oil daily to nourish the nail bed and prevent lifting, ensuring your gel nail extensions stay flawless for weeks.
Why are my gel extensions lifting, and how can I prevent it?
Lifting often occurs due to improper prep (e.g., oily nails) or moisture trapped underneath. Keep nails clean and dry before application, and gently buff the natural nail for better adhesion.
Can I use regular nail polish on top of gel extensions?
Yes, but avoid acetone-based removers or harsh scrubbing, as they can damage the gel layer. Opt for non-acetone polish removers and apply a top coat weekly to maintain shine.
How often should I refill or remove gel nail extensions?
Schedule fills every 2–3 weeks to address growth and gaps, or remove them entirely after 3–4 weeks to let natural nails breathe. Overextending wear can weaken the nail bed.
Is it safe to expose gel extensions to UV/LED light frequently?
Yes, but always use sunscreen on your hands or wear gloves to prevent UV-induced skin aging. The gel formula is designed to cure safely under proper light settings.
What’s the best way to maintain shine on gel nail extensions?
Wipe nails with rubbing alcohol weekly to remove residue, and reapply a high-quality gel top coat every 10 days. This keeps your gel nail extensions glossy and chip-free.