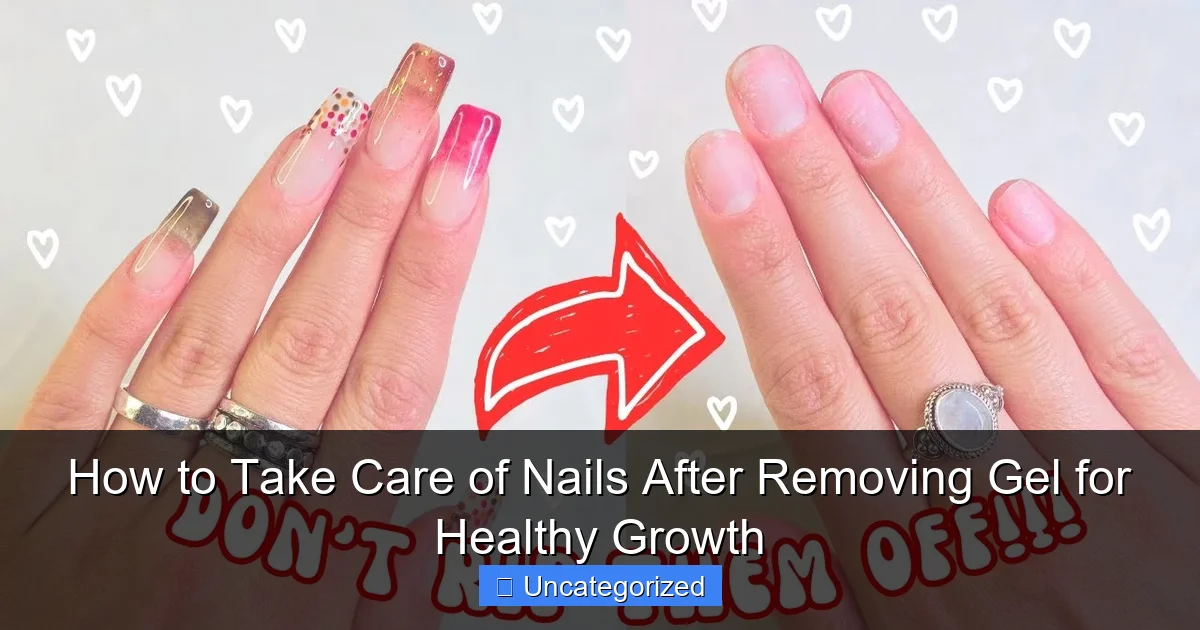
Featured image for how to take care of nails after removing gel
Image source: i.ytimg.com
Always moisturize and protect your nails immediately after removing gel polish to prevent dryness and brittleness. Gently buff the nail surface, avoid harsh chemicals, and apply a nourishing cuticle oil or strengthening treatment to support healthy regrowth and restore natural resilience. Consistent aftercare is key to maintaining strong, flexible nails post-removal.
Key Takeaways
- Moisturize daily: Apply cuticle oil to nourish and strengthen nails.
- Buff gently: Smooth ridges without over-thinning the nail surface.
- Use a nail hardener: Protect weak nails with a strengthening treatment.
- Wear gloves: Shield nails from water and chemicals during chores.
- Limit polish use: Give nails a break between gel applications.
- Eat nail-friendly foods: Boost growth with biotin and protein-rich diets.
📑 Table of Contents
- Why Nail Care After Gel Removal Matters
- Understanding the Impact of Gel Removal on Natural Nails
- Immediate Post-Removal Care: First 72 Hours
- Long-Term Recovery: 1–4 Weeks of Nourishment
- Professional Treatments and When to Seek Help
- Preventing Future Damage: A Sustainable Nail Care Routine
- Nail Recovery Progress Tracker (Data Table)
- Conclusion: Your Nails Deserve a Break
Why Nail Care After Gel Removal Matters
Removing gel polish can be a double-edged sword. On one hand, it’s the moment you’ve been waiting for—freedom from chipped color and the chance to switch up your style. On the other hand, the process often leaves nails feeling weak, brittle, and dehydrated. Gel polish is applied and removed using chemicals and UV light, which can compromise the natural nail’s integrity. Whether you removed your gels at a salon or at home, the aftermath is often the same: dry cuticles, peeling layers, and nails that snap at the slightest pressure.
The good news? With the right care, your nails can not only recover but thrive. The key lies in understanding what your nails have been through and how to reverse the damage. Gel removal strips away more than just color—it can dehydrate the nail plate, strip natural oils, and weaken the keratin structure. This is why post-removal care isn’t just about aesthetics; it’s about restoring health, strength, and resilience. In this guide, we’ll walk you through a comprehensive recovery plan designed to nurture your nails back to life, promote healthy growth, and prevent future damage. Whether you’re a gel polish enthusiast or an occasional user, these tips will help you maintain strong, beautiful nails between manicures.
Understanding the Impact of Gel Removal on Natural Nails
Before diving into recovery strategies, it’s essential to understand what happens to your nails during gel application and removal. Gel polish is a hybrid product that cures under UV or LED light, forming a hard, durable coating. While this makes it long-lasting and chip-resistant, the removal process is where the real damage occurs. Most gels require soaking in acetone for 10–20 minutes, followed by gentle scraping or buffing. This process, while effective, can dehydrate and weaken the nail plate.
Visual guide about how to take care of nails after removing gel
Image source: i.ytimg.com
The Science Behind Nail Dehydration
Natural nails are made of keratin, a protein that contains about 8% water. Acetone, the primary solvent in gel removers, is a powerful dehydrator. When exposed for extended periods, it strips moisture and natural oils from the nail, leaving it dry and brittle. A 2021 study published in the Journal of Cosmetic Dermatology found that prolonged acetone exposure reduced nail hydration by up to 30% within 15 minutes. This dehydration disrupts the nail’s flexibility, making it more prone to splitting and peeling.
Physical Trauma from Buffing and Scraping
Even when done carefully, buffing and scraping can cause microtrauma. The nail plate is composed of multiple layers of keratin. Over-buffing removes the top layers, exposing the more fragile middle and lower layers. This is why nails often feel “paper-thin” after gel removal. Additionally, using metal tools or applying excessive pressure can create tiny fissures, increasing the risk of infection and breakage.
UV Light Exposure During Gel Curing
While less discussed, repeated UV exposure during gel curing can also affect nail health. UV light generates free radicals, which may accelerate the breakdown of keratin proteins over time. Though the risk is lower than with tanning beds, frequent gel manicures (every 2–3 weeks) without breaks can contribute to cumulative damage. This is why dermatologists recommend at least one gel-free month every 3–4 months to allow nails to recover.
Pro Tip: To minimize future damage, opt for non-acetone gel removers with added moisturizers (like glycerin or jojoba oil) and use a glass or crystal nail file instead of a metal scraper. These small changes can make a big difference over time.
Immediate Post-Removal Care: First 72 Hours
The first 72 hours after gel removal are the most critical. During this window, your nails are most vulnerable to further damage. The goal is to rehydrate, repair, and protect the nail plate and surrounding skin. Here’s a step-by-step guide to get you started:
1. Soak in a Nourishing Oil Bath
Instead of drying your nails further, reverse the damage with a hydrating soak. Fill a bowl with warm (not hot) water and add:
- 2 tablespoons of olive oil or jojoba oil (mimics the skin’s natural sebum)
- 1 tablespoon of honey (natural humectant that draws moisture into the nail)
- 5 drops of lavender essential oil (anti-inflammatory and calming)
Soak your nails for 10–15 minutes, then gently pat dry. Repeat this 2–3 times in the first 72 hours. This helps restore moisture and soothe irritated cuticles.
2. Apply a Heavy-Duty Cuticle Cream
After soaking, massage a thick cuticle cream (look for ingredients like shea butter, vitamin E, and ceramides) into your nail beds and cuticles. Avoid petroleum-based products like Vaseline—they form a barrier but don’t penetrate the skin. Instead, choose creams with emollients that absorb quickly. Example: Caudalie Hand and Nail Cream or O’Keeffe’s Working Hands.
3. Avoid Water and Harsh Chemicals
Water, especially hot water, can further dehydrate your nails. Wear rubber gloves when washing dishes, cleaning, or gardening. If your job involves frequent hand washing (e.g., healthcare, food service), apply a barrier balm (like Dr. Bronner’s Organic Hand Sanitizer Balm) before work to protect your skin.
4. Skip Nail Polish and Buffing
For at least 72 hours, let your nails “breathe.” Avoid applying regular nail polish, as the solvents can worsen dehydration. Similarly, refrain from buffing or filing—your nails need time to regain strength naturally.
Real-World Example: Sarah, a nail technician from Austin, TX, shares: “After removing my gels, I used to rush to apply a base coat. Now, I follow a 72-hour recovery plan—soak, oil, rest. My nails peel less, and they grow faster. Clients even ask what I’m doing differently!”
Long-Term Recovery: 1–4 Weeks of Nourishment
Once the initial recovery phase is over, focus on long-term strategies to rebuild strength and promote healthy growth. This 4-week plan combines internal and external care to address both the nail plate and the nail matrix (the tissue under the cuticle where new nail cells form).
1. Daily Moisturizing Routine
Consistency is key. Apply a nail and cuticle oil 2–3 times daily. Look for oils with:
- Jojoba oil (closest to natural sebum)
- Vitamin E (antioxidant that repairs damage)
- Argan oil (rich in fatty acids for flexibility)
Use a rollerball applicator for precision. Massage the oil into the nail bed, cuticles, and sides of the nails for 1–2 minutes to boost blood circulation, which supports growth.
2. Hydrate from the Inside Out
Nails are 80% protein, so diet plays a huge role. Focus on:
- Protein: Lean meats, eggs, tofu, lentils (aim for 1g of protein per kg of body weight daily)
- Collagen: Bone broth, collagen peptides, or supplements (studies show 2.5g/day improves nail strength)
- Biotin: Found in almonds, sweet potatoes, and spinach (or take 2.5mg/day as a supplement)
- Omega-3s: Fatty fish (salmon, mackerel), chia seeds, walnuts (reduce brittleness)
Tip: Drink at least 2 liters of water daily. Dehydration shows up in your nails first!
3. Use a Nail Strengthener (Sparingly)
After 1 week, introduce a peptide-based nail strengthener (e.g., OPI Nail Envy or CND Rescue Rx). Avoid formaldehyde-based products—they harden nails but can make them brittle. Apply the strengthener every other day for 3 weeks, then taper to 2x/week.
4. Protect Nails During Daily Tasks
Use your nails as tools, not utensils. Avoid:
- Opening cans or packages with your nails
- Using your fingertips to scrape sticky residue
- Wearing tight shoes that press on toenails
Instead, use a key, coin, or tool for these tasks. For toenails, wear breathable shoes with a wide toe box.
Professional Treatments and When to Seek Help
While home care can address most post-gel issues, some cases require professional intervention. Here’s when to consider a salon or dermatologist visit:
1. Deep Peeling or Onycholysis (Nail Lifting)
If your nails are peeling in layers or lifting from the nail bed, it could signal:
- Fungal infection: Yellowing, thickening, or crumbling
- Trauma-induced separation: Caused by aggressive scraping
What to do: See a dermatologist. They may prescribe antifungal creams (e.g., ciclopirox) or recommend a “nail detox” (6–12 weeks without polish).
2. Chronic Brittle Nails
If nails remain brittle after 4 weeks of care, consider a medical manicure at a dermatology clinic. These treatments include:
- Keratin injections (for severe thinning)
- Paraffin wax therapy (deep hydration)
- Laser therapy (stimulates nail matrix circulation)
Cost: $50–$200 per session, depending on the clinic.
3. Nail Strengthening Wraps (Temporary Fix)
For special events, salons offer nail wraps (fiberglass or silk applied with resin). These protect weak nails without acetone removal. However, they’re a short-term solution—avoid using them more than 2–3 times per year to prevent dependency.
Real-World Example: Mark, a construction worker from Chicago, struggled with brittle nails for years. “I tried everything at home,” he says. “Finally, a dermatologist diagnosed a mild fungal infection and gave me a prescription cream. My nails are stronger now, and I wear gloves at work.”
Preventing Future Damage: A Sustainable Nail Care Routine
Recovery is only half the battle—prevention is the key to lifelong nail health. Here’s how to enjoy gel manicures without sacrificing strength:
1. Space Out Gel Manicures
Follow the “3-2-1 Rule”:
- 3 weeks between gel applications
- 2 weeks of natural nail care in between
- 1 full month off gels every 3–4 months
This gives your nails time to rehydrate and rebuild keratin.
2. Choose Gentle Removal Methods
Instead of acetone:
- Use soak-off gel strips (e.g., Red Carpet Manicure Remover Wraps)
- Opt for non-acetone removers with moisturizers
- Ask salons for “gentle removal” (no scraping, only buffing)
3. Invest in a UV-Free LED Lamp
If you do at-home gels, use a UV-free LED lamp. These cure gels faster (60 seconds vs. 2 minutes) and emit less heat, reducing keratin damage.
4. Build a “Nail Health Kit”
Keep these essentials on hand:
- Cuticle oil (rollerball)
- Glass nail file
- Hydrating hand cream
- Rubber gloves
- Collagen supplement
Nail Recovery Progress Tracker (Data Table)
| Time Frame | Expected Nail Condition | Recommended Actions | Signs of Improvement |
|---|---|---|---|
| 0–72 hours | Dry, brittle, possibly peeling | Soak in oil bath, apply cuticle cream, avoid water | Reduced dryness, less peeling |
| 1–2 weeks | Improved flexibility, minor ridges | Daily oil massage, collagen-rich diet, nail strengthener | Smoother surface, less breakage |
| 3–4 weeks | Stronger base, visible growth | Continue oil, protect nails, assess for fungal issues | New nail growth, reduced brittleness |
| 1–3 months | Healthy texture, minimal ridges | Maintain routine, schedule gel-free month | Consistent growth, natural shine |
Conclusion: Your Nails Deserve a Break
Taking care of your nails after gel removal isn’t just about fixing damage—it’s about resetting your nail health and building a sustainable routine. The first 72 hours are crucial for rehydration, while the following weeks focus on rebuilding strength from within. By combining nourishing oils, a protein-rich diet, and protective habits, you can transform brittle, peeling nails into strong, resilient ones.
Remember, nails grow slowly (about 3mm/month on fingers, 1mm/month on toes), so patience is key. Use the recovery period to embrace your natural nails—they’re not a blank canvas but a sign of your body’s health. When you do return to gels, do so mindfully: space out applications, choose gentle removal methods, and never skip your at-home care.
Your nails are more than a fashion statement; they’re a reflection of your overall well-being. With the right care, they can be both beautiful and strong. So, give them the attention they deserve. After all, healthy nails aren’t just a trend—they’re a lifelong commitment. Now, go show your natural nails some love!
Frequently Asked Questions
How long should I wait before applying gel again after removal?
Give your nails at least 1-2 weeks to recover before reapplying gel polish. This break helps prevent weakening, peeling, and damage caused by repeated exposure to acetone and UV lamps.
What’s the best way to moisturize nails after removing gel?
Apply a nourishing cuticle oil or hand cream daily, focusing on the nail bed and cuticles. Hydrating ingredients like jojoba oil, vitamin E, and shea butter support recovery and promote healthy nail growth after removing gel.
How to take care of nails after removing gel to avoid breakage?
Keep nails short and filed gently with a fine-grit file to reduce snagging. Use a ridge-filling base coat and avoid harsh chemicals or excessive water exposure to protect fragile nails.
Can I use nail strengtheners after removing gel polish?
Yes, a keratin- or biotin-infused nail strengthener can help repair weak nails. Apply it every other day for 2-3 weeks to support natural nail recovery after removing gel.
Why are my nails peeling after gel removal, and how can I fix it?
Peeling is often caused by dehydration or improper removal. Limit water exposure, wear gloves during chores, and use a hydrating nail treatment to restore moisture and flexibility.
Are there foods or supplements that help nails grow stronger after gel?
Yes! Eat protein-rich foods (like eggs and beans) and consider biotin or collagen supplements. These nutrients support keratin production, aiding faster, healthier growth after removing gel.