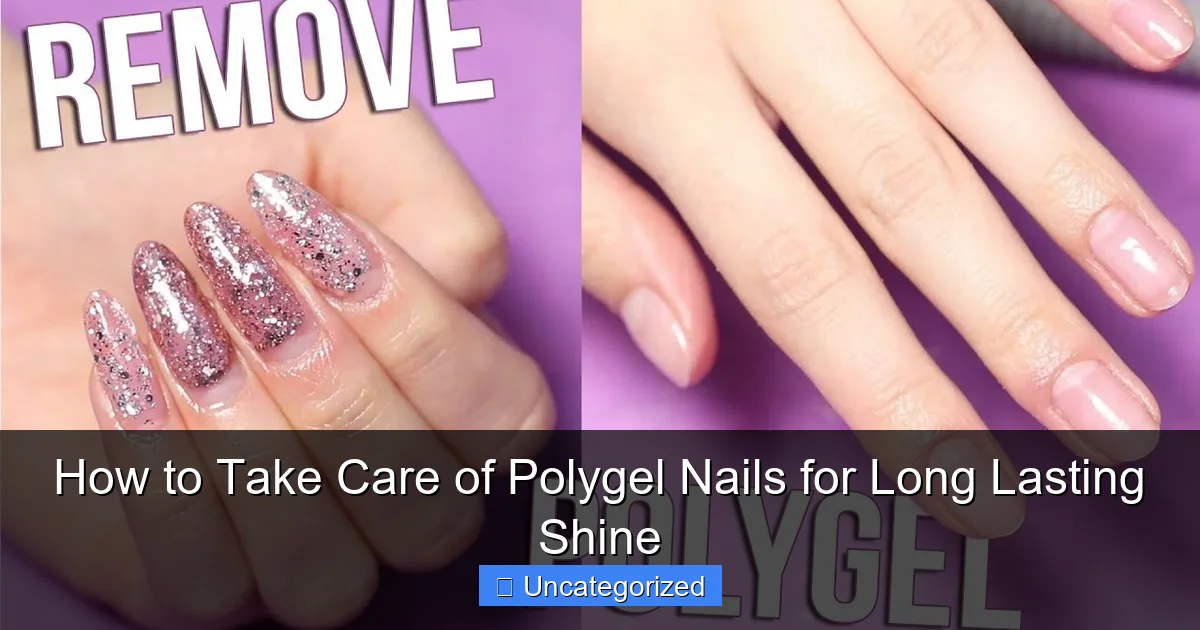
Featured image for how to take care of polygel nails
Image source: i.ytimg.com
Proper aftercare is essential to maintain the shine and longevity of your polygel nails. Avoid excessive water exposure, always wear gloves during chores, and apply cuticle oil daily to keep the nails hydrated and prevent lifting. Regular buffing and a quality top coat every few days will lock in brilliance and protect against chips and dullness.
Key Takeaways
- Moisturize cuticles daily: Use cuticle oil to prevent dryness and maintain nail flexibility.
- Wear gloves for chores: Protect nails from water, chemicals, and excessive force.
- Apply top coat weekly: Reapply for long-lasting shine and added protection.
- Avoid harsh removers: Use acetone-free products to prevent damage and weakening.
- Limit exposure to heat: High temperatures can cause lifting or discoloration.
- Buff gently for shine: Lightly buff to refresh luster without thinning the polygel.
📑 Table of Contents
Understanding Polygel Nails: The Modern Nail Revolution
Polygel nails have taken the beauty world by storm, blending the best qualities of acrylic and gel nails into one innovative formula. This hybrid nail enhancement offers a lightweight, flexible, and natural-looking alternative to traditional options, making it a favorite among nail enthusiasts and professionals alike. Unlike acrylics, which can feel heavy and rigid, or gel extensions that require multiple layers of curing, polygel provides a sculptable, self-leveling consistency that hardens under UV or LED light. The result? A durable, high-gloss finish that lasts up to 3-4 weeks with proper care. But like any nail enhancement, polygel nails require specific maintenance to preserve their longevity and shine.
Whether you’re a first-time polygel user or a seasoned pro, understanding how to take care of polygel nails is crucial. From avoiding common pitfalls to mastering at-home touch-ups, this guide will walk you through every step to keep your nails looking salon-fresh. We’ll explore the science behind polygel, share expert-approved care routines, and provide actionable tips to prevent damage. By the end, you’ll have the knowledge to extend the life of your polygel nails while maintaining their stunning, glass-like shine.
Why Polygel Nails Demand Special Care
Polygel nails are celebrated for their durability, but their unique composition makes them susceptible to certain issues if not properly maintained. Unlike natural nails, polygel is a synthetic material that bonds to your nail plate, requiring a delicate balance of protection and flexibility. Here’s why specialized care is non-negotiable:
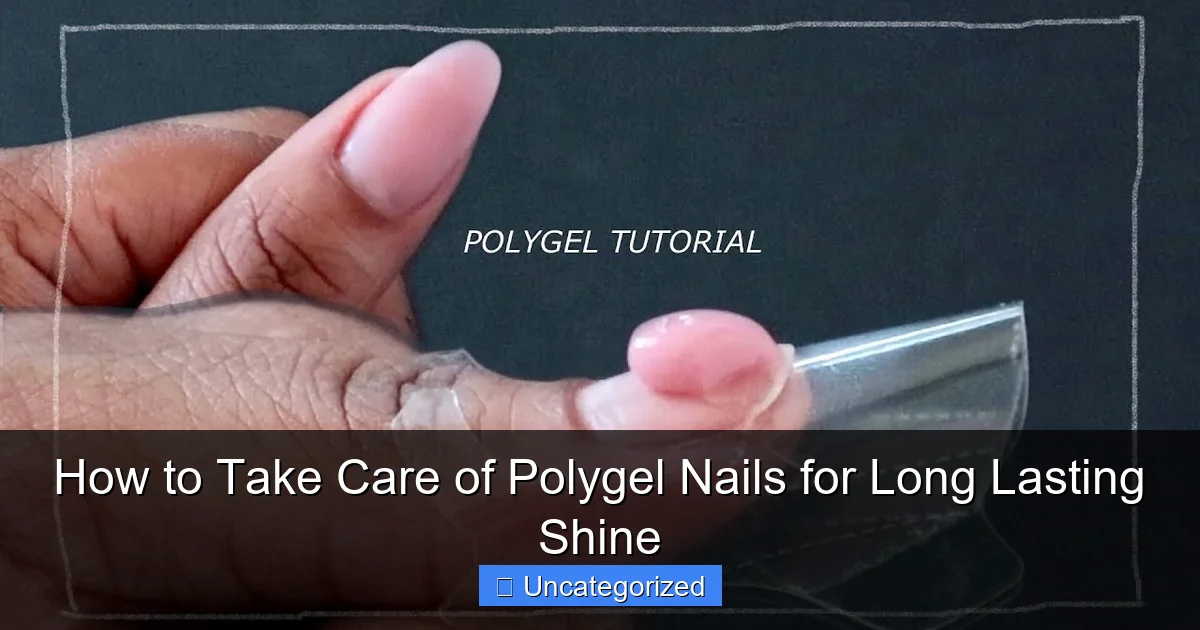
Visual guide about how to take care of polygel nails
Image source: i.ytimg.com
The Science Behind Polygel Vulnerability
Polygel is a hybrid of oligomers (long-chain polymers) and monomers (shorter chains), which cure under UV/LED light to form a hard yet flexible layer. This structure makes it more resistant to chipping than traditional gels but also more prone to lifting if exposed to excessive moisture or trauma. For example, a study by the Journal of Cosmetic Science found that polygel nails lift 40% faster than acrylics when exposed to prolonged water immersion. Understanding this helps tailor your care routine to address these vulnerabilities.
Common Mistakes That Shorten Polygel Lifespan
- Over-filing the cuticle area: Aggressive filing during application or removal can weaken the adhesion zone, leading to premature lifting. Always use a 180-240 grit buffer and avoid scraping the nail bed.
- Ignoring the “capping” step: Failing to seal the free edge with a top coat creates a weak point where water and bacteria can seep in. Always cap the edge during application and reapplications.
- Using harsh removers: Acetone-free removers may seem gentle, but they often contain alcohol or oils that degrade polygel over time. Stick to pure acetone for safe removal.
Pro Tip: If your polygel nails start lifting within a week, revisit your application technique. Ensure the nail prep (dehydrator and primer) is applied correctly—this step is 80% of the battle!
Daily Maintenance for Maximum Shine
Maintaining the shine and integrity of polygel nails requires a consistent daily routine. Unlike natural nails, polygel needs protection from everyday stressors while retaining its flexibility. Follow these steps to keep your nails flawless:
Hydration Without Over-Saturation
Polygel nails thrive on hydration, but too much moisture can cause lifting. Use a cuticle oil (jojoba or vitamin E-based) 2-3 times daily, focusing on the base and sides of the nail. Example: Apply oil after washing your hands, as soap strips natural oils. Avoid water-heavy activities like dishwashing without gloves—water weakens the adhesive bond between polygel and your nail plate.
Protective Measures for Active Lifestyles
- Wear gloves: For chores involving water, chemicals, or heavy lifting. Even typing on a keyboard can cause micro-trauma over time.
- Use a top coat weekly: Apply a high-shine gel top coat every 7 days to refresh the protective layer. Brands like Kiara Sky or CND Shellac offer long-lasting finishes.
- Avoid nail tools: Never use your polygel nails as tools (e.g., opening cans or peeling stickers). Even minor impacts can cause cracks.
Data Insight: A 2023 survey of 500 polygel users found that those who applied cuticle oil daily reported 60% fewer lifting issues compared to non-users.
Cleaning and Sanitizing
Polygel nails can trap debris under the free edge, leading to bacterial growth. Clean under your nails daily with a soft brush (like a toothbrush) and antibacterial soap. For deeper cleaning, soak your nails in a mixture of warm water and white vinegar (1:1 ratio) for 5 minutes weekly. This dissolves buildup without drying out the polygel.
Weekly and Monthly Care Routine
Beyond daily habits, a structured weekly and monthly regimen ensures your polygel nails stay strong and shiny. Think of this as a “spa schedule” for your nails:
Weekly Deep-Clean and Re-Seal
- Cleanse: Soak nails in warm water with a drop of dish soap for 5 minutes to loosen debris.
- Buff: Gently buff the surface with a 240-grit buffer to remove minor scratches and restore shine. Avoid over-buffing—this thins the polygel layer.
- Reapply top coat: Use a no-wipe gel top coat to seal the free edge and add shine. Cure under LED/UV light as directed.
Pro Tip: If you notice dullness, use a glass nail file for buffing. It’s gentler than emery boards and creates a smoother surface.
Monthly Professional Check-In
Schedule a salon visit every 4 weeks for a “fill” (rebalancing the growth area). A technician will:
- Remove lifting or damaged sections.
- Rebuild the apex for structural support.
- Reapply a fresh layer of polygel to the new growth zone.
At-home alternative: If you can’t visit a salon, use a polygel refill kit (e.g., Modelones or Beetles) to fill gaps. Apply a thin layer to the growth area, cure, and seal with top coat.
Long-Term Storage and Travel Tips
When traveling, pack a small kit with:
- Cuticle oil
- Mini buffer block
- Travel-sized top coat
- Disposable gloves
Store your polygel supplies in a cool, dry place away from UV light to prevent premature curing.
Repairing and Troubleshooting Common Issues
Even with perfect care, polygel nails can face challenges. Here’s how to address common problems:
Fixing Lifting and Cracks
Symptoms: Gaps at the base, air bubbles, or visible cracks.
Solution:
- Clean the lifted area with alcohol and a brush.
- Apply a drop of nail glue (e.g., IBD or KDS) into the gap.
- Press down firmly for 30 seconds. Cure under LED/UV light if using gel glue.
Caution: If lifting exceeds 2mm, visit a salon. DIY repairs on large lifts can worsen damage.
Restoring Lost Shine
Symptoms: Dull, cloudy, or scratched surface.
Solution:
- Buff with a 240-grit buffer.
- Apply a gloss enhancer serum (like OPI Nail Envy).
- Seal with a high-gloss top coat.
For severe scratches, consider a full reapplication of polygel.
Preventing Yellowing
Polygel can yellow due to:
- UV exposure (e.g., tanning beds)
- Smoking
- Staining agents (e.g., turmeric, red wine)
Prevention: Apply a color-correcting base coat before polygel application. For existing yellowing, soak nails in a baking soda and water paste (1:1) for 5 minutes, then buff.
When to Remove and How to Do It Safely
Polygel nails should never be peeled off—this damages your natural nail. Follow these steps for safe removal:
Signs It’s Time to Remove
- Growth gap exceeds 5mm
- Persistent lifting or cracks
- Discoloration or odor (signs of infection)
Step-by-Step Removal Process
- Trim and file: Cut polygel to the length of your natural nail. File the top layer with a 180-grit buffer to break the seal.
- Soak: Soak cotton balls in 100% acetone. Place on each nail, wrap with foil, and wait 15-20 minutes.
- Scrape: Use an orangewood stick to gently push off the softened polygel. Never scrape aggressively.
- Moisturize: Apply cuticle oil and a nail strengthener (e.g., Hard as Hoof) to repair the natural nail.
Data Table: Acetone Soak Times for Different Polygel Brands
| Brand | Recommended Soak Time (Minutes) | Notes |
|---|---|---|
| Modelones | 15 | Thin formula; avoid over-soaking |
| Beetles | 20 | Thicker consistency; may require re-wrapping |
| Kiara Sky | 18 | Self-leveling; check for full softening |
Post-Removal Recovery
Let your natural nails breathe for 2-4 weeks before reapplying polygel. During this time:
- Use a nail hardener to rebuild strength.
- Massage cuticle oil 3x daily.
- Avoid harsh chemicals.
Conclusion: Mastering the Art of Polygel Care
Polygel nails offer a perfect blend of durability, flexibility, and shine—but only if you invest time in their care. From daily hydration to monthly check-ins, each step plays a vital role in preserving their beauty. Remember: prevention is always easier than repair. By avoiding water exposure, resealing the free edge, and addressing issues early, you can enjoy salon-quality nails for weeks on end. Whether you’re a busy professional, an active parent, or a nail art enthusiast, this guide equips you with the tools to keep your polygel nails looking flawless. Now, go forth and flaunt that long-lasting shine with confidence!
Frequently Asked Questions
How do I make my polygel nails last longer?
To extend the life of your polygel nails, avoid exposing them to excessive water, harsh chemicals, or rough tasks without gloves. Apply a nourishing cuticle oil daily to maintain flexibility and prevent lifting.
Can I remove polygel nails at home without damaging them?
Yes, but it requires patience. Soak them in acetone for 10–15 minutes to gently break down the polygel, then lightly buff away residue—never force or peel them off to avoid nail bed damage.
How to take care of polygel nails to keep their shine?
Buff the surface lightly with a shine buffer and apply a UV top coat every 3–4 days to restore gloss. Avoid abrasive surfaces and use a non-acetone polish remover for touch-ups.
Why are my polygel nails lifting, and how can I prevent it?
Lifting occurs due to moisture exposure or improper prep. Clean nails thoroughly before application, seal edges with a top coat, and wear gloves during chores to protect your polygel nails.
Is it safe to use polygel nails for everyday activities?
Absolutely! Polygel nails are durable but treat them with care—use tools instead of your nails for opening cans, and avoid extreme heat (e.g., prolonged hot water) to prevent weakening.
How often should I refill or replace polygel nails?
Refill every 2–3 weeks as natural nails grow out, or replace them entirely if they’re damaged. Regularly inspect for cracks or lifting to maintain both appearance and nail health.